


Professional print.
Lovely price.
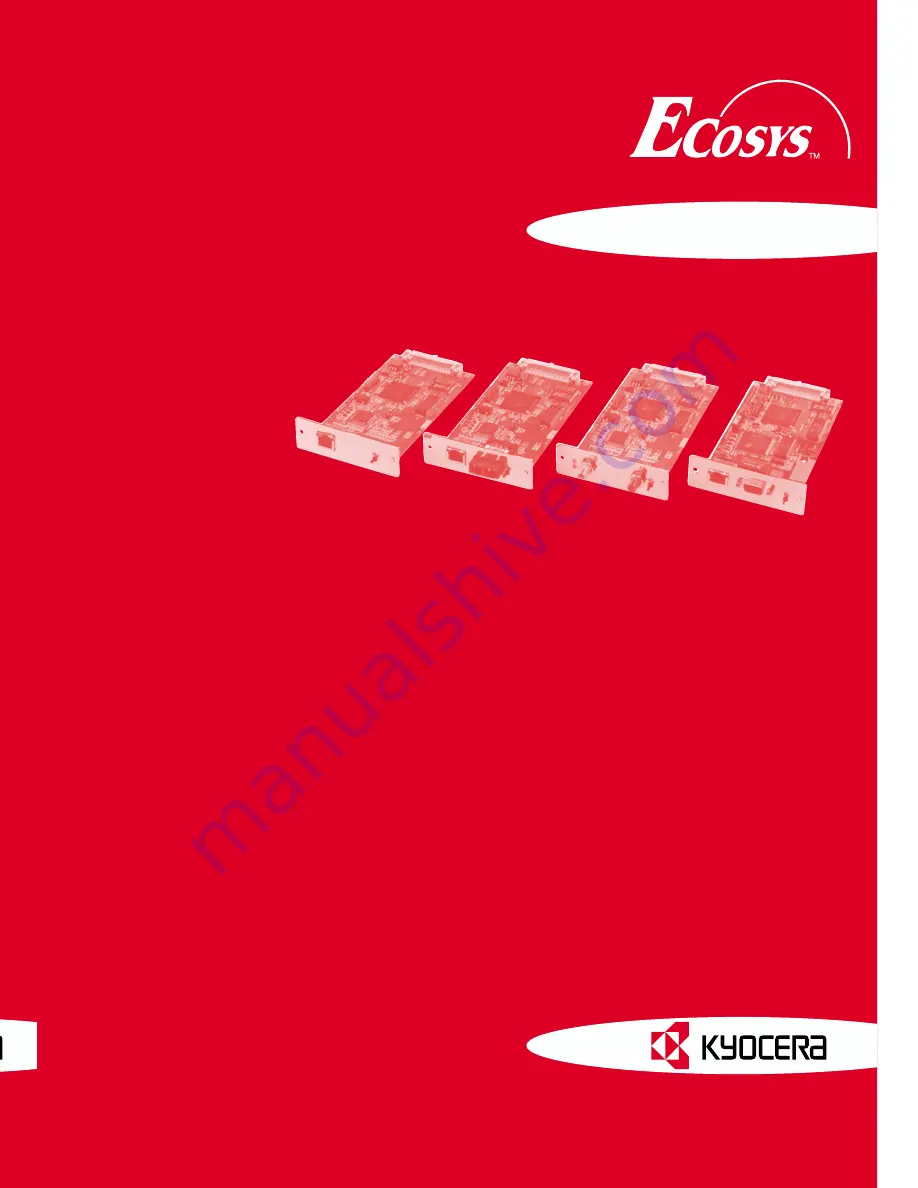
Printserver
Installation Manual
Professional print.
Lovely price.
Niederlassung Österreich
Geiselbergstraße 26-32 Stiege 6
A-1110 Wien
Tel: ++43 (0) 1/7 43 55 05
Fax ++43 (0) 1/7 43 55 05-25
E-Mail: [email protected]
•
•
•
•
KYOCERA ELECTRONICS EUROPE GmbH
Mollsfeld 12
D – 40670 Meerbusch
Tel.: ++49 (0) 21 59/9 18-0
Fax ++49 (0) 21 59/9 18-1 06
www.drucker.kyocera.de
•
•
•
•
Summary of Contents for Printserver
Page 1: ...Professional print Lovely price Printserver Installation Manual ...
Page 8: ...Contents vi Print Server Installation Manual ...
Page 82: ...Tips and Tricks 2 54 Print Server Installation Manual ...
Page 166: ...Configuring the Print Server 5 8 Print Server Installation Manual ...
Page 188: ...Defining the TCP IP Port 7 8 Print Server Installation Manual ...
Page 194: ...Description of Variables A 6 Print Server Installation Manual ...
Page 198: ...List of Figures iv Print Server Installation Manual ...


