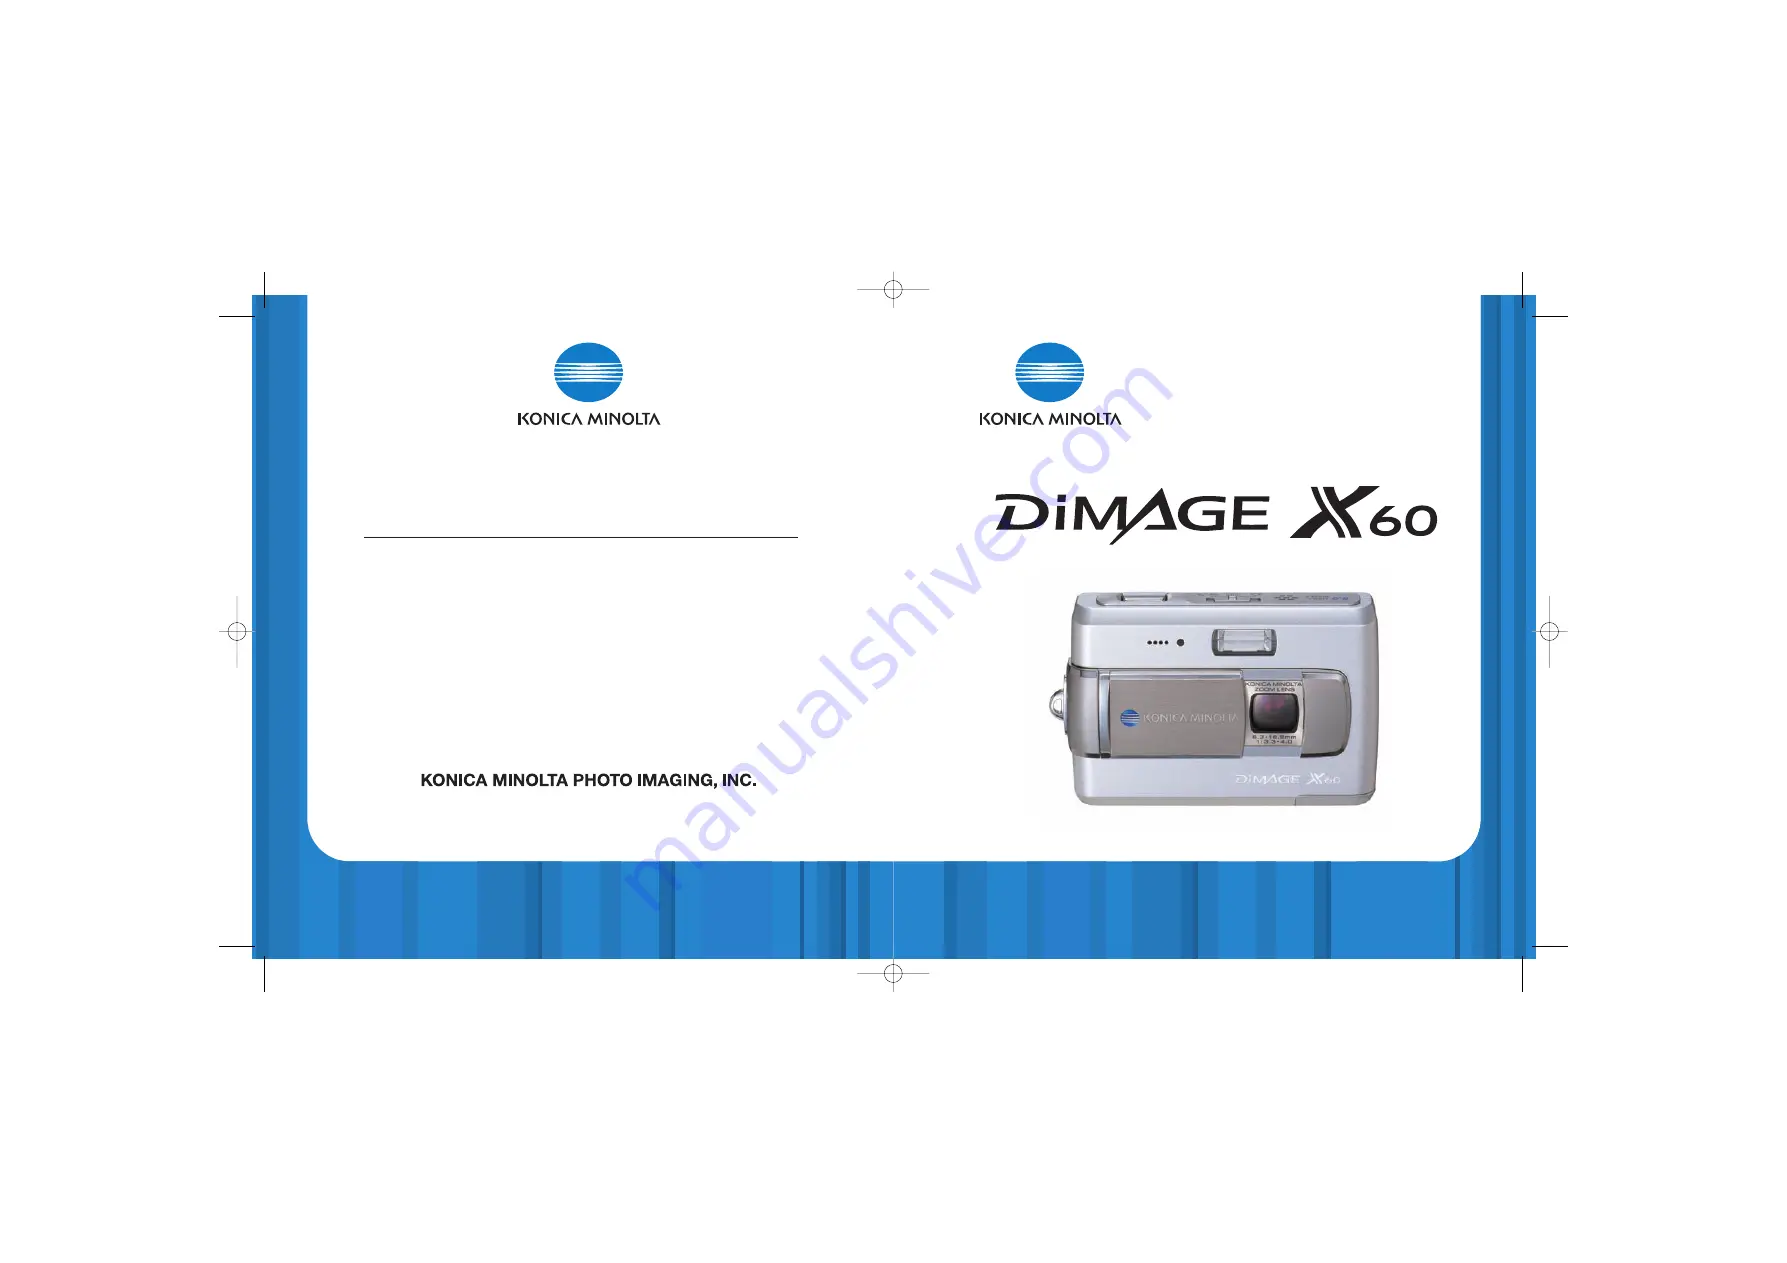
background image

Printed in Germany

9979 2812 50/12984

Konica Minolta Customer Support:

www.konicaminoltasupport.com

Konica Minolta Photo World:

www.konicaminoltaphotoworld.com

Become a member of Konica Minolta Photo World today,

free of charge, and enter the fascinating world of Konica Minolta photography.

Register now, save 29.99 EUR,

get DiMAGE Messenger for free!

INSTRUCTION MANUAL

© 2005 Konica Minolta Photo Imaging, Inc. under the Berne Convention 

and the Universal Copyright Convention.

X60_cvr_OM_GB_r3r.qxd  12.04.2005  20:17 Uhr  Seite 2

Summary of Contents for DiMAGE X60

Page 1: ...Become a member of Konica Minolta Photo World today free of charge and enter the fascinating world of Konica Minolta photography Register now save 29 99 EUR get DiMAGE Messenger for free INSTRUCTION MANUAL 2005 Konica Minolta Photo Imaging Inc under the Berne Convention and the Universal Copyright Convention X60_cvr_OM_GB_r3r qxd 12 04 2005 20 17 Uhr Seite 2 ...

Page 2: ...ronment with ambient temperatures between 20 and 30 C 4 and 86 F and a humidity of 45 to 85 RH WARNING Tape over the lithium ion battery contacts to avoid short circuiting during disposal always follow local regulations for battery disposal If charging is not completed after the specified period elapses unplug the charger and discontinue charging immediately Konica Minolta is a trademark of Konica...

Page 3: ...straction or temporary blindness which may lead to an accident Do not use the monitor while operating a vehicle or walking It may result in injury or an accident Do not use these products in a humid environment or operate them with wet hands If liquid enters these products immediately remove the battery or unplug the product and discontinue use The continued use of a product exposed to liquids may...

Page 4: ...nue Mahwah NJ 07430 This device complies with Part 15 of the FCC Rules Operation is subject to the following two con ditions 1 This device may not cause harmful interference and 2 this device must accept any interference received including interference that may cause undesired operation Changes or modi fications not approved by the party responsible for compliance could void the user s authority t...

Page 5: ...ap 17 Installing and removing a memory card 18 Internal memory indicator 19 Turning the camera on 19 Setting the date and time 20 Recording mode basic operation 21 Handling the camera 21 Setting the camera to record images 21 LCD monitor display 22 Camera shake warning 22 Using the zoom lens 23 Basic recording operation 24 Automatic Digital Subject Program Selection 25 Focus lock 26 Focus range 26...

Page 6: ...r 81 Connecting to Windows 98 and 98SE 82 Automatic installation 82 Manual installation 83 Removing the driver software Windows 85 Folder organization 86 Disconnecting the camera from the computer 88 Windows 98 98 Second Edition 88 Windows XP 2000 Professional and Me 88 Macintosh 89 Changing the memory card data transfer mode 90 Auto power save data transfer mode 90 Remote camera system requiremen...

Page 7: ...this manual p 106 Indicator lamp Names of parts Flash p 28 Self timer lamp p 38 Lens Lens cover Main switch DC terminal p 17 LCD monitor Tripod socket Battery chamber door p 15 Shutter release button Mode switch p 21 Controller Display button p 29 34 Zoom lever p 23 Menu button Playback button p 32 Speaker Strap eyelet p 17 USB port AV out terminal Microphone Card chamber door p 18 ...

Page 8: ...ide it toward the camera to engage the safety catch After installing the battery the set time date message may appear on the monitor see page 20 on how to set up the clock An internal battery protects the clock calender and memory settings for about six days if the battery is in the camera for approximately 24hours With the battery terminals forward lower the battery into the charg er so the guide...

Page 9: ... SEPARATELY The AC adapter AC 4 or AC 5 allows the camera to be powered from a household outlet The AC adapter is recommended when the camera is interfaced with a computer or during periods of heavy use AC adapter model AC 4 is for use in North America Japan and Taiwan and AC 5 is for use in all other areas The bat tery cannot be charged using the AC adapter 1 Insert the mini plug of the AC adapte...

Page 10: ...force the card If the card does not fit check that it is orientated correctly If a MultiMediaCard is inserted incorrectly it will lock but the card chamber door will not close 3 To eject a memory card press the card into the slot and release The card can now be pulled out TURNING THE CAMERA ON INTERNAL MEMORY INDICATOR To turn the camera on slide the lens cover open in the direction indicated in t...

Page 11: ...center of the controller to open the date time setup screen The date time setup screen can be opened in section 3 of the setup menu For customers in certain areas the menu language must also be set The language is changed in section 1 of the setup menu p 73 sel move RECORDING MODE BASIC OPERATION This section covers basic recording operation To prepare the camera for use read pages 14 through 20 H...

Page 12: ... right side T of the zoom lever 1 To zoom out push the the left side W of the zoom lever After zooming the zoom indicator is displayed on the LCD monitor to show the approximate zoom position The digital zoom function can increase the power of the lens The digital zoom is activated in section 3 of the record ing menu p 51 The zoom lens not only affects how large the subject is in the picture but i...

Page 13: ...chooses a subject program If no indicators are dis played programmed AE is active Press the shutter release but ton all the way down to take the picture Program AE no indicators Portrait Sports action Landscape Sunset Press the shutter release button partway down to lock the focus and exposure Automatic Digital Subject Selection will choose the appro priate exposure mode see the facing page The mo...

Page 14: ...se the Super Macro function p 30 FOCUS SIGNALS SPECIAL FOCUSING SITUATIONS This digital camera has a quick accurate autofocusing system The focus signal in the lower right corner of the LCD monitor indicates the focus status The shutter can be released regardless if the camera can focus on the subject or not The camera may not be able to focus in certain situations In these situations the focus lo...

Page 15: ...ct caused by light reflected from the retina Use in low light conditions when taking photographs of people or ani mals the pre flashes contract the pupils of the subject s eyes Fill flash the flash fires with each exposure regardless of the amount of ambient light Fill flash can be used to reduce harsh shadows caused by strong direct light or sunshine Flash cancel the flash will not fire Use flash...

Page 16: ... soft skin tones and a slight defocusing of the background Most portraits look best at a telepho to setting the longer focal length does not exaggerate facial features and the shallower depth of field softens the background Use fill flash with strong direct sunlight or backlight to reduce harsh shadows Sports action used to capture action by maximizing shutter speeds When using flash the subject m...

Page 17: ...p key of the con troller 1 A confirmation screen appears DELETING SINGLE IMAGES To view recorded images press the playback button 1 If the camera is off continue to press the button until the monitor activates Use the left right keys of the controller to scroll through the images 2 Press the playback button again to return to the record ing mode or turn the camera off To view images recorded in th...

Page 18: ...e frame number of the image are displayed at the bottom of the screen The accompanying audio track of the highlighted image can be played by pressing the center button of the controller When the right side of the zoom lever T is pressed the highlighted image is displayed in the single frame playback mode DISPLAY BUTTON PLAYBACK MODE 35 ENLARGED PLAYBACK Image only The display button controls the L...

Page 19: ...control the rate and method images are captured Indicators indicating the selected drive mode appear on the monitor If auto reset p 45 is active the drive mode is reset to single frame advance when the camera is turned off Press the down key of the controller to select the drive mode 1 Single frame advance to take a single image each time the shutter release button is pressed This is the camera s ...

Page 20: ... to blink and is accompanied by an audio signal A countdown timer is displayed on the moni tor A few seconds before the exposure the self timer lamp blinks rapidly The lamp glows steadily just before the shutter fires To stop the countdown press the zoom lever or menu button The drive mode resets to single frame advance after the exposure The audio signal can be turned off in section 2 of the setu...

Page 21: ...n selected the cursor returns to the menu options and the new setting is displayed To return to the recording mode press the menu button Activate the menu with the menu button Movie and audio recording Still image recording Image size 42 Instant playback 47 Key function 45 Metering mode 47 Movie mode 53 Quality 42 Recording mode 52 Sensitivity 46 Voice memo 49 White balance 44 Auto reset 45 Color ...

Page 22: ...e approximate number of images that can be recorded at that setting Images with differing sizes and qualities can be recorded The number of images that can be recorded depends on the memory available and the file size of the images The actual file size is determined by the scene some subjects can be compressed further than others See the chart on the following page Fine high quality JPEG image Sta...

Page 23: ...e settings is select ed an indicator is displayed on the LCD monitor to indi cate the active white balance setting the effect is imme diately visible on the monitor To record the ambient light set the flash mode to flash cancel p 28 The built in flash can be used with preset white balance but creates a pinkish or blueish cast with the fluorescent and tungsten settings The flash is daylight balance...

Page 24: ... image to calculate the exposure A small circle appears in the middle of the live image indi cating the measuring area The spot allows precise exposure mea surements of a particular object without being influenced by extremely bright or dark areas within the scene METERING MODES Spot metering area Spot metering indicator The auto setting automatically adjusts the camera sensitivity to the light co...

Page 25: ...egree of compensation 1 the live image behind the menu reflects the change Press the central controller button to set this value 2 If any value other than 0 0 is set an indicator is dis played on the monitor as a warning 2 2 Sensitivity Auto reset 0 3 Metering mode Exp comp Voice memo allows an audio track up to fifteen second to be recorded with a still image The function is acti vated in section...

Page 26: ...camera in the playback mode or on a computer with DiMAGE Master Lite This software is provided on the Digital Camera Software CD ROM included with the camera Camera Notes The date and time of recording can be printed directly on a still image The imprinting function must be activated before the image is taken Once activated the date will continue to be imprinted until the function is reset a yello...

Page 27: ... Movies can be recorded at two frame rates 15 fps and 30 fps The higher the frame rate the smoother the moving image and the larger the file sizes Frame rate is set in section 1 of the movie menu p 40 30 fps 15 fps 30 fps 15 fps Approximate recording rate If frame rate is changed the frame counter displays the approximate number of seconds that can be recorded The total time that can be recorded i...

Page 28: ...e audio track finishes Pressing the menu button cancels the playback During playback the up down keys of the controller adjust the volume During playback the up down keys adjust the volume and the left right keys rewind and fast forward the recording The basic functions in this mode are described in the basic playback section on pages 32 through 35 This section covers how to playback movie clips a...

Page 29: ...tions press the left key If Enter is displayed press the center button to display the setting screen Use the up down keys to highlight the new setting Activate the menu with the menu button Dissolve 65 DPOF setup 70 Edit movie 68 E mail copy 62 Frame capture 67 Image pasting 60 Index print 71 Lock 60 Slide show 65 Audio caption 59 Copy 62 Crop frame 66 Date print 71 Delete 58 Index to menu functio...

Page 30: ...the menu button to cancel the operation and return to the playback menu Single multiple or all files can be deleted in section 1 of the playback menu p 56 Files must be unlocked before they can be deleted p 60 To delete images in the internal memory remove the memory card from the camera Delete has four options AUDIO CAPTION A still image can have a fifteen second audio caption attached to it This...

Page 31: ...composite image has the same image size and quality as the background image The lens cover must be open to use this function The composite image can only be saved in the memory location where the background image is stored Display the background image on the LCD monitor To display an image in the internal memory remove the memory card from the camera Select image pasting in the playback menu and p...

Page 32: ... deselect a file to be copied highlight the selected thumbnail and press the down key the check disap pears Continue until all the files to be copied are marked Press the central button of the controller to continue or press the menu button to cancel the operation and return to the playback menu Copy When the file s to be copied are selected a message screen is displayed The appearance of the scre...

Page 33: ...ge audio and movie files on the memory card or in the camera s internal memory in order To display images in the internal memory remove the memory card from the camera To start the slide show presentation highlight Enter and press the central button of the controller During the slide show pressing the central button of the controller pauses and restarts the presenta tion The left right keys advanc...

Page 34: ... magnification is displayed on the LCD monitor Use the controller to scroll the image 2 The locator in the top right corner of the moni tor indicates the area of the image being dis played The display button 3 switches between showing the full display and the image only Locator Magnification When the image area to be cropped is displayed press the central button of the con troller to save the imag...

Page 35: ...he controller to display the last frame of the section to be cut The bar under the image and the timer in the top right corner of the screen show the approximate location of the point Use the down key to select the next step Pause Rew Fwd Vol Preview edit function play Press the center controller button to preview the edit The arrow above the bar indi cates the playback frame After playback use th...

Page 36: ...for all images in the memory location Marked frames To chose a group of images to be printed or when the number of copies of each image varies When selected the frame selection screen appears p 57 Use the left right keys of the controller to highlight an image to be printed Pressing the up key marks the image The number indicates the number of copies that will be print ed Pressing the up key incre...

Page 37: ...lish Reset default Date Time set Video output Transfer mode NTSC Data storage Audio signals Focus signal Shutter FX Volume Power save 1 1 1 2 3 min Format 74 Language 73 LCD brightness 74 Power save 76 Reset default 78 Shutter FX 76 Transfer mode 79 Video output 77 Volume 76 Audio signals 76 Date Time setup 79 File memory 75 Focus signal 76 Folder name 75 Index to menu functions Press the central ...

Page 38: ...emory is selected when a new folder is created or a new memory card or memory location is used the next image recorded will have a number one greater than the last file saved If the new memory location contains an image with a grater file number the new image will be assigned a file number one greater than the greatest at that location If the file number memory is disabled the image file number wi...

Page 39: ...ss the shutter release button or playback button The length of the auto power save period can be changed in section 2 of the setup menu p 72 1 3 5 10 and 30 min utes The length of the auto power save period is fixed at 10 minutes when the camera is connect ed to a computer or PictBridge printer VIDEO OUTPUT Camera images can be displayed on a television The video output can be changed between NTSC...

Page 40: ...ff p 65 Dissolve On p 34 Monitor display Full display Volume 2 Auto power save period 3 minute File number memory Off Folder name Standard Focus signal 1 LCD Brightness Normal Setup menu Shutter FX 1 p 76 p 76 p 76 p 74 p 76 p 75 p 75 Audio signals 1 p 76 Transfer mode Data storage p 79 DATE AND TIME The date time setup screen is opened from section 3 of the setup menu p 72 See page 20 for how the...

Page 41: ... to install the driver software on the included Digital Camera Software CD ROM p 82 No special driver software is required for other Windows or Macintosh operating systems Customers who have bought a previous Konica Minolta DiMAGE or SLR digital camera and have installed the Windows 98 driver software must repeat the installation procedure The updated ver sion of the driver software included on th...

Page 42: ...8 USB Mass Storage Driver button A window appears to confirm that the driver should be installed click Yes to con tinue Automatic Installation Choose the recommended search for a suitable driver Click Next Choose to specify the location of the driver The browse window can be used to indicate the driver location The driver should be located in the CD ROM drive at Win98 USB When the location is show...

Page 43: ...ystem to open the system properties window 3 Windows XP and 2000 Professional select the hardware tab in the properties window and click the device manager button Windows Me and 98 click the device manager tab in the properties window 4 The driver file will be located in the universal serial bus controller or other devices location of the device manager Click on the locations to display the files ...

Page 44: ...x number in the image file name exceeds 9 999 a new folder is created with a number one greater than the greatest folder number in the memory location e g from 100KM026 to 101KM026 The number in the image file name may not correspond to the frame number of the image As images are deleted the frame counter adjusts itself to show the number of images in the memory location and reassign the frame num...

Page 45: ...able Confirm that the indicator lamp is not lit and then drag the mass storage device icon and drop it into the trash Turn the camera off and then disconnect the USB cable Macintosh Confirm that the indicator lamp is not lit Turn the camera off and then disconnect the USB cable Windows 98 98 Second Edition Never disconnect the camera when the indicator lamp is lit the data or memory card may perma...

Page 46: ...on by reattaching the cable and turning the camera on For the camera to be connected directly to the computer and used as a remote imaging device the computer must be equipped with a USB port as a standard interface The comput er and the operating system must be guaran teed by their manufacturers to support USB interface See chart for system requirements The remote camera driver software must be i...

Page 47: ...tton The option dialog box allows remote control over some of the camera s functions By clicking on the source but ton in the video tab zoom and focus controls can be accessed the controls are located on the camera con trol tab of the dialog box Image magnification can be adjusted with the zoom slider Clicking the auto check box on the focus option focuses the camera However focus is not continuou...

Page 48: ... the central button of the controller to continue select move print The number of prints in the print run are displayed as well as the print parameters selected with the menu See the menu navigation section for more information p 96 Press the central button of the controller to begin printing or press the menu button to return to the PictBridge screen Once printing begins the operation can be canc...

Page 49: ... 2 move the cursor in the menu Pressing the central button of the controller enters a setting The options that can be changed vary with the printer Activate the menu with the menu button Batch print Index print Batch print Index print An index print of all still images on the memory card or in the camera s internal memory can be made The quality and size of the print can be specified with the came...

Page 50: ...s in section 3 of the playback menu to be printed from a DPOF compatible PictBridge printer Simply select the start option from the menu to begin the routine The number of prints in the print run are displayed an index print is counted as one Press the central button of the controller to begin printing or press the menu button to return to the PictBridge menu Once printing begins the operation can...

Page 51: ... Click on the Setup exe file to display it in the run dialog box Click OK The all in one digital photography software solution gives you an effortless way to organize print and share your pictures Organize your pictures Kodak EasyShare software automatically organizes your pictures so you can find and view them quickly Or create custom albums and sort pictures your own way Create beautiful prints ...

Page 52: ...Windows based computer The launcher appears Click the camera support Applications but ton and then the install DiMAGE Master Lite button to begin the installation routine If the launch er does not appear see software notes on page 101 Mac OS X Double click the CD icon on the desktop open the Utility folder the DiMAGE Master Lite folder and then the appropriate language folder Click the Installer i...

Page 53: ...lock function to focus on an object at the same distance as the subject p 26 Focus signal is red QUICKTIME SYSTEM REQUIREMENTS To install QuickTime follow the instructions in the installer QuickTime is not supplied with the camera in all sales regions Users can download the latest version of QuickTime free of charge from the Apple Computer web site http www apple com IBM PC AT Compatible Pentium p...

Page 54: ...echarge it for five minutes every six months The battery may not be able to be charged if completely exhausted Keep battery and camera charger contacts clean Dirty contacts can prevent charging If the contacts become dirty wipe them with a cotton swab A special built in battery supplies power to the clock and memory when the camera battery is exhausted or removed If the camera resets each time the...

Page 55: ... under the provisions within the copyright laws Questions and service If you have questions about your camera contact your local camera dealer or write to the Konica Minolta distributor in your area Before shipping your camera for repair please contact a Konica Minolta service facility 108 109 Appendix Memory cards SD Memory Cards and MultiMediaCards are manufactured with precision electronic comp...

Page 56: ...ailable at the time of printing and are subject to change without notice Number of effective pixels 5 0 million CCD 1 2 5 type interline primary color CCD with a total of 5 4 million pixels Camera sensitivity ISO Automatic between ISO 50 160 equivalent Manual ISO 50 100 200 400 Aspect ratio 4 3 Lens construction 11 elements in 9 groups Maximum aperture f 3 3 f 4 0 Focal length 6 3 18 9 mm 35mm equ...

Reviews: