Klarstein Mr. Frost Series, Manual
Introducing the Klarstein Mr. Frost Series, a state-of-the-art cooling system designed to keep your beverages chilled to perfection. This innovative appliance offers superb functionality and convenience. To fully maximize your experience, we provide a comprehensive user manual for free download on our website manualshive.com, ensuring hassle-free operation and optimal performance.
Share
Download


Reviews:
No comments
Related manuals for Mr. Frost Series

ICE0250 Series
Brand: Ice-O-Matic Pages: 2

GEMU090 Series
Brand: Ice-O-Matic Pages: 25
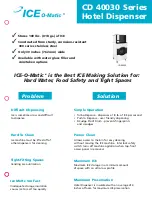
Hotel Dispenser CD 40030 Series
Brand: Ice-O-Matic Pages: 2

CK7355
Brand: UFESA Pages: 27

SnoBall
Brand: SnoWizard Pages: 5

K95
Brand: Pierro Pages: 60

ECAM23.21 Series
Brand: DeLonghi Pages: 16

FES15B
Brand: Farberware Pages: 15

ROMA TCS SED
Brand: Sanremo Pages: 155

Tharo V-424 Plus
Brand: Tharo Systems Pages: 32

CWT-CS
Brand: Bunn Pages: 26

Erika 2.0
Brand: Havso Pages: 20

10000243
Brand: Saeco Pages: 88

ES71A
Brand: FAP Pages: 25

745-112
Brand: Ide Line Pages: 14

CLR1215
Brand: U-Line Pages: 7

U-ADA15IMB-00A
Brand: U-Line Pages: 13
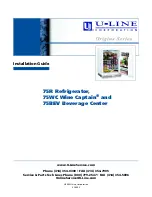
Origins 75BEV
Brand: U-Line Pages: 13


