KitchenAid KJA03, Manual
The KitchenAid KJA03 is a versatile and reliable kitchen appliance that enhances your cooking experience. With its user-friendly design and professional-grade performance, this manual blender effortlessly creates delectable dishes. Access the free download of the complete user manual for the KitchenAid KJA03 at manualshive.com, ensuring easy operation and optimal results.
Share
Download


Reviews:
No comments
Related manuals for KJA03

CHOPPER 555 VE
Brand: Garland Pages: 124

APPH6000
Brand: AnaPico Pages: 40
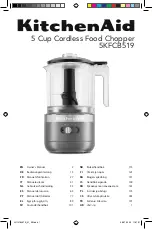
5KFCB519
Brand: KitchenAid Pages: 14

5KFP0933
Brand: KitchenAid Pages: 40
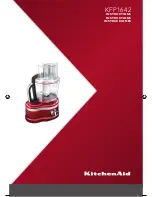
KFP1642
Brand: KitchenAid Pages: 32
5KFP13CR
Brand: KitchenAid Pages: 4

KFP1133
Brand: KitchenAid Pages: 68

5KFC3516EOB
Brand: KitchenAid Pages: 260
5KFP1644ACA0
Brand: KitchenAid Pages: 31

KFP740
Brand: KitchenAid Pages: 88

5KFP1335
Brand: KitchenAid Pages: 25

5KFP1333
Brand: KitchenAid Pages: 24

5KFP1333GER
Brand: KitchenAid Pages: 23

5KFC3516T
Brand: KitchenAid Pages: 24

5KFC3516P
Brand: KitchenAid Pages: 12

5KFP1664
Brand: KitchenAid Pages: 2

KFP715BW0
Brand: KitchenAid Pages: 4

5KFPCB700A
Brand: KitchenAid Pages: 21


