Summary of Contents for 66598003701
Page 22: ...22 ...
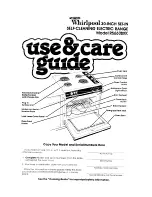
The Kenmore 66598003701 is a versatile kitchen appliance that caters to your cooking needs. To make the most of this product, it is essential to refer to the comprehensive "Use & Care Manual." Take advantage of our website to conveniently download this manual free of charge and unlock the full potential of your appliance.
Page 22: ...22 ...