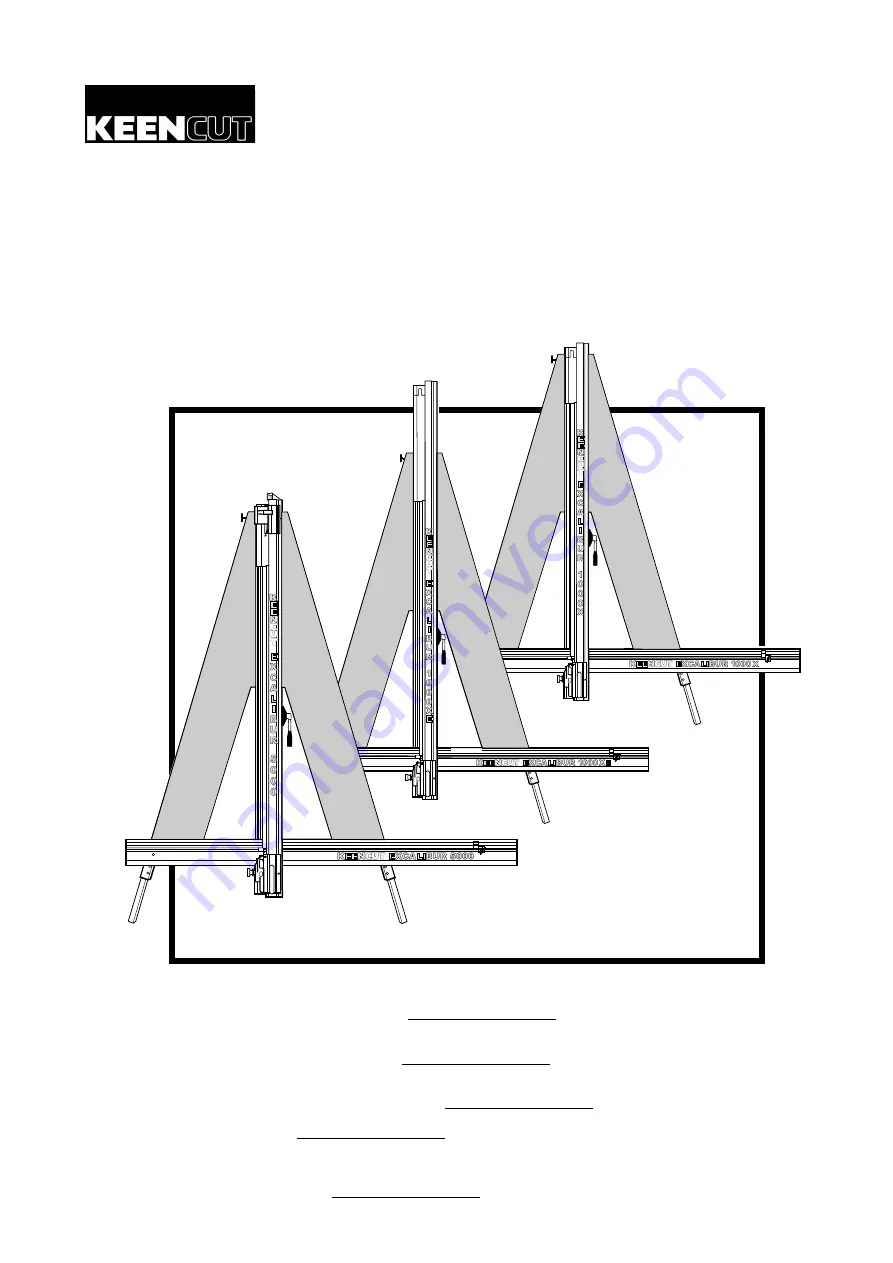
background image

EXCALIBUR 

1

10

00

00

0X

X

EXCALIBUR 

1

10

00

00

0X

XE

E

EXCALIBUR 5

50

00

00

0

INSTRUCTION MANUAL

BEDIENUNGSANLEITUNG

MANUEL D’INSTRUCTIONS

MANUAL DE INSTRUCCIONES

MANUAL DE INSTRUCCIONES

Single language version and parts diagrams can be 
down loaded from www.keencut.co.uk

Versionen in den einzelnen Sprachen und Schaubilder der Teile sind
als Download auf www.keencut.co.uk erhältlich.

La version et les schémas des pièces en une seule langue peuvent
être téléchargés depuis www.keencut.co.uk

En www.keencut.co.uk puede descargar versiones en idiomas 
individuales y diagramas de piezas.

È possibile scaricare le versioni nelle singole lingue e i disegni delle
parti su www.keencut.co.uk

KC-EX 

FEB09

Summary of Contents for EXCALIBUR 1000X

Page 1: ...d from www keencut co uk Versionen in den einzelnen Sprachen und Schaubilder der Teile sind als Download auf www keencut co uk erh ltlich La version et les sch mas des pi ces en une seule langue peuve...

Page 2: ...his page is intentionally blank Diese Seite wurde absichtlich leer gelassen Cette page est volontairement vide Esta p gina se ha dejado en blanco Questa pagina stata lasciata intenzionalmente in bianc...

Page 3: ...Backing panels 4 Squaring 4 1 Checking your machine for squareness 4 2 Adjusting the squareness 5 Calibration 5 1 Calibrating the vertical square 5 2 Calibrating the Squaring arm scale 5 3 Fitting the...

Page 4: ...fer according to machine type NOTE When lifting the main body from the box DO NOT lift using the black handles on the cutters 1 Main body 2 Squaring arm 3 Left large back panel 4 Left small back panel...

Page 5: ...4 Ausrichtung 4 1 berpr fung der Maschine auf gerade Ausrichtung 4 2 Nachstellung der Ausrichtung 5 Kalibrieren 5 1 Kalibrieren der senkrechten Skala 5 2 Kalibrieren der Ausrichtungsarmskala 5 3 Mont...

Page 6: ...e nach Maschinentyp unterschiedlich sein HINWEIS Beim Herausheben schwerer Teile aus der Kiste AUF KEINEN FALL an den schwarzen Griffen der Schneidwerkzeuge ziehen 1 Hauptteil 2 Ausrichtungsarm 3 R ck...

Page 7: ...errage 4 1 V rification de l querrage de votre machine 4 2 R glage de l querrage 5 Etalonnage 5 1 Etalonnage de l chelle verticale 5 2 Etalonnage des chelles du levier de mise l querre 5 3 Installatio...

Page 8: ...ut e gauche 14 Molette de coupe du verre en r serve 15 Lames en r serve NOTA Les configurations de la T te de D coupage varient en fonction du type de machine 1 Corps principal 2 Levier de mise l quer...

Page 9: ...dra 4 1 Comprobar el ngulo recto de la m quina 4 2 Ajuste del ngulo recto 5 Calibraci n 5 1 Calibraci n de la escuadra vertical 5 2 Calibraci n de la escala del brazo de escuadrar 5 3 Ajuste de la tir...

Page 10: ...14 Repuesto de la rueda para cortar vidrio 15 Cuchillas de repuesto NOTA Las disposiciones del cabezal de cortado difieren de acuerdo con el tipo de m quina 1 Cuerpo principal 2 Brazo de escuadrar 3 P...

Page 11: ...4 Squadratura 4 1 Controllo dell ortogonalit della macchina 4 2 Regolazione dell ortogonalit della macchina 5 Messa a punto 5 1 Messa a punto della scala verticale 5 2 Messa a punto delle scale del br...

Page 12: ...a tagliavetro di ricambio 15 Lame di ricambio NOTA Le disposizione della testa di taglio variano secondo il modello di macchina 1 Corpo principale della macchina 2 Braccio di squadratura 3 Pannello di...

Page 13: ...his page is intentionally blank Diese Seite wurde absichtlich leer gelassen Cette page est volontairement vide Esta p gina se ha dejado en blanco Questa pagina stata lasciata intenzionalmente in bianc...

Page 14: ...packaging from the bottom end 1 Slacken the bottom two screws on each leg using the 5mm Hexagon wrench and extend the telescopic parts to the desired length These can be re adjusted later before fixin...

Page 15: ...chine sur la paroi Serrez fond les vis pour fixer les rallonges en position 2 Faites basculer les deux pieds vers l ext rieur au maximum MONTAJE Ajuste de las patas Las primeras etapas de montaje se r...

Page 16: ...ollowing A One screw from each leg using 5mm Hexagon wrench B Two sets of Hexagon headed bolts washers and nuts from the Main body using 17mm Spanners C Remove small Screw and two Washers from the bac...

Page 17: ...la but e droite en la faisant coulisser cette but e devra tre remise en place ult rieurement MONTAJE Preparaci n para instalar el brazo de escuadrar 1 Mover el cabezal inferior de corte en la posici...

Page 18: ...only 3 Fit the screws through the Squaring arm into the leg using the 5mm Hexagon wrench do not tighten fully 4 Fit the two M8 Screws to secure the legs at the top of the Main body using the 6mm Hexag...

Page 19: ...r la machine 160 cm 63 MONTAJE Ajuste del brazo de escuadrar 1 Deslizar el brazo de escuadrar desde la izquierda a trav s de la abertura en el cuerpo principal y alinearlo con los correspondientes ori...

Page 20: ...the Wall mounting bracket to the top of the Main body fasten the screws finger tight only 2 Lean the machine against the wall in the desired place 3 The Wall mounting bracket should lay flush against...

Page 21: ...NTAJE Ajuste del Soporte para montar en la pared NOTA A Si se va a ajustar el kit independiente optativo pase la p gina NOTA B Aseg rese que la pared sea firme y que utiliza las fijaciones apropiadas...

Page 22: ...the telescopic leg to the same length as the front legs less 12cm 5 Assistance will be needed for the following stages 2 Get help to stand the machine up and hold it while the free standing leg is fi...

Page 23: ...our que la machine ait une position horizontale comme indiqu sur la figure MONTAJE Ajuste del kit independiente optativo NOTA El kit independiente es un accesorio optativo y no viene embalado con la m...

Page 24: ...anel to the right and locate the vertical edge into the groove in the Main body be careful not to damage the edge of the panel 3 Fit the Left large back panel into the groove on the top edge of the Sq...

Page 25: ...e montant et fixez ensemble les deux panneaux l aide des vis et des crous fournis MONTAJE Ajuste de los paneles superiores 1 Retire los tornillos y las tuercas del canto del panel trasero izquierdo pe...

Page 26: ...62 Fitting the Right Backing Panels 5 Repeat for the Right hand panels In place of a vertical groove in the main body the panels have metal strips fixed to the back which grip the edge of the main bo...

Page 27: ...allique fix e l arri re sur le bond di corps principal comme indiqu MONTAJE Ajuste de los paneles superiores 1 Repita el proceso para los paneles del lado derecho En lugar de una ranura vertical en el...

Page 28: ...on the lower cutting head see section 6 Cut into the top of the board to produce a cut approximately 3cm 1 long Disengage the cutter using the cutter release lever Lower the cutter and make a similar...

Page 29: ...ffectuer le r glage n cessaire ESCUADRAR Comprobar el ngulo recto de la m quina Para que la m quina produzca cortes en ngulo perfectos es necesario que el cuerpo principal se ajuste de forma que el br...

Page 30: ...mm hexagon wrench then slacken the left hand nut at the bottom using a 17mm ring spanner make sure the right hand nut is tight 2 Release the clamp and position the board such that the blade is held in...

Page 31: ...llevar a cabo alg n ajuste realizar la comprobaci n del ngulo recto como se describe en la p gina anterior Se supone que el cart n utilizado para la prueba sigue enganchado en la m quina A partir de...

Page 32: ...s 2 Remove the paper backing tape and carefully place the Rule adjacent to its groove in the Main body and with the zero end resting inside the material channel of the Squaring arm When aligned stick...

Page 33: ...le pr c dente 5 Coupez le sommet de la rallonge de r gle comme indiqu CALIBRACI N Calibrar la escala vertical NOTA Las reglas verticales pueden identificarse en la regla del brazo de escuadrar por la...

Page 34: ...width of the cut 3 Peel the backing tape from the Rule and place it in its groove so the pencil mark lines up with the corresponding dimension on the rule as measured Trim the right hand end according...

Page 35: ...but e indique la dimension mesur e CALIBRACI N Calibrar las escalas del brazo de escuadrar NOTA La regla del brazo de escuadrar puede identificarse desde las reglas verticales por la orientaci n de la...

Page 36: ...a small amount of the strip overhanging at the top 2 Clamp a piece of scrap card or foam centred board 3 6mm 1 8 1 4 thick under the Sight line strip but not under the clamp itself Depress the clamp h...

Page 37: ...omme indiqu en page 6 22 4 Coupez le bord sup rieur au niveau du dispositif de serrage CALIBRACI N Ajuste de la tira de visualizaci n NOTA Con la m quina se incluye una tira de visualizaci n de repues...

Page 38: ...grip strip under the clamping area will grip glass with the minimum of clamp force Soft materials such as Use light to medium pressure as the underside of the clamp Foamcore boards grips an area near...

Page 39: ...uma di PVC cos da impedirne in ogni caso il movimento Seguire le linee guida riportate qui appresso per ottenere i migliori risultati dalla macchina UTILISATION D coupe du verre Mat riaux tendres comm...

Page 40: ...Scoring Blade The Glass Cutter 1 To select a different cutter pull the Turret handle out to the left about 6mm 1 4 and rotate one third of a turn in either direction the turret will click into the cor...

Page 41: ...usieurs lames pour engager la barre du contrepoids appuyez sur le bord inf rieur de la barre pour la raccorder au chariot FONCIONAMIENTO Selecci n de la herramienta de corte y utilizaci n del contrape...

Page 42: ...s can be set about 12mm 1 2 from the blade tip Ratchet Latch 5 A unique feature of the Excalibur is the Ratchet Latch this enables thick dense materials such as PVC foam board to be cut easily in stag...

Page 43: ...hnitt 5mm Anf nglicher Oberfl cheneinschnitt 1 o 2 zus tzl Schnitte 10mm Anf nglicher Oberfl cheneinschnitt 3 o 4 zus tzl Schnitte FONCTIONNEMENT Utilisation de la Lame de Coupe Technique de Coupe de...

Page 44: ...IONAMENTO Uso della lama di taglio Tecnica fondamentale di taglio Selezionare la posizione della lama di taglio della torretta e bloccare il materiale da tagliare nella macchina Spostare la testina di...

Page 45: ...his page is intentionally blank Diese Seite wurde absichtlich leer gelassen Cette page est volontairement vide Esta p gina se ha dejado en blanco Questa pagina stata lasciata intenzionalmente in bianc...

Page 46: ...s the plastic at the top 3 Apply thumb pressure to the cutter and draw the blade down the material in one continuous motion Remove the plastic from the machine and snap it by hand CAUTION ALWAYS USE H...

Page 47: ...n de cortado Vuelva a colocar el protector comprobando que est completamente cerrado BEDIENUNG Einsatz der Kerbschnittklinge Die Kerbschnittklinge dient dazu Acryl Plexiglas und andere hnlich starre...

Page 48: ...needs reducing The score is too light when the glass cutting wheel skips and does not produce a continuous line the scoring pressure needs increasing 3 Should the score pressure require increasing or...

Page 49: ...ensemble volant et clip en dehors du support et remplacezle v rifiez qu il est bien en place dans le support FUNCIONAMIENTO Utilizaci n de la cortadora de vidrio CUANDO SE CORTE VIDRIO UTILIZAR SIEMP...

Page 50: ...year for average use but this is dependant upon daily use and the mate rials being cut The signs of the wheels wearing out are A rough finish predominately on the right hand side of the cut with flak...

Page 51: ...io ed il suo riparo per evitare che cadano e togliere la vite con una chiave esagonale di 6mm 2b Scorrere la taglierina verso la cima della macchina ed estrarla FONCIONAMIENTO Utilizaci n de la cortad...

Page 52: ...er cutting head hold the cutter at waist height and place a 2mm Hexagon wrench on the top adjustment screw Move the cutting head up and down and tighten the screw very gradually until the cutting head...

Page 53: ...ENZIONE Pulizia Le macchine Keencut sono progettate in modo da non richiedere pressoch alcuna manutenzione tuttavia si raccomanda di pulirle con regolarit Non passare un panno lungo i canali del bracc...

Page 54: ...his page is intentionally blank Diese Seite wurde absichtlich leer gelassen Cette page est volontairement vide Esta p gina se ha dejado en blanco Questa pagina stata lasciata intenzionalmente in bianc...

Reviews: