

OPERATION DETAILS
APPENDIX
APPENDIX
OPERATION DETAILS
OPERATION DETAILS
APPENDIX
TROUBLE SHOOTING
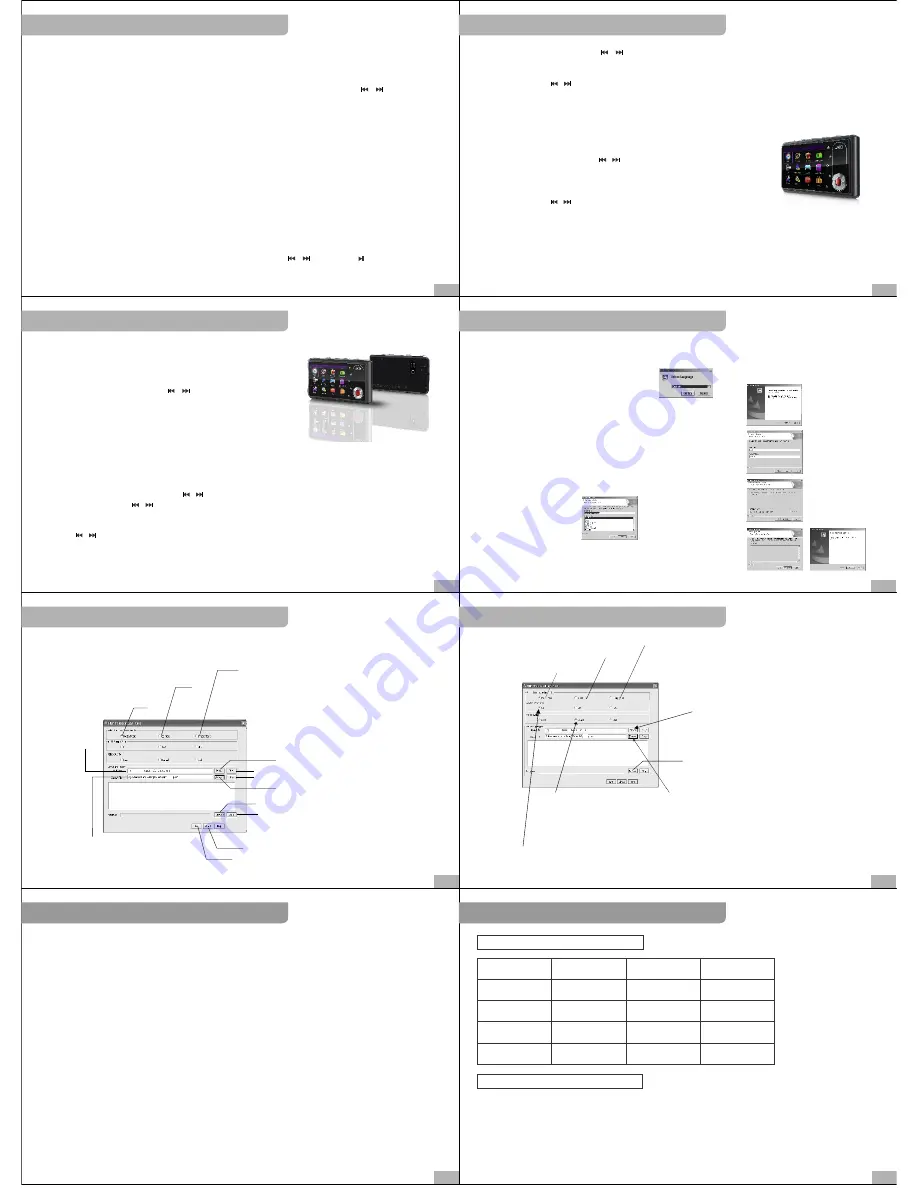
JXD699
JXD699
JXD699
JXD699
JXD699
JXD699
JXD699
14
15
12
13
10
11
8
9
2GB/4GB
Built-in Li-lon battery
2.8inch TFT
95.6*58
.
5*13
.
5mm
1.3 mega
Built-in flash
memory capacity:
Power Supply
LCD
Dimension
Camera pixels
Signal to noise ratio
Earphone output rate
Recording rate
USB interface
Compress
ratesupport
90dB
5mW+5mW
8KHz-48KHz
Mp3 8kbps up to 320kbps
WMA 24kbps up to 128kbps
USB2.0(full speed)
User’s guide:
Stereo earphone:
USB cable:
Video cable:
Line in cable:
charger
.............................................
.......................................
...............................................
. ..............................................
............................................
.................................................
1
1
1
1
1
1
Product
specification
Accessories
SPECIFICATION&ACCESSORIES
TV/OUTPUT
The function need out Video cable supporting ,connect PMP to TV,there are two modes of TV. Once one of the
mode is correctly selected, there must be effective signal received .Then the TV's display will become PMP
player's display. Each operation of PMP can shown on the TV display.
If it without video singal (Do not select PAL/NTSC)enter TV-OUT put only by press“MODE“ / back
to last layer.Otherwise press RESET(reboot).
DEFAULT SETTING
The player resume to the factory's default setting.But the inner data won't change. The default language is
English.At the same time,the power on menu also resume to the default setting.You can refer to the LANGUAGE
in SETTING function to change the default setting in SETTING function.
AUTO POWER OFF TIME
There is no operation when the player is at stand by mode, you can set auto power off time as no off, 3 mins off
15 mins off, 30 mins off.
FORMAT OPERATION
If there is any mistakes or error occurs, you need to execute format operation to clean the data and re-arrange
the flash memory to resume the player's working state. But you need to make a copy of your document before
format operation.
Commonly film,photo file storage in the first file folder:"G:/DCIM/100MEDIA" folder;But put Mp3 file in "G:/MP3"
folder.
FM function
Power on Mp4 player enter stand-by interface. Select FM function by / and press “ ”to confrim.
VII. D.V.OPERATION:
1. power on the PMP player ,press / to select “DV ”menu and press “MENU ”botton to enter the DV state.
2. press “SHUTTER/ MODE”to start shooting, at this moment ,there is time show below right of the screen.
Press“ SHUTTER/ MODE ”again to stop shooting. Exit by pressing“ ESC” and you can browse the film in “VIDIO”.
3. in shooting, press / can chang the focus of the lens , and it shows on right screen.
4. Press“ + / - ”to adjust the light . The result will display in the screen.
5. the PMP player provite many kinds of shooting mode colours, monochrome , nostalgic, negative. Press
“MENU” to select mode and the icon shous below the screen.
6. before shoot, press “PLAY ”botton to set NORMAL mode ( no icon) / LIGHT SCENE mode.
NOTICE: night scene mode suitable for shooting at dusk.
VIII.CAMERA OFERATION
1.power on the PMP player, press / botton to select "CAMERA"and press
"MENU" botton to enter the Camera State.
2.press"SHUTTER/MODE" to take the photo, after enter "CAMERA" interface,Exit
by Pressing "ESC" botton,and you can browse the photos In "PICTURE" operation.
3.in shooting, press / can chang the focus of the lens, and it shows on right screen.
4.press"+/-"to adiust the light. the result shows on the screen.
5.The PMP player provide many kinds of shooting mode: Press"MENU" to select and the icon shows below the
screen.
6. Press"Mode" to select single, Succession(Count down 3 photos) timing (count down for 10 seconds)night
scene mode for taking some photos. And it shows below left screen.
7.Push“HOLD ”button in shoot status,the photo which you shot will print the date,and it must be unlocked at
first before other operation.
VIIII.PC CAMERA OPRATION
1.Before use the PC camera , please install the drivers at frist. Open
the“ CA536_Driver” file which is in CD. You will find the“ Install Driver”
file, please open it,double clink“ Setup. Exe” to install.
2.Power on the PMP player , press / button to select “CAMERA” ,
press“MENU”to enter shooting interface.
3.After enter the shooting interface,please contect the PMP to computer,
clink executable file “Amcap” which is in “Sunplus Spca536” then click
“ PREVIEW” of the“ OPTIONS ”( as the screen shows) and now , the PMP
player fill in darkness ,but then image willdisplays in the computer.
E-Book operation
1.The PMP support TXT format e-book,the text file must be PMP1-PMP9.TXT file name,at most 9 text files can
be established.The name from PMP1 to PMP9,if there is any untinuously between PMP1 and PMP9,it can't jump
o the next file for browsing when Press / , But return the main menu interface.
2.Turn on the PMP,press / button,select E-BOOK and press MENU to enter the reader interface of PMP1.
3.Now,press "+/-"button to turn page,the current page number and the total pages will displays under the left
corner of the screen.
4.Press / button to select the article up and down.
5.The PMP support the function of bookmark,click the MODE on the unfinished page,it will displays the bookmark
sign under the left corner.(as displays),when open the e-book to readnext time,it can open this page directly,this
function support several e-books at the same time.
There is form convertion tools in the random CD of this machine , can convert the film into . Asf form ; Convert
the music format into. mp3; Convert the picture format into .JPG ; The step of installation as follows:
1.Click"setup.exe"and execute the installation
procedure operation, as screen shows:
2.After collected the information, the screen display“the next step”
operation clue, then press the“next step”to execute operate and
press ESC button to cancel the install operation.
3.Alter company's name, user's name in this interface, after finishing
altering, carry out and operate according to the "next step".
4.Be able to put the file into the corresponding file to choose as
requested in the route , it is convenient to search.
5.choose“program file”
6.After selecting the file,press "next step" to copy the file The following
picture will be showed upon finished copy, at the same time, installation
finished.
Operation method of this software
Convert the film into. Asf form
Convert music form into. Mp3 form
Convert photo format into JPG
In
ta
c
t i
n
tr
o
d
u
c
tio
n
r
o
u
te
o
f t
h
e
f
ilm
route selection
play button
begin to convert
pause to
convert
About change software
ESC
route selection
New fold er
Desk
output introduction route of the film
4.file selection
5.select output route of file and
establish file name eg.DVD001.
ASFit must be establishing file
and ASF postfix
6. Begin to convert
3.when select medio effiction
you can see (BEST NORMAL BAD)
option.BEST is the best effiction
but it engross biggest EMS memory.
Please pay attaintion to transferm.
1.Media mode selection
CD mode selection
Image mode selection
2.when select to transform music ready frequency(8k
16k 48k pmp)please basis your selection change your
relevant playing frequency in PMP.
New folde r
Desk
Trouble shooting:
1.Can't power on: maybe no power, Connect PMP with the charge adapter, and connect the adapter with the
current power, then the PMP will be opened upon the PMP with power. If disorderly system leads to halted of
the PC, then press the RESET button. If the program damaged, update the program.
2.Auto power off after power on:Not enough power,auto power off. The auto power off setting time shortly,
then the PMP will be power off with no operation during some minutes.
3.Have not response when press button:“Lock”keyn lock position, Move“Lock” the“Lock”defective button,
if the button not work.
4.The saving file can not be found: Storage cards are inserted, the data are stored in the memory, the storage
card has priority to read . So, can not find. Have not stored in , cut off and transmit when the file has not been
finished yet.
5.The USB disk can't be find after connection the system of 98 or below 98, the installation disk is needed.
The USB cable isn't connect well, it is loose or breakage.
6.Video cable can't be used or no sound after connecting The location to insert the video Cable is wrong, yellow
color is for Video, Red and white color for audio cable be care of the inserting location.
7.How about can't record the program?
A.Connect the video and audio cable correctly.
B. If there is no sound ,check the audio's Port till there is sound source.
C.It asks for another out power source when records the program.


