


For Customer Use:
Enter below the Model No. and Serial
No. which are located either on the rear,
bottom or side of the cabinet. Retain this
information for future reference.
Model No.
Serial No.
LVT0142-001A
[J]
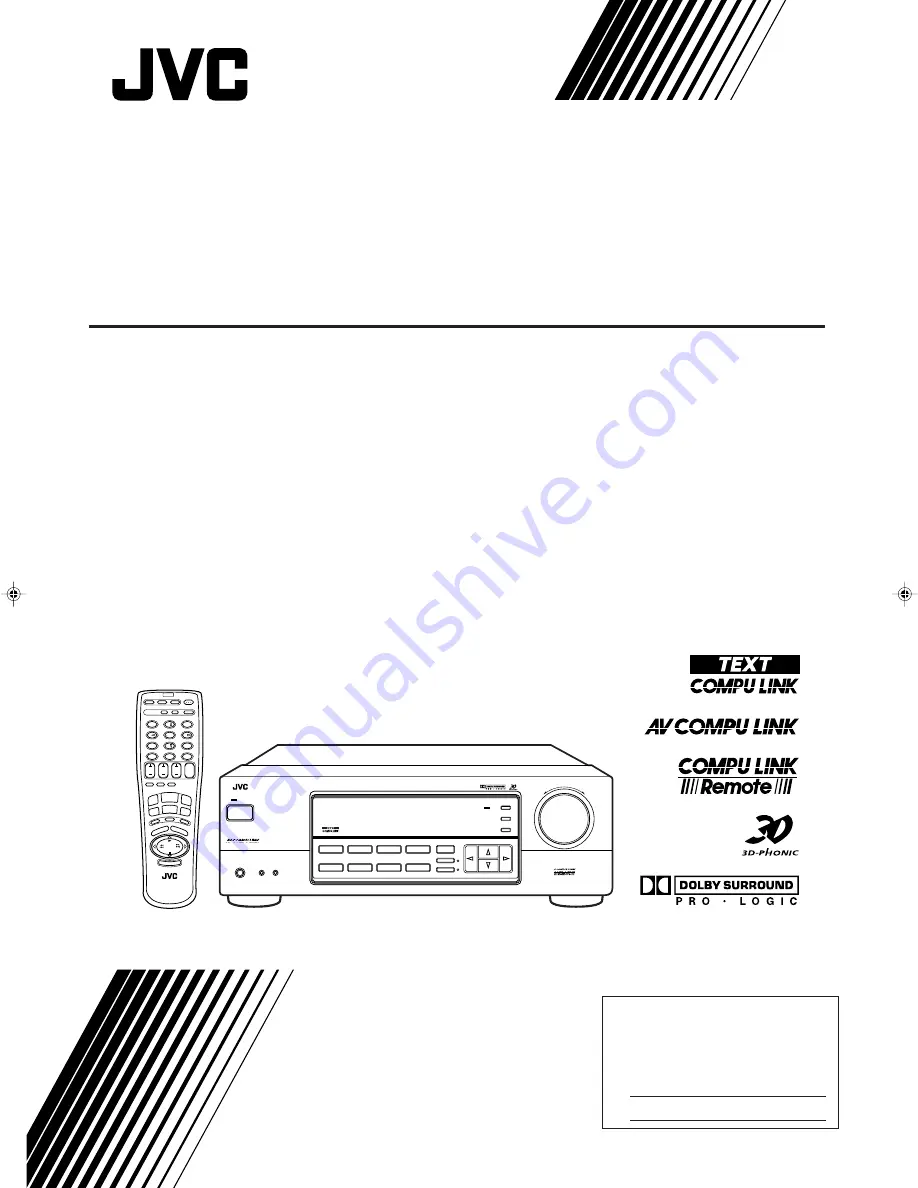
RX-668VBK
INSTRUCTIONS
AUDIO/VIDEO CONTROL RECEIVER
SLEEP ONE TOUCH
OPERATION
TV/VIDEO
3
2
1
6
5
4
9
8
7/P
+10
0
TV
SOUND
RE
C P
AUS
E
TEXT DISPLAY
RM-SR668U
REMOTE CONTROL
MUTING
DVD M
ULT
I
POWER
PH
ONO
FM/AM
DVD
TAPE/M
D
CD
VCR
VOLUME
CH
TV VOL.
OSD
SET
EXIT
10
CATV
CONTROL
SOUND
CONTROL
CD-DISC
CATV/SAT
TV
VCR
AUDIO
SURROUND
TEST
DELAY
EFFECT
–
– REAR•L +
ENTER
RETURN
MENU
– REAR•R +
100+
8
RX-668V
POWER
AUDIO/VIDEO CONTROL RECEIVER
STANDBY
PHONES
SPEAKERS
1
_
ON
—
OFF
2
ADJUST
BASS BOOST
SETTING
MEMORY
DVD MULTI
CD
DVD
PHONO
VCR
TAPE/MD
SOURCE NAME
TV SOUND
SURROUND
INPUT ATT.
ONE TOUCH OPERATION
FM/AM
MASTER VOLUME
–
+
RX-668V[J]COVER/f
99.1.16, 2:05 PM
1


