


TV PR +
TV PR –
T
V
–
TV
+
0000
STOP
FIN
MEN
U
OK
TV/VCR
DAILY/QTDN.
VPS/PDC
AUX
WEEKLY/HEBDO
PROG
30 SEC
– –:– –
AUDIO
1
2
3
4
6
5
7
8
9
0
DATE
START
DEBUT
PR
4
1
3
ENTER/ENTR
EE
EXPRESS
TV
?
2
/
LP00000-000
VCR/ TV
b
/ I
VCR
S-VHS
REVIEW
24H EXPRESS
1 3
2
PR -- /
+
PUSH / TURN
S-VHS
ET
VIDEO
(MONO)
L
AUDIO R
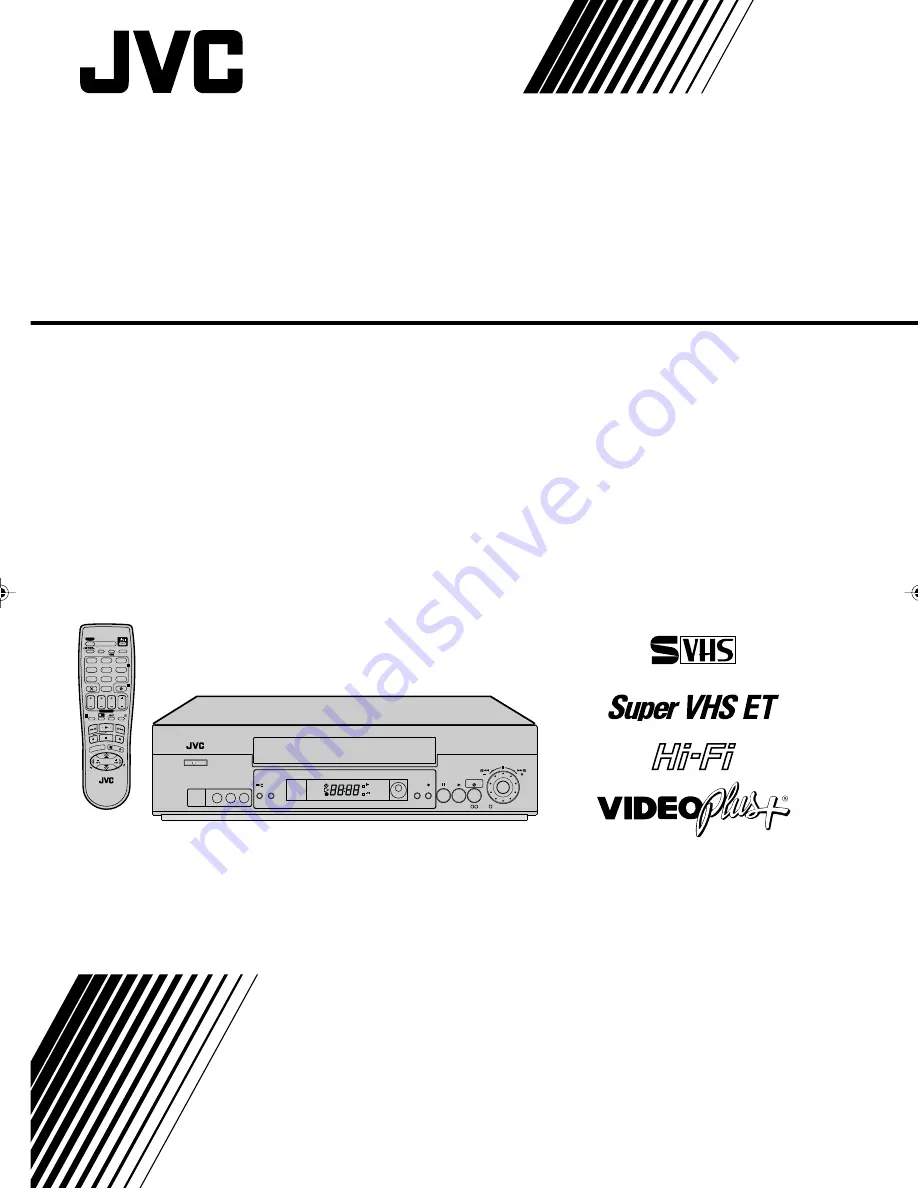
HR-S6955EK
VIDEO CASSETTE RECORDER
INSTRUCTIONS
LPT0693-001A
625
HR-S6955EK-Cover
3/13/02, 05:11 PM
1
Summary of Contents for HR-S6955EK
Page 12: ...three step quick start 12 ...
Page 28: ...basic features 28 ...


