JVC GR-AX97, Instructions Manual
The JVC GR-AX97 Instructions Manual is a comprehensive guide that ensures you make the most of your camcorder's features. Download the user manual for free from our website and unlock valuable insights on operating, troubleshooting, and maximizing the potential of your JVC GR-AX97.
Share
Download


Reviews:
No comments
Related manuals for GR-AX97
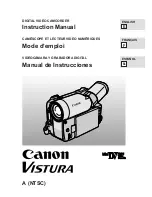
Vistura
Brand: Canon Pages: 56
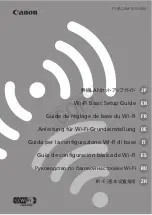
VIXIA HF M50
Brand: Canon Pages: 110

VIXIA HF S10
Brand: Canon Pages: 13

VIXIA HF R40
Brand: Canon Pages: 116

VIXIA HF R30
Brand: Canon Pages: 226

VP-D392
Brand: Samsung Pages: 117

HDA30 series
Brand: Night Owl Pages: 9
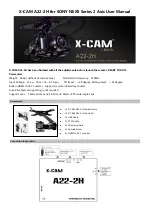
A22-2H
Brand: X-cam Pages: 4

DV610
Brand: Genius Pages: 70

GR-D370EK
Brand: JVC Pages: 144

GR-D250
Brand: JVC Pages: 56

HMX-R10
Brand: Samsung Pages: 157

CIC-300
Brand: Cool-Icam Pages: 20

AGCL78P - CASSETTE AUTO CHANGER
Brand: Panasonic Pages: 12

HC-V700P
Brand: Panasonic Pages: 81

64R
Brand: GAF Pages: 12

AG-HPX300P
Brand: Panasonic Pages: 166

AG-HPX250EJ
Brand: Panasonic Pages: 36


