


STANDBY/ ON
DV/HDD/DVD
S-VIDEO
VIDEO (MONO)L–AUDIO–R
DV –
HDD –
DVD –
DV IN/OUT
DISPLAY
SELECT
VHS
REC MODE
PR
F–1
DV/HDD
DV
HDD
DVD
DVD
CABLE/SAT
TV
DVD
PR
NEXT
PREVIOUS
PAUSE
REC
REC MODE
REMAIN
DISPLAY ON SCREEN
SLOW
SLOW
PLAY/SELECT
STOP/
CLEAR
NAVIGATION
TOP MENU
RETURN
ENTER
MENU
TV/CBL/SAT
STANDBY/ON
TV
TV AV
VIDEO
TV
AUX
CANCEL
MEMO/MARK
PROGRAMME
EDIT
DUBBING
LIVE
JUMP
SET UP
SAT
AUDIO
SUBTITLE
VPS/PDC
ANGLE
LIVE CHECK
PROGRESSIVE
SCAN
RAM/RW
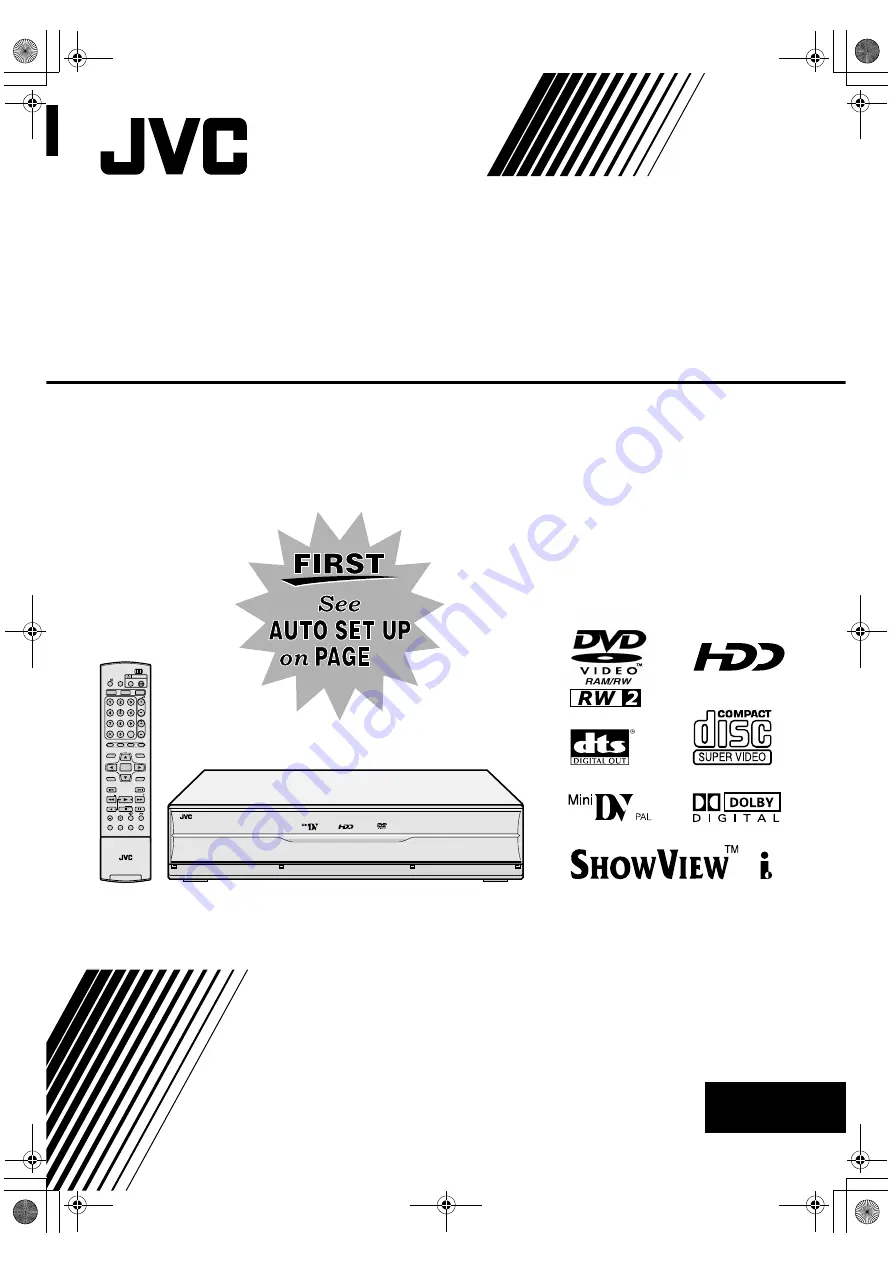
17
Mini DV & HDD & DVD VIDEO RECORDER
DX5SEU_00.book Page 1 Wednesday, November 23, 2005 2:13 PM


