background image

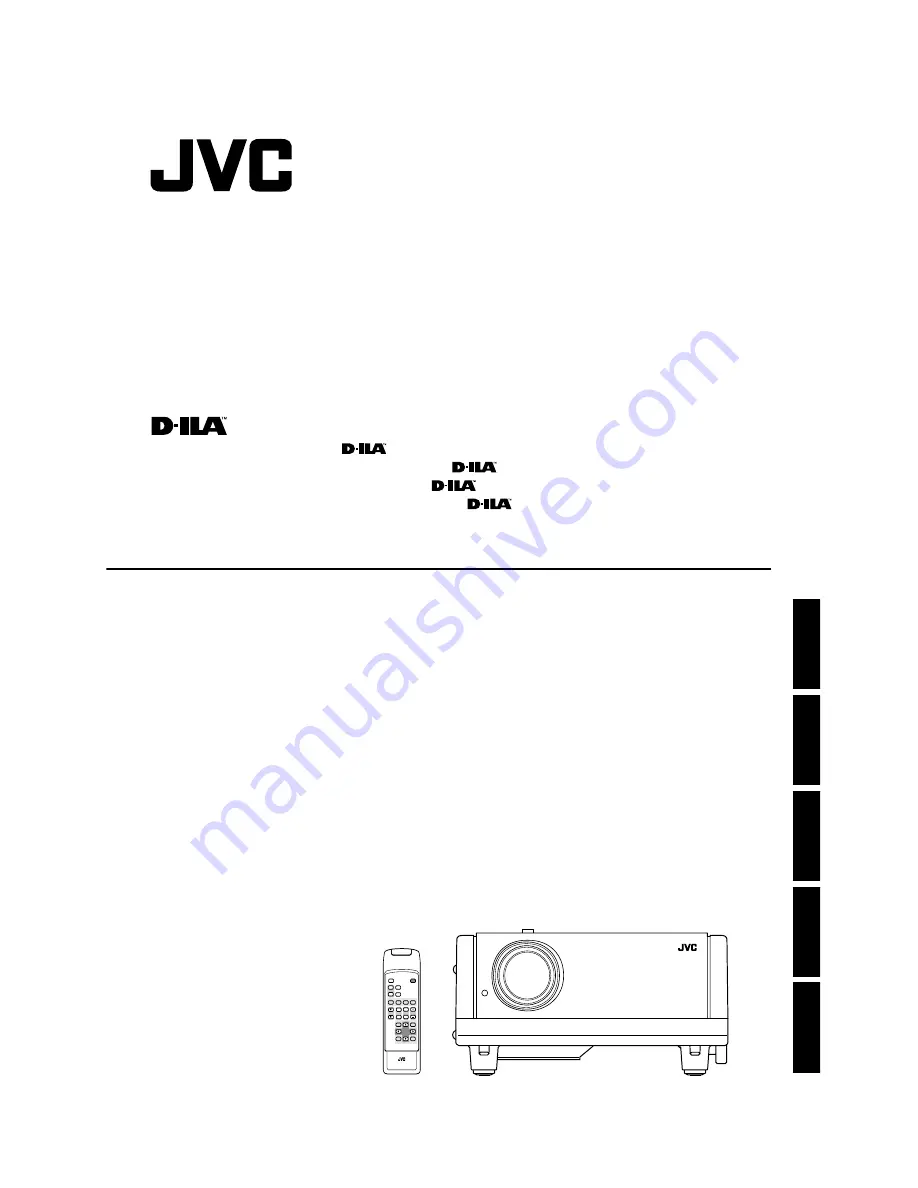
DLA-G150HTE

OPERATING INSTRUCTIONS

PROJECTOR

BEDIENUNGSANLEITUNG : 

 PROJEKTOR

MANUEL D’INSTRUCTIONS : PROJECTEUR 
MANUALE D’ISTRUZIONI : PROIETTORE 
MANUAL DE INSTRUCCIONES : PROYECTOR 

DLA-G150HTE

INSTRUCTIONS

QUICK

ALIGN.

PC1

PC2

Y/C

VIDEO

HIDE

PRESET

ENTER

EXIT

MENU

FREEZE

SCREEN

OPERATE

DIGITAL

ZOOM

ZOOM FOCUS

W

W

S

T

W

T

RM-M150 REMOTE CONTROL UNIT

SCREEN

KEYSTONE

W

S

ENGLISH

DEUTSH

FRANÇAIS

ITALIANO

ESPAÑOL

Jan. 2002  No. 51847

Summary of Contents for DLA-G150HT - Cineline Projector

Page 1: ...NUALE D ISTRUZIONI PROIETTORE MANUAL DE INSTRUCCIONES PROYECTOR DLA G150HTE INSTRUCTIONS QUICK ALIGN PC1 PC2 Y C VIDEO HIDE PRESET ENTER EXIT MENU FREEZE SCREEN OPERATE DIGITAL ZOOM ZOOM FOCUS W W S T W T RM M150 REMOTE CONTROL UNIT SCREEN KEYSTONE W S ENGLISH DEUTSH FRANÇAIS ITALIANO ESPAÑOL Jan 2002 No 51847 ...

Page 2: ...uct has been exposed to rain or water d If the product does not operate normally by following the operating instructions Adjust only those controls that are covered by the Operation Manual as an improper adjustment of controls may result in damage and will often require extensive work by a qualified technician to restore the product to normal operation e If the product has been dropped or damaged ...

Page 3: ...Connecting to Video Devices 24 Connecting to Hi Vision Devices DVD Players 25 Connecting to Other Devices 26 Connecting to Devices which Control the Projector 27 Connecting to Computer Devices 28 How to attach the ferrite core 29 Connecting the Power Cord 30 Removing the Lens Cap 30 Basic Operations 31 1 Turning on the Power 31 2 Select the Input source to be Projected 32 3 Adjust the Screen Size ...

Page 4: ...cing the fuse use the same rating and type Otherwise a fire may occur and or the projector may be damaged 5 MAIN POWER switch This is the main power switch When it is turned on the projector goes into stand by state and the STAND BY indicator on the control panel comes on Refer to page 31 ON The main power turns on OFF The main power turns off 6 Adjustable feet for adjusting the height and angle B...

Page 5: ...en shipped from the factory Turn the foot to make the projector level Adjustment can be made in the range of 1 5 and 1 5 from the horizontal position For details refer to Adjusting the Inclination of the Projector on page 16 w Air inlet This is the air inlet Do not cover or obstruct this slot e Control panel For details refer to Control Panel on the Projector on page 9 VI DE O PC UP LA M P TE M P ...

Page 6: ...duces the cooling effect causing heat to build up inside which could cause a fire or malfunction t Opening for replacing the light source lamp For replacing the light source lamp refer to Replacing the Light Source Lamp on page 57 y Fixing foot u Position selecting screw for ceiling mounting When using the projector in an upside down ceiling mounted position inverted top to bottom and right to lef...

Page 7: ...op right of the projected image This function can be disabled by the menu 6 MENU button Use this button to enter or exit the menu mode The main menu appears or disappears at the screen For details refer to Basic Menu Operation on page 42 7 ENTER button This button will be used in the menu mode Use to display the hierarchical menus Also use when ENTER is displayed against the item on the menu scree...

Page 8: ...reset to that which was set when the projector was shipped from the factory Of the menu items this button only works for the keystone setting screen e KEYSTONE buttons Use these buttons to correct a trapezoidal distortion of the projected image Refer to page 34 QUICK ALIGN PC1 PC2 Y C VIDEO HIDE PRESET ENTER EXIT MENU FREEZE SCREEN OPERATE DIGITAL ZOOM ZOOM FOCUS W W S T W T RM M150 REMOTE CONTROL...

Page 9: ...ess Contrast Horizontal and vertical position Tracking and Phase in the menu mode 14 Controls and Features Installing Batteries Install batteries in the remote control If the remote control has started to work erratically replace the batteries 1 Open the back cover Open the back cover in the direction of the arrow 2 Install the batteries Place the two supplied batteries AA R6 size in the remote co...

Page 10: ...rojector in the following places Where there is water humidity or dust Where the projector may be subjected to oil smoke or cigarette smoke On a soft surface such as a carpet or cushion Where the projector may be subjected to direct sunlight Where temperature is high or humidity is low Allowable operation temperature range 41 F to 95 F 5 C to 35 C Allowable relative humidity range 20 to 80 no cond...

Page 11: ...x A The relationships for both 4 3 and 16 9 ratios are listed there When installing a screen use a 4 3 aspect ratio picture A 16 9 aspect ratio picture is projected based on the width of the range in which a 4 3 aspect ratio picture is projected The diagonal length of a 16 9 aspect ratio screen is about 91 8 that of a 4 3 aspect ratio screen This value is only a guide reference If sunlight or lamp...

Page 12: ...end Tele end 40 approx 101 6 cm 8 53 2 60 42 approx 106 7 cm 8 23 2 51 9 96 2 73 50 approx 127 0 cm 9 74 2 97 10 60 3 23 60 approx 152 4 cm 11 65 3 55 8 50 2 59 12 66 3 86 70 approx 177 8 cm 9 09 2 77 13 55 4 13 9 84 3 00 14 73 4 49 80 approx 203 2 cm 10 33 3 15 15 42 4 70 11 22 3 42 16 80 5 12 100 approx 254 0 cm 12 83 3 91 19 23 5 86 13 94 4 25 20 90 6 37 150 approx 381 0 cm 19 09 5 82 28 71 8 7...

Page 13: ...convenience only 3 To use these signals it is required to set the PC2 BNC item in the submenu Options 1 to YPBPR Refer to page 53 4 To use these signals it is required to set the PC2 BNC item in the submenu Options 1 to RGB Refer to page 53 2 Response to double density 5 high vision signals 5 Signals whose density of scanning lines field is twice as high 6 Responds to signals whose horizontal scan...

Page 14: ...or an unneeded fold over image could appear Some signals other than listed above can be displayed But they may require adjustment Even some of the signals listed above may require adjustment depending on the video board used Composite sync CS and G on Sync signals cannot be handled depending on the devices connected The VGA signal of the PC system could be displayed in 480p mode of the VIDEO syste...

Page 15: ... NTSC etc can be connected DVD Digital Video Disc DTV format signals 480i 480p 720p 1080i can be input For DTV format signals which can be handled refer to Video signals on page 22 Y PB B Y PR R Y H V G B R REMOTE RS 232C Y C VIDEO Text video camera Hi Vision video camera Hi Vision devices W VHS VCR BNC cable separately available To PR R Y To PB B Y To Y To PC2 To PC2 To PC2 To PC2 DVD player 26 C...

Page 16: ... To PC 2 To PC 2 To PC 1 To PC OUT Cable supplied with the display or separately available D sub 3 row 15 pin When a display monitor is connected to the PC OUT terminal you can view the video from the computer on the monitor Display monitor 27 Connecting to Various Devices ENGLISH DEUTSH FRANÇAIS ITALIANO ESPAÑOL Connecting to Devices which Control the Projector Before connection be sure to turn o...

Page 17: ...he supplied power cord At this time do not yet turn on the MAIN POWER switch CAUTIONS To prevent fire and electric shock observe the following When you do not use devices pull out their power cords from wall outlets Do not connect the devices with power cords other than those supplied Do not use mains voltage other than the power voltage indicated Do not scar damage or work on the power cords Also...

Page 18: ...ust be selected from the menu options Refer to page 53 LAMP TEMP STAND BY HIDE PC VIDEO MENU KEYSTONE PRESET EXIT ENTER OPERATE PC button VIDEO button QUICK ALIGN PC1 PC2 Y C VIDEO HIDE PRESET ENTER EXIT MENU FREEZE SCREEN OPERATE DIGITAL ZOOM ZOOM FOCUS W W S T W T RM M150 REMOTE CONTROL UNIT SCREEN KEYSTONE W S PC button VIDEO button ZOOM button PC1 PC2 Y C VIDEO PC VIDEO Remote control unit Pro...

Page 19: ...turned off Press the HIDE button once Video image instantly turn off Press the HIDE button again Video image come on again Note When the projected image input is changed the HIDE function is canceled and the image return Removing the Trapezoidal Distortion of the Image If the image projected on the screen is distorted in trapezoid form correct it with the KEYSTONE buttons on the projector When the...

Page 20: ... shown on the left To forcibly clear this message press the EXIT button The quality of the zoomed image reduces in comparison with the original one To return to the original size 1 0 and original position press the PRESET button while Digital zoom is displayed on the screen QUICK ALIGN PC1 PC2 Y C VIDEO HIDE PRESET ENTER EXIT MENU FREEZE SCREEN OPERATE DIGITAL ZOOM ZOOM FOCUS W W S T W T RM M150 R...

Page 21: ...olor temp Options Language Information Position Tone Aspect change Decoder Tracking Film Phase Screen HDTV Menu Image adj Setting Color temp Options Language Information Menu display Line display Keystone PC2 BNC Right Left rev Top Bottom inv RS 232C Sleep time Image adj Brightness Contrast Sharpness Color Tint All reset 12 12 1 12 12 ENTER Color temp Color temp R Gain G Gain B Gain All reset R Ga...

Page 22: ...lor Color density of the video image being projected can be adjusted 30 to 30 0 Tint Tint of the video image being projected can be adjusted 30 to 30 0 All reset Resets above items to the factory set values Yes No Setting 1 Position Video screen position and menu position can be adjusted Refer to page 50 Disp Posi Menu Tone Image tone can be changed TV Cinema Suitable for the cinema programes Refe...

Page 23: ...inutes the projector enters the stand by mode 15 30 60 OFF Options 1 Press ENTER to return to the Option 1 submenu Language Language for on screen display Refer to page 45 Japanese English German Spanish Italian French Information Refer to page 55 Input Shows the terminal name selected by the PC button PC1or PC2 Switcher This display currently has no meaning CH 0 is usually displayed to indicate t...

Page 24: ...TSC4 43 PAL SECAM ENTER EXIT 43 Menu Operations ENGLISH DEUTSH FRANÇAIS ITALIANO ESPAÑOL Basic Menu Operation Cont Basic Button Functions in the Menu Mode Remote control unit Projector Video menu mode PC menu mode Button Function MENU Enters the main menu or exits the menu mode Cursor button 5 Selects an item in the menu Pressing or 5 will scroll the item in the menu Cursor button 2 3 Sets or adju...

Page 25: ...tments are automatically carried out when a video signal is input to the projector for the first time or when the QUICK ALIGN button on the remote control is pressed However you can manually adjust the tracking and phase on the menu If a wide stripe appears on the screen adjust the lateral size of the picture image and the display area tracking adjustment so the stripe disappears Also if text proj...

Page 26: ... 30 Contrast 2 or 3 Gets lower higher 30 0 30 Sharpness 2 or 3 Gets softer sharper Video menu mode 5 0 5 PC menu mode 1 3 5 Note When in the PC menu mode if the resize function in the PC submenu is set to 1 1 the image quality will not change even if the value is changed Color 2 or 3 Gets softer deeper 30 0 30 Video menu mode only Tint 2 or 3 Gets reddish greenish 30 0 30 Video menu mode only All ...

Page 27: ...in 2 or 3 Adjusts the red level 0 to 255 G Gain 2 or 3 Adjusts the green level 0 to 255 B Gain 2 or 3 Adjusts the blue level 0 to 255 Yes Image adj All reset No 50 Menu Operations Adjusting the Video Screen Menu Position The position of the video screen and the menu on the video screen can be adjusted You can finely adjust the video screen position The menu will move widely on the video screen 1 P...

Page 28: ...IT button to return to the previous menu or press the MENU button to exit the menu mode ST Sync Tip FP Front Porch BP Back Porch Resize 1 1 Full size 1365 1024 Image not enlarged Image enlarged to the full size 1365 1024 Image not enlarged Original image Resize Panel Full size 1365 1024 Resize Aspect Image enlarged to the aspect size Example aspect ratio is 16 9 Full size 1365 1024 Image enlarged ...

Page 29: ...re details about adjusting the keystone CAUTION Correctly set the PC2 BNC according to the device connected to the PC2 terminals However when the PC signal is input RGB input is used irrespective of which setting YPBPR is made Adjustment item Button Adjustment content Menu display 2 or 3 Sets whether to clear the menu display automatically or not 15sec Clears the display automatically in about 15 ...

Page 30: ...LISH DEUTSH FRANÇAIS ITALIANO ESPAÑOL Getting Information You can get information on the input signal accumulated used hours of light source lamp etc 1 Press the MENU button The main menu appears on the screen 2 Select Information with the cursor button 5 5 5 5 or The Information will be displayed in the main menu No submenu can be selected Video main menu PC main menu Input Shows the terminal nam...

Page 31: ... in this projector is a high pressure mercury lamp Be careful when disposing of the light source lamp If anything is unclear please consult your dealer EXIT Lamp replacement EXIT Warning Lamp replacement 900 hours 1000 hours 1010 hours Accumulated used hours of the light source lamp The LAMP indicator lights up on the projector On the screen Lamp replacement appears in red To cancel this message p...

Page 32: ...sor buttons 5 1 PC button 2 ENTER button 3 EXIT button 4 HIDE button STAND BY indicator MENU button OPERATE indicator Menu Input Switcher Source Lamp time VIDEO CH 0 NTSC 123 h Image adj Setting Color temp Options Language Information Lamp time 0 h Menu Input Switcher Resolution Frequency H Frequency V Lamp time PC 1 CH 0 1280 1024 79 9 75 123 kHz Hz h Image adj Setting Color temp Options Language...

Page 33: ... Is the fuse blown Turn off the MAIN POWER switch and check the fuse If it is blown replace it 56 Is the lamp replacement opening cover closed correctly Turn off the MAIN POWER switch close the lamp replacement opening cover correctly and turn on the MAIN POWER switch again 7 31 57 Is the filter closed correctly Turn off the MAIN POWER switch fit the filter correctly and turn on the MAIN POWER swi...

Page 34: ...outlet turn the power back on and check the operation When warning indication is shown by the blinking indicators The warning status will be notified by the combination lighting of the projector s indicators For the warning contents and the action to be taken refer to Warning Indication on page 64 Maintenance Stains on the cabinet These should be wiped off with a soft cloth If the cabinet is heavi...

Page 35: ...input the video signals that can be frozen 12 36 P C 1 N o i m a g e s i g n a l i s i n p u t t e d P C 1 Frequency of image signal is out of range P C 1 No image signal is shown for this type FREEZE FREEZE 66 Warning Messages Memo The message display language corresponds to the menu display language setting This is set to English English when the projector is bought The display language can be s...

Page 36: ... full resolution during RGB input 1000 TV lines Horizontal resolution aspect ratio 4 3 during video input Scanning frequency Horizontal frequency 15 kHz 105 kHz Vertical frequency 50 Hz 100 Hz AV IN Y C 1 line mini DIN 4 pin 1 for S video VIDEO 1 line BNC 1 for composite video PC 1 R G B H V 1 line D sub 3 row 15 pin 1 for computer PC 2 1 line BNC 5 for computer DTV or video Y B Y R Y Component Y ...

Page 37: ...stered trademarks of International Business Machines Corporation Macintosh is a registered trademarks of Apple Computer Inc VESA is a trademark of the non profit organization Video Electronics Standards Association All other product names mentioned herein are used for identification purposes only and may be the trademarks or registered trademarks of their respective companies Power requirements 20...

Page 38: ... RD 7 N C 3 TD 8 N C 4 N C 9 N C 5 GND 1 2 3 4 5 6 7 8 9 10 11 12 13 14 15 Pin number Signal name Pin number Signal name 1 Red 9 N C 2 Green 10 GND SYNC 3 Blue 11 GND 4 N C 12 N C 5 N C 13 H SYNC 6 GND Red 14 V SYNC 7 GND Green 15 N C 8 GND Blue 69 Specifications ENGLISH DEUTSH FRANÇAIS ITALIANO ESPAÑOL Outside dimensions Top Front Side Unit inch mm LAMP TEMP STAND BY HIDE PC VIDEO MENU KEYSTONE P...

Page 39: ...om the projector ID 1 fixed SP Designates the delimiter for ID Command and Parameter 20h Normal Termination Status 0 30h CR Designates the terminal of the data 0Dh Baud rate 9600bps 19200bps Data length 8 bits Parity None Stop bit 1 bit Flow control None Header ID SP Command SP Parameter CR Header ID SP Normal Termination Status SP Parameter CR 72 RS 232C external control 2 3 Parameters used for t...

Page 40: ...DLA G150HTE Printed in Japan LCT1043 001B 0801 Y CR VP 2001 VICTOR COMPANY OF JAPAN LIMITED VICTOR COMPANY OF JAPAN LIMITED ...

Reviews: