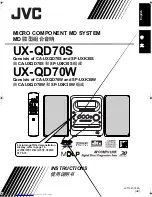


MICRO COMPONENT MD SYSTEM
MD
微型组合音响
For turning off the demonstration
display, refer to page 15.
关闭演示显示的有关详情,请参阅
第
15
页。
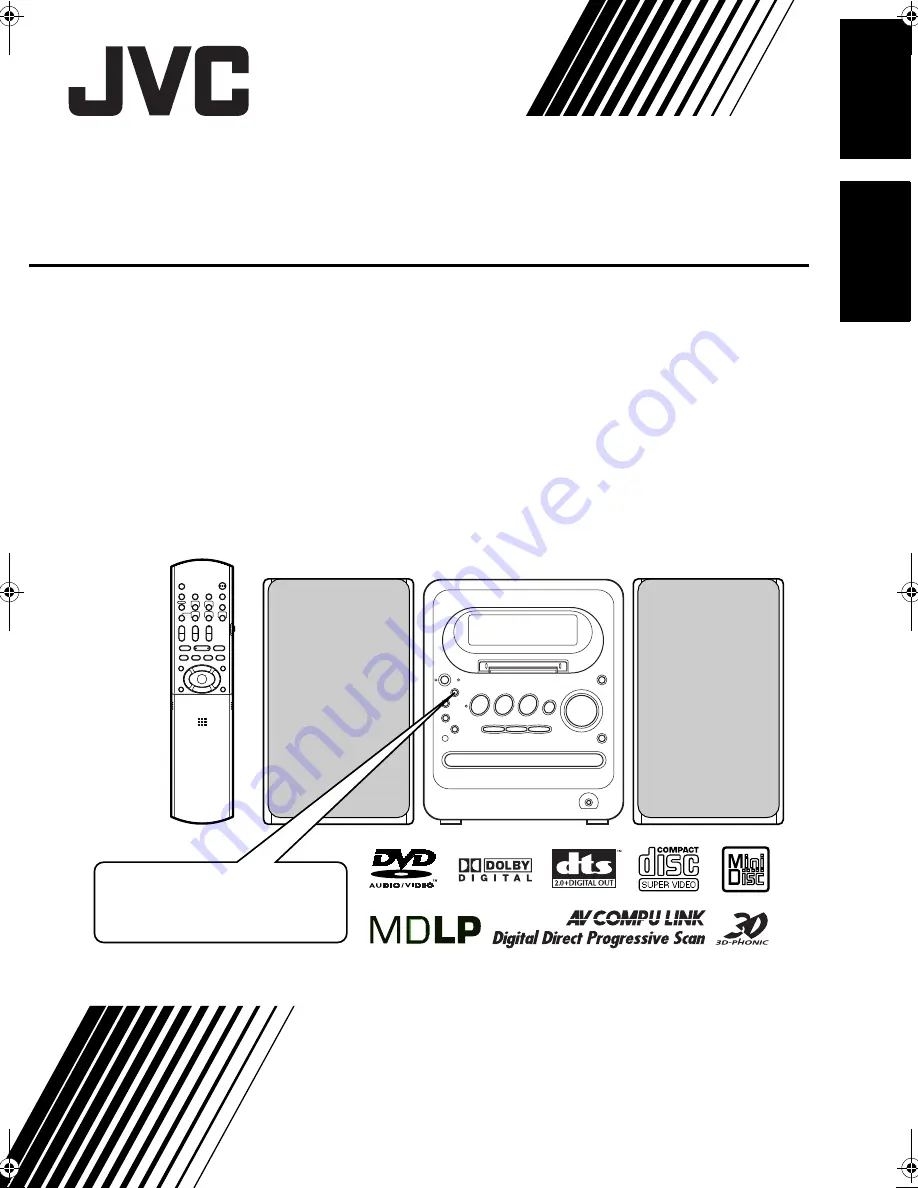
UX-QD70S
Consists of CA-UXQD70S and SP-UXK30S
由
CA-UXQD70S
和
SP-UXK30S
组成
UX-QD70W
Consists of CA-UXQD70W and SP-UXK30W
由
CA-UXQD70W
和
SP-UXK30W
组成
INSTRUCTIONS
使用说明书
LVT1367-002A
[UB]
English
中
文
UX-QD70[UB]-01.fm Page 1 Wednesday, August 31, 2005 10:22 AM