background image

INSTRUCTIONS

MANUAL DE INSTRUCCIONES

INSTRUÇÕES

LVT1346-006A

[UW]

COMPACT COMPONENT SYSTEM

SISTEMAS DE COMPONENTES COMPACTOS
SISTEMA DE COMPONENTES COMPACTOS

¡ATENCION!

Antes de operar su equipo, lea cuidadosamente este instructivo.

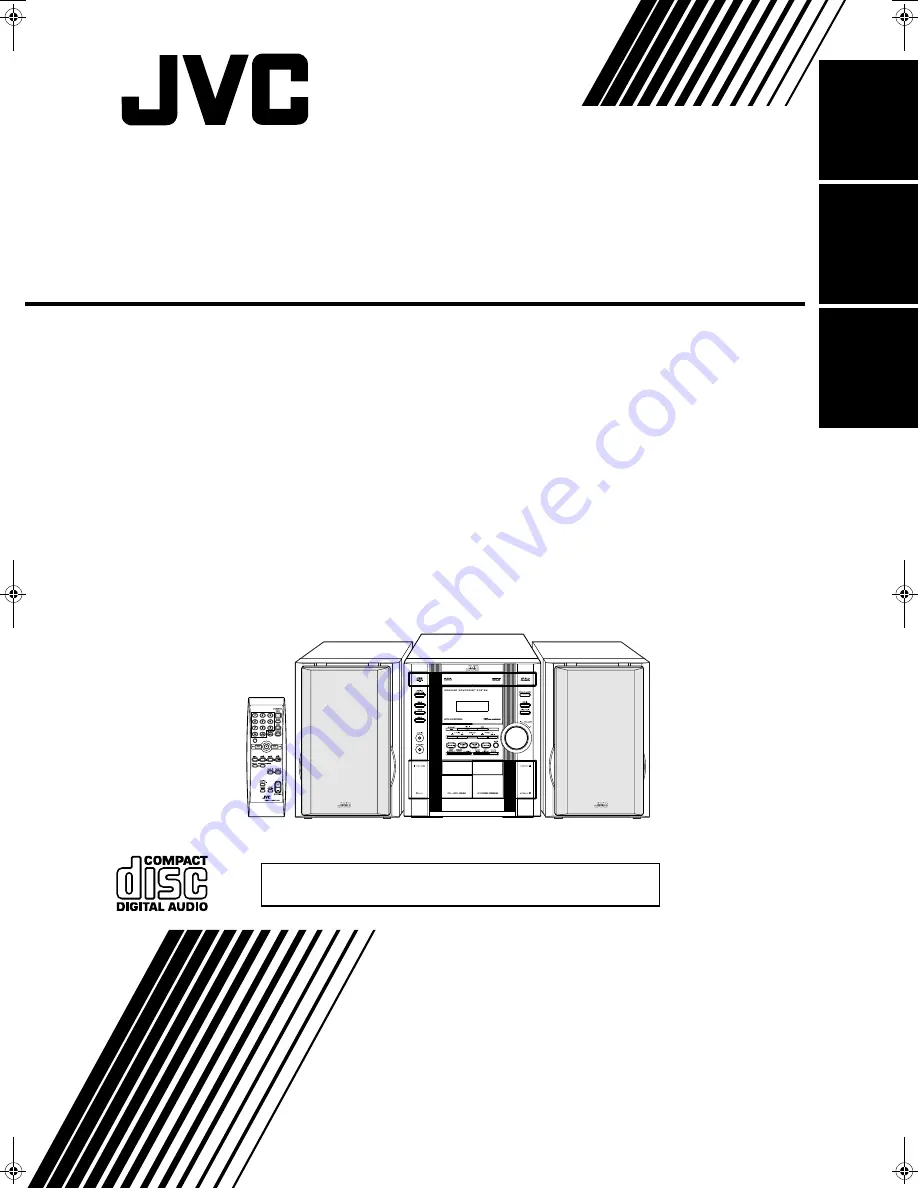
MX-KC2

Consists of CA-MXKC2 and SP-MXKC2
Consiste de CA-MXKC2, y SP-MXKC2
Consiste em CA-MXKC2, e SP-MXKC2

En

g

li

s

h

Es

p

a

ñ

o

l

P

o

rtu

guês

Cover.fm  Page 1  Monday, February 28, 2005  11:17 AM

Summary of Contents for 0505NYMCREBET

Page 1: ...ENT SYSTEM SISTEMAS DE COMPONENTES COMPACTOS SISTEMA DE COMPONENTES COMPACTOS ATENCION Antes de operar su equipo lea cuidadosamente este instructivo MX KC2 Consists of CA MXKC2 and SP MXKC2 Consiste de CA MXKC2 y SP MXKC2 Consiste em CA MXKC2 e SP MXKC2 English Español Português ...

Page 2: ... as luzes e indicadores apagam se O botão STANDBY ON quer esteja premido ou solto não desliga a alimenta ção principal Quando a unidade estiver em standby a luz STANDBY fica vermelha Quando a unidade estiver ligada a luz STANDBY apaga se A alimentação pode ser controlada à distância IMPORTANT FOR LASER PRODUCTS IMPORTANTE PARA PRODUCTOS LÁSER IMPOTANTE PARA PRODUTOS LASER IMPORTANT FOR LASER PRODU...

Page 3: ...or cloth etc the heat may not be able to get out 2 Do not place any naked flame sources such as lighted candles on the apparatus 3 When discarding batteries environmental problems must be con sidered and local rules or laws governing the disposal of these bat teries must be followed strictly 4 Do not expose this apparatus to rain moisture dripping or splash ing and that no objects filled with liqu...

Page 4: ...connect various external units such as an MD recorder The CD Player can play back a CD R and CD RW How This Manual Is Organized Basic information that is the same for many different functions e g setting the volume is given in the section Basic Operations and not repeated under each function The names of buttons controls and display messages are written in all capital letters e g FM AM NO DISC If ...

Page 5: ...Numeric Keys 8 Changing the Display 8 Using the Tuner 9 Tuning In a Station 9 Presetting Stations 10 To Change the FM Reception Mode 10 Using the CD Player 11 To Load CDs 12 To Unload CDs 12 Changing the MP3 Playback Mode 12 Basics of Using the CD Player Normal Play 13 Programming the Playing Order of the Tracks 14 Random Play 15 Repeating Tracks 15 Resume Play for MP3 Disc 15 Tray Lock Function 1...

Page 6: ...R switch on the back of the Unit Use a screwdriver to slide the selector up and down CAUTION Make all connections before plugging the System into an AC power outlet How To Put Batteries In the Remote Control Match the polarity and on the batteries with the and markings in the battery compartment CAUTION Handle batteries properly To avoid battery leakage or explosion Remove batteries when the Remot...

Page 7: ... into an AC power outlet Connecting the FM Antenna Using the Supplied Wire Antenna Using the Coaxial Type Connector Not supplied A 75 ohm antenna with coaxial type connector IEC or DIN45 325 should be connected to the FM 75 ohm COAXIAL terminal If reception is poor connect the outdoor antenna Before attaching a 75 ohm coaxial lead the kind with a round wire going to an outdoor antenna disconnect t...

Page 8: ...ords of the right side speaker to the red and black terminals marked RIGHT on the System Connect the gray and gray with black stripe cords of the left side speaker to the red and black terminals marked LEFT on the System 3 Close each of the terminals CAUTIONS A TV may display irregular colors if located near the speakers If this happens set the speakers away from the TV Use speakers with the corre...

Page 9: ... made for 2 minutes To cancel this auto DEMO display function press the CANCEL DEMO button on the Unit during DEMO display COMPU Play JVC s COMPU PLAY feature lets you control the most frequently used System functions with a single touch With One Touch Operation you can play a CD a tape turn on the radio or listen to an external equipment with a single press of the play button for that function On...

Page 10: ... ECO mode press the ECO button on the Unit in Stand by mode while the STANDBY indicator lights up ECO MODE appears on the display then the display goes off The STANDBY indicator remains lit To cancel ECO mode and turn on the power press the STANDBY ON button on the Unit To cancel ECO mode and enter Standby mode press the ECO button again Adjusting the Volume Turn the VOLUME control on the Unit clo...

Page 11: ...ect one of 3 SEA Sound Effect Amplifier modes You can use this effect only for playback To get the effect press the SOUND MODE button until Sound Mode you want appears on the display The SOUND MODE indicator lights up in the display Each time you press the button the Sound Mode changes as fol lows ROCK POP CLASSIC FLAT back to the beginning To cancel the effect press the SOUND MODE button until FL...

Page 12: ... 7 button on the Remote Control for more than 2 seconds in Standby mode AM 9 appears on the display then press the 10 button on the Remote Control One Touch Radio Just press the FM AM button to turn on the System and start play ing the station you were last tuned to You can switch from any other sound source to the radio by pressing the FM AM button Tuning In a Station 1 Press the FM AM button The...

Page 13: ... the band frequency display In this case repeat steps from the beginning Using the Unit 1 Select a band by pressing the FM AM button 2 Press the 22 or Á button to tune in a sta tion 3 Press the SET DISPLAY button SET will blink for 4 seconds 4 Press the 4 or button to select the preset number Increases the preset number by 1 4 Decreases the preset number by 1 5 Press the SET DISPLAY button STORED ...

Page 14: ...CD RW require a longer read out time It varies due to the complexity of the recording configuration When making an MP3 disc select ISO 9660 Level 1 or Level 2 as the disc format This unit does not support multisession recording This unit can play MP3 files only with the following file ex tensions MP3 Mp3 mP3 and mp3 Non MP3 files are ignored If non MP3 files are recorded together with MP3 files th...

Page 15: ...er is stopped press the CD Open Close 0 button on the Unit to open the tray 2 Remove the CD then press the DISC SKIP button on the Unit The tray turns for the next CD 3 Repeat step 2 to remove all the CDs 4 Press the CD Open Close 0 button on the Unit to close the tray You can remove CDs while listening to the other source Tips Removing changing the CDs during playback While playing back a CD e g ...

Page 16: ...y the disc tray is automatically skipped To Select a Track During playback using the 4 or button Briefly press the 4 or button to select the track you want to play except for MP3 group mode Press the button once to skip to the beginning of the next track Press the 4 button to skip to the beginning of the current track Press twice quickly to skip to the beginning of the previ ous track In Stop mode...

Page 17: ...y the Program You Have Made men tioned below To confirm the programmed contents while the CD player is stopped select Program mode by pressing the PROGRAM but ton and press the 4 or button on the Remote Control To delete all the tracks in the program while the CD Player is stopped press the 7 button or open the tray by pressing the CD Open Close 0 button To Modify the Program while the CD Player i...

Page 18: ... REPEAT indicator goes off Resume Play for MP3 Disc You can store the number of the track that you have stopped play back By pressing CD 6 button you can start playback again from the beginning of the same track On the Unit ONLY Press the 7 button for 2 seconds until RESUME ON scrolls on the display To turn off the resume play press the 7 button for 2 seconds until RESUME OFF scrolls on the displa...

Page 19: ...played back The Cassette Deck automatically stops when one side of the tape has finished playing To stop playing press the 7 button To remove the tape stop the tape and press the 0 PUSH OPEN part to open the Cassette Holder To Fast Wind a Tape During playback or in Stop mode press the Á FF button on the Unit to fast wind the tape onto the right side of the cassette without playing You can also use...

Page 20: ...rding level Two small tabs on the back of the cassette tape one for side A and one for side B can be removed to prevent accidental erasure or recording To record on a cassette with the tabs removed you must cover the holes with adhesive tape first Type I tape can be used for recording At the start and end of cassette tapes there is leader tape which cannot be recorded onto Thus when recording CDs ...

Page 21: ... the order you have set in a program 1 Prepare CDs See page 12 Press the CD1 3 button that you want to make recording and then press the 7 button If you want to record specific tracks only you need to pro gram the tracks beforehand See page 14 If you want to record one CD only you need to load one CD only 2 Insert a blank or erasable tape into the Deck B and wind past the tape leader 3 Press the C...

Page 22: ...he System See page 6 1 Set the volume level to the minimum posi tion 2 Press the AUX button AUX IN appears on the display 3 Start playing the external equipment 4 Adjust the volume level to the level you want listen to 5 Apply the following sound effects if you wish ACTIVE BASS EX See page 8 Sound Mode See page 8 To exit AUX mode select other source e g Tuner For operation of the external equipmen...

Page 23: ...or button to set the minute 5 Press the SET DISPLAY button CLOCK OK appears on the display Then the selected time is set and the seconds start counting from 0 Fixing the Clock Using the Unit 1 Press the STANDBY ON button to turn on the System 2 Press the CLOCK TIMER button repeatedly until clock setting display time indication appears on the display The hour digits of the current clock blink on th...

Page 24: ...the ON time Example 10 15 1 Press the or 4 button to set the hour you want the System to come on then press the SET DISPLAY button The minute digits of the ON time blink on the display Pressing the button moves the time forwards and press ing the 4 button moves it backwards Holding down the button moves the time rapidly 2 Press the or 4 button to set the minute then press the SET DISPLAY button OF...

Page 25: ...imer OFF time comes the System automatically turns off Then the Timer indicator and DAILY indica tor remain lit on the display If the System is already on when the timer ON time comes the Daily Timer does not work Turning the Daily Timer On and Off Once you have set the Daily Timer it is stored in memory So the Daily Timer will be activated at the same time every day until it is canceled To cancel...

Page 26: ... sound comes out of the speakers 7 Press the SET DISPLAY button The timer setting is completed the display returns to the dis play before you set the Timer 8 Press the STANDBY ON button to turn off the System if necessary The Timer indicator and REC indicator are lit on the display showing that the REC Timer is set to on To confirm change the timer setting repeat the setting pro cedure from the be...

Page 27: ...System is now set to turn off after the number of minutes you have set To Confirm the Sleep Time When the SLEEP button on the Remote Control is pressed the re maining sleep time is displayed Wait until the display returns to the original display To Cancel the SLEEP Timer Setting Press the SLEEP button until OFF appears on the display Turning off the System also cancels the SLEEP Timer Timer Priori...

Page 28: ...Discontinuous sound Fading Incomplete erasure Difficulty recording Clean the heads capstans and pinch rollers using a cotton swab moistened with alcohol If the heads become magnetized the Unit will produce noise or lose high frequencies To demagnetize the heads turn off the Unit and use a head demagnetizer available at electronics and record shops Remove the CD from its case by holding it at the e...

Page 29: ... power cord and turn on the System Unable to record Cassette record protect tabs are removed Cover holes on back edge of cassette with tape Unable to operate the Remote Control The path between the Remote Control and the sensor on the Unit is blocked The batteries have lost their charge Remove the obstruction Replace the batteries Operations are disabled The built in microprocessor has malfunction...

Page 30: ...ctric shock IMPORTANTE para la línea de la red CA ANTES DE ENCHUFAR EL EQUIPO com pruebe si la tensión de la línea de la red CA corresponde con la posición del selector de ten sión situado en la parte exterior del equipo y si es diferente reajuste el selector de tensión para evitar el riesgo de incendios descargas eléc tricas IMPORTANTE para a ligação à tensão da rede CA ANTES DE LIGAR O APARELHO ...

Reviews: