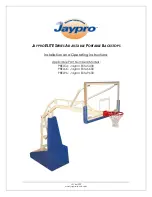
12ft x 17ft Rectangle Combo
User Guide
WARNING:
Read these assembly instructions carefully
before attempting to assemble or use this product. Keep
this user guide in a safe place for future reference.
Got a Problem building your trampoline?
Call us on 0344 800 4060 and we can help
Patent no: DE602006006495D1, EP1721640B1 and US7628731
Made In China