Introduction to Digitizer MBX
Learn how easy it is to organize and convert embroidery fi les with
Design Gallery. Learn some basic skills; inserting an embroidery
design, adding lettering, turning tool bars on and off, writing designs
to the machine or external media and printing templates.
Open Easy Design.
On Screen Tips:
Place the cursor over an icon the name of the icon will appear. .. wait
about 1 second and a tool tip will appear as well as the keyboard
shortcut, press the F1 key on the keyboard, the instruction book
opens appropriate page. Refer to page 285 of the Instruction Manual
for the entire list of tool icons and the descriptions.
Instruction Manual:
Click Help on the task bar > Onscreen Manual > from here you can
read the chapters on line or print a hard copy.
Onscreen Workbook:
Click Help > Onscreen Workbook > these exercises build digitizing
skills.
Screen Calibration:
From the Task bar select Set Up > a pop up window will appear
>Measure the width and length of the pop up window. Then enter
the measurements in the width and length lines in the pop up window
and click OK.
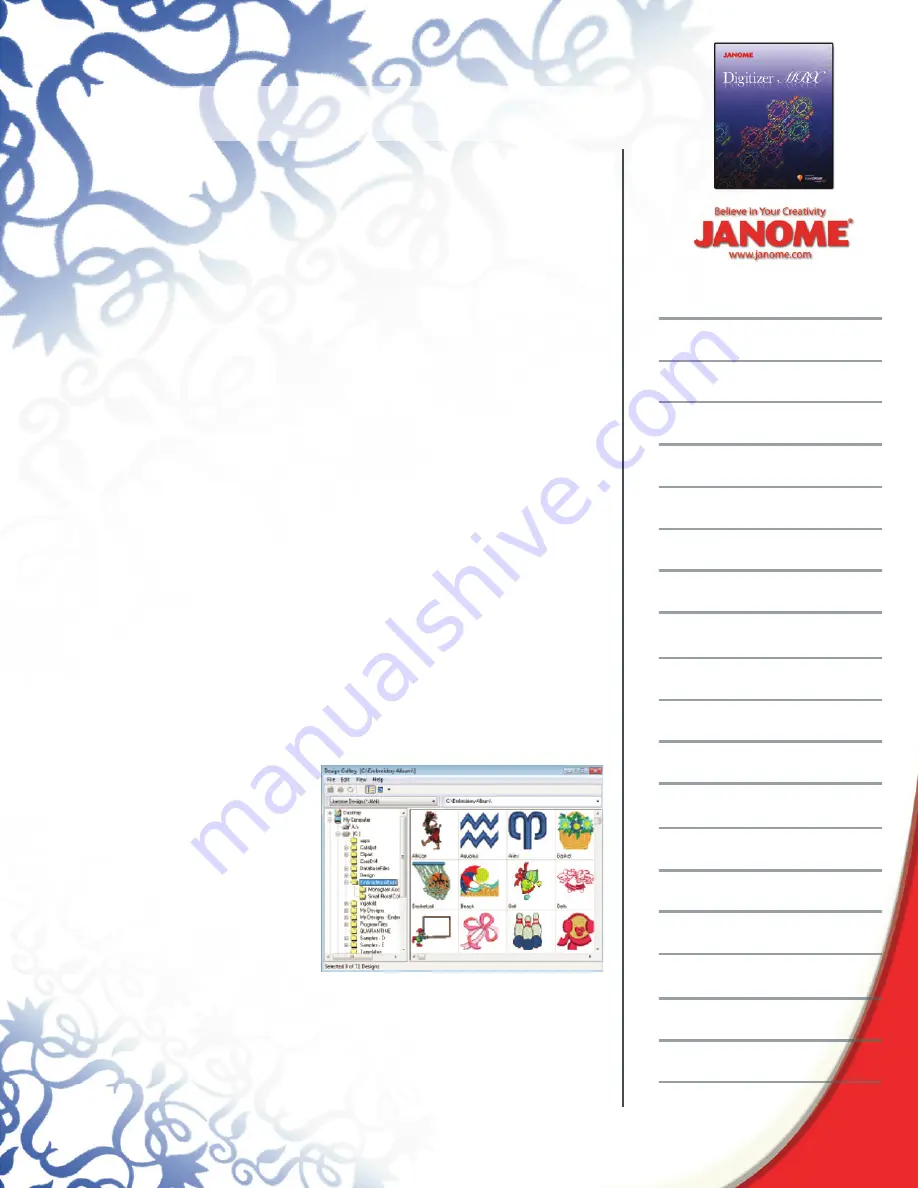
Introduction to Design Gallery:
Design Gallery is the
program to locate and
organize embroidery and
graphics fi les on the hard
drive.
In the left hand window,
navigate to My Documents
> Embroidery Album >
Click on the + button and
there are three fi les inside
the album as well as these
designs. You can choose to look at All Files, All Embroidery Files, All
Image fi les, or look for designs in specifi c embroidery formats. Select
All Files.