J&M Manufacturing Co, Inc
284 Railroad Street - P.O. Box 547 | Fort Recovery, OH 45846 | Ph: (419) 375-2376 | Fax: (419) 375-2708
www.jm-inc.com
Rev
. 8.18.2020
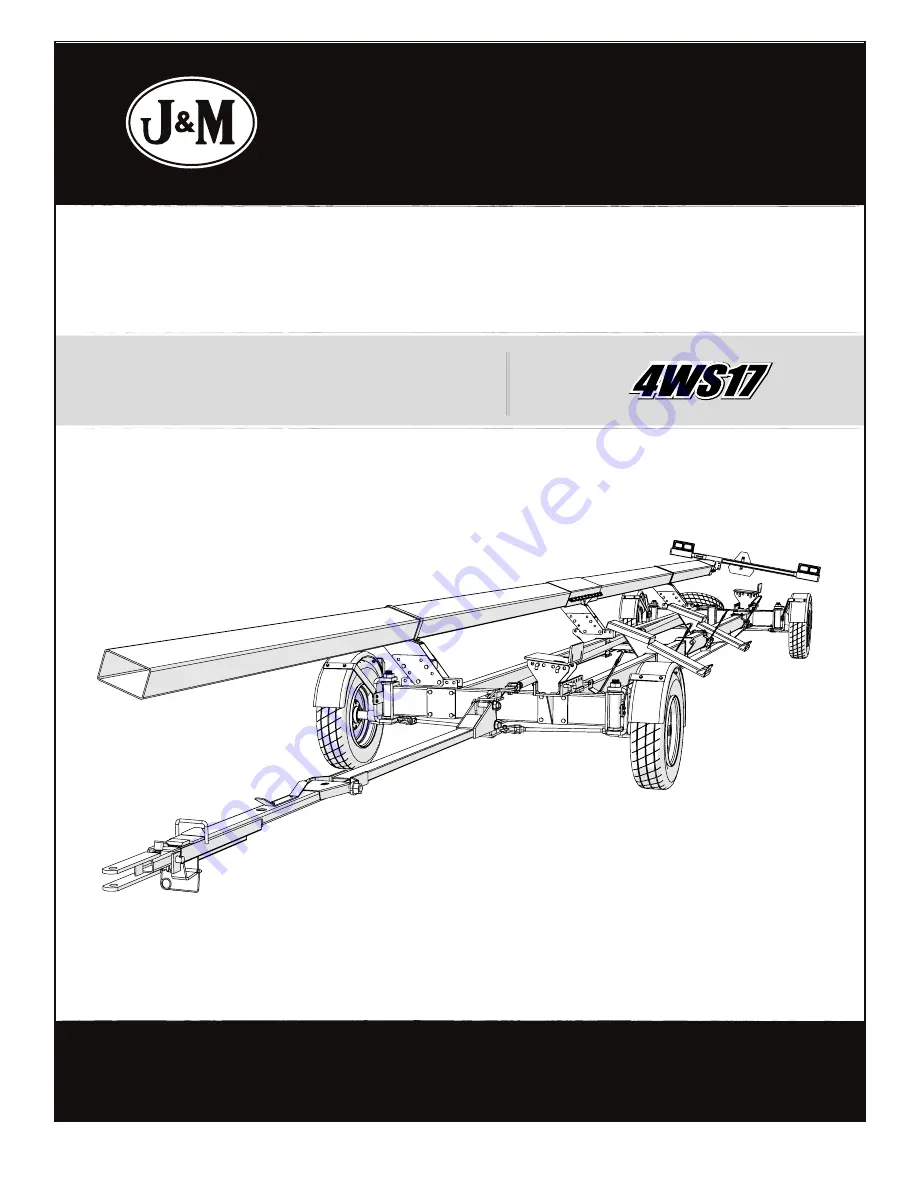
4WS17 F
o r
JDC HD & rD H
e a D e r
H E A D E R T R A N S P O R T
MODEL
Operator’s Manual


