


1
1
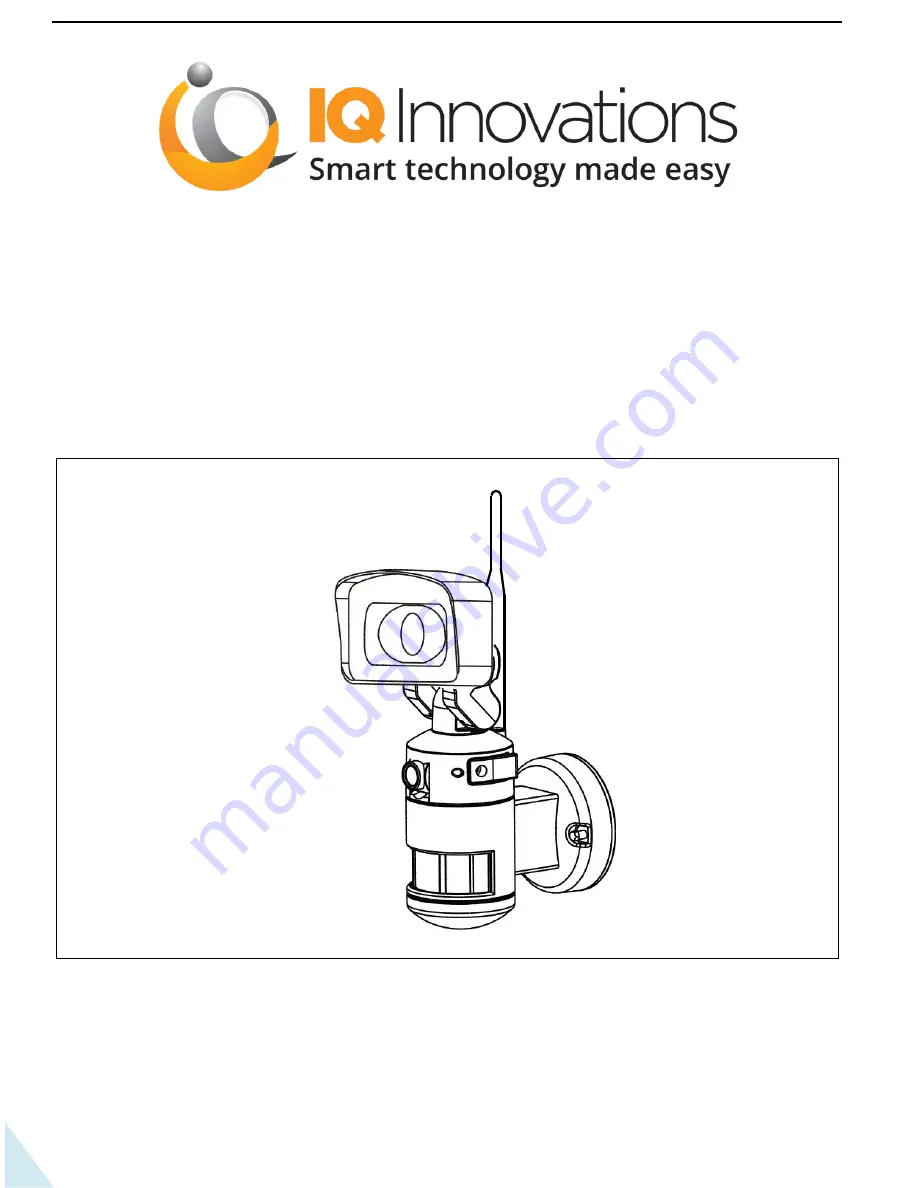
NIGHT WATCHER NW 760
QUICK SETUP GUIDE
MOTORIZED LED FLOOD LIGHT WITH WI-FI CAMERA
Please read these instructions carefully prior to installation and retain them for future
reference. Failure to follow any of these instructions could void product warranties.
To prevent injury, this apparatus must be securely attached to the floor/wall in accordance
with the installation manual; the installation will be done by a qualified electrician
For questions regarding this product or warranty, please contact Customer Service at:
Email: [email protected]


