


2
1
3
4
5
6
7
8
9
10
11
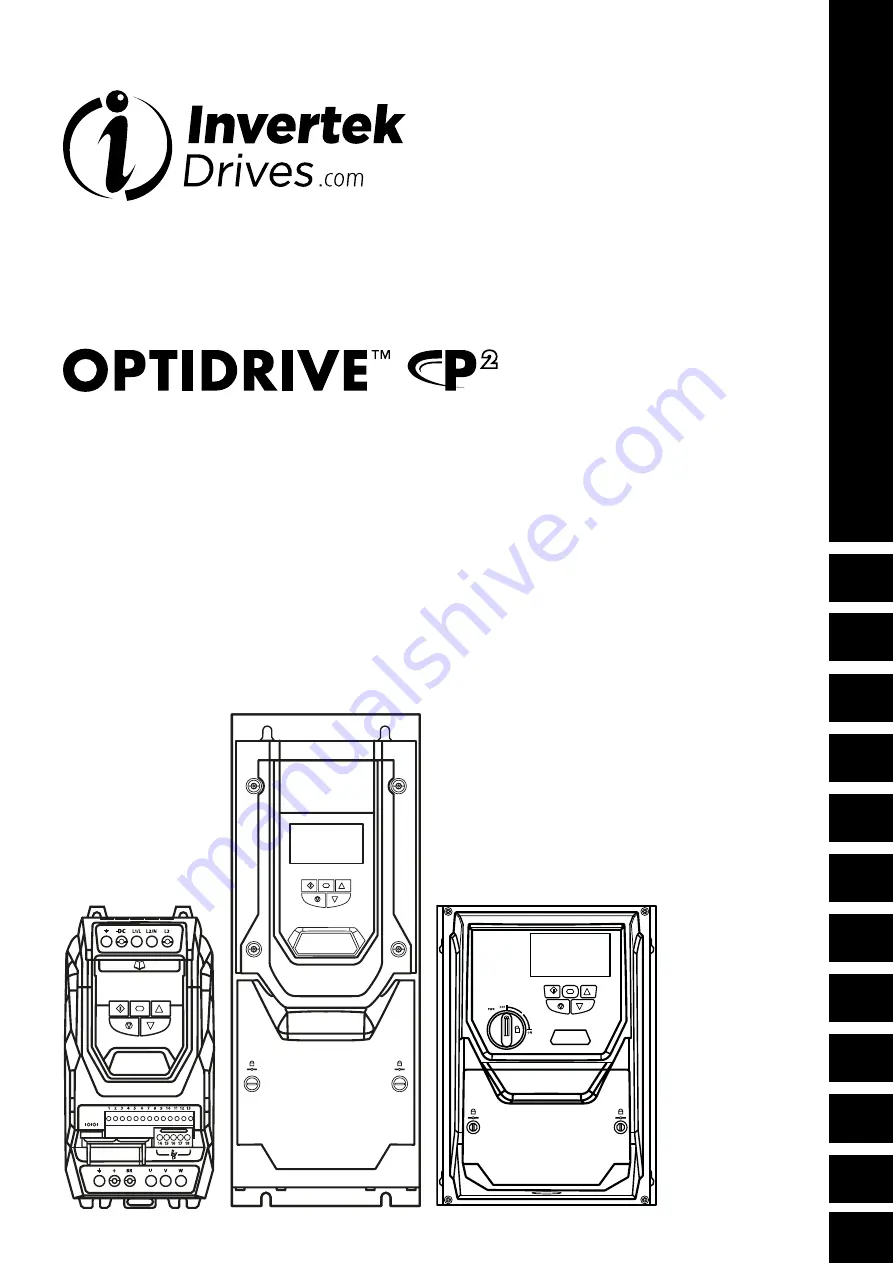
User Guide
AC Variable Speed Drive
0.75 - 160kW / 1HP - 250HP
200 - 480V 1 / 3 Phase Input
General Information
and Ratings
Quick Start Up
Mechanical Installation
Electrical Installation
Keypad and Display Operation
Parameters
Extended
Parameters
Serial
Communications
Control Terminal
Functions
Technical Data
Troubleshooting


