background image

PowerView® IRB Roller Blind Reference-guide

Congratulations with the purchase of a Luxa

fl

ex® PowerView® Roller blind. This guide helps you get started with your

Roller blind powered by an integrated Li-ion battery.

1. Delivery condition

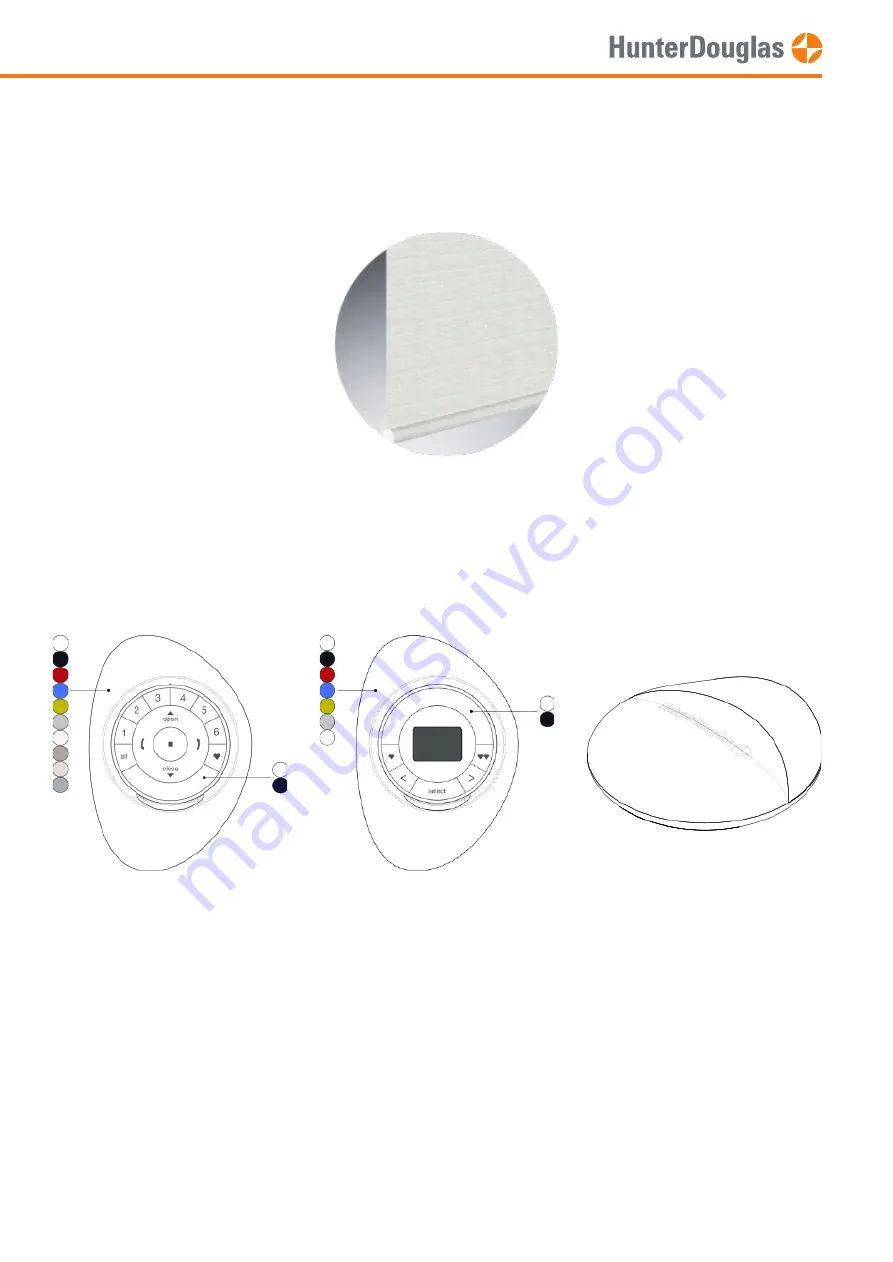
1.1. Pebble® or wand remote / Scene controller or Hub are purchased seperately


Pebble remote

Scene controller

Hub

MANUAL

Page 1 of 23

version: 1.0

Summary of Contents for Luxaflex PowerView

Page 1: ...flex PowerView Roller blind This guide helps you get started with your Roller blind powered by an integrated Li ion battery 1 Delivery condition 1 1 Pebble or wand remote Scene controller or Hub are p...

Page 2: ...you receive your blind it is in a so called hibernation status To wake it up and make it functional you will need to plug in and pull out a USB type C charging connector into the charging port of your...

Page 3: ...harging your blind the blind motor needs to be in an awake state To wake up the blind please perform the following 1 Manual motor Button 2 USB Type C Charging port 3 LED status indicator MANUAL Page 3...

Page 4: ...t use 2 2 2 Re insert the USB Type C connector to start charging 2 2 3 The motor LED indicator will start blinking RED signaling the charging process is activated 2 2 4 When the LED turns green the in...

Page 5: ...below assign the blind to group 1 blinking CHARGE normal constant Fully Charged flashing CHARGE not allowed temperature to high Alternately CHARGE NTC ERROR open short circuit 3 1 Locate the manual c...

Page 6: ...IMPORTANT Watch out to perform steps 2 4 and 2 5 within 3 seconds 3 4 Press and hold the manual control button 3 5 Press the open button The blind will jog 1x 3 6 Release the manual control button MAN...

Page 7: ...7 Press and hold the stop button for 6 seconds The remote will exit programming mode automatically after 20 seconds Keep pressing until the remote lights stop blinking Select 1 blind only Select 2 or...

Page 8: ...4 2 Open close a blind Select all blinds A Select blind group B Press open button MANUAL Page 8 of 23 version 1 0...

Page 9: ...4 3 Move a blind to a favourite position C Press close button A Select blind group B Press favourite button MANUAL Page 9 of 23 version 1 0...

Page 10: ...e desired favourite position Use the arrow up and arrow down buttons to fine tune 5 3 Press and hold the stop button for 6 seconds DO NOT select a group on the remote Keep pressing until the remote li...

Page 11: ...anual control button 5 5 Press the favourite button The blind will jog 1x to acknowledge the favourite position is set 5 6 Release the manual control button 5 7 The favourite position is set MANUAL Pa...

Page 12: ...ld the manual control button 6 1 2 Press the open button Make sure group1 on the remote is selected The blind will jog 1x 6 1 3 Release the manual control button The motor LED turns red to acknowledge...

Page 13: ...wn buttons to fine tune 6 1 5 Press and hold the stop button for 6 seconds DO NOT select a group on the remote Keep pressing until the remote lights start blinking IMPORTANT Watch out to perform steps...

Page 14: ...t is set 6 1 8 Release the manual control button The motor LED turns off 6 1 9 Press and hold the stop button for 6 seconds The remote will exit programming mode automatically after 20 seconds Keep pr...

Page 15: ...m limit 6 1 10 The new top limit is set 6 2 1 Press and hold the manual control button 6 2 2 Press the close button Make sure group1 on the remote is selected The blind will jog 1x MANUAL Page 15 of 2...

Page 16: ...tons to move the blind to the new bottom position Use the arrow up and arrow down buttons to fine tune 6 2 5 Press and hold the stop button for 6 seconds DO NOT select a group on the remote Keep press...

Page 17: ...to acknowledge the new bottom limit is set 6 2 8 Release the manual control button The motor LED turns off 6 2 9 Press and hold the stop button for 6 seconds The remote will exit programming mode aut...

Page 18: ...It will not clear the Network ID and Group assignments 6 2 10 The new bottom limit is set Note This procedure can be skipped for a fresh out of the box motor The motor will jog 2x when receiving any P...

Page 19: ...7 1 1 Remove battery power from the motor by inserting the USB C connector into the motor head 7 1 2 Press and hold the manual control button on the motor MANUAL Page 19 of 23 version 1 0...

Page 20: ...werView remote or App from operating the window covering until it is reprogrammed 7 1 3 Apply power to the motor by disconnecting the USB C connector while press and hold the manual control button the...

Page 21: ...inations 7 2 1 Press and hold the manual control button on the motor for 12 seconds The blind will jog 1x at 6 seconds and a second time at 12 seconds 7 2 2 Release the manual control button after the...

Page 22: ...button release see chapter 7 2 Blind type Roller blind Network reset on manual control button release see chapter 7 2 Blind type Twist Roller Blind Others The maximum motor current has been reached E...

Page 23: ...to use such products or services or a warranty or endorsement thereof Use of such information may require a license from a third party under the patents or other intellectual property of the third par...

Reviews: