Horizon Hobby Vaterra 1969 Chevrolet Camaro RS, Руководство пользователя
Описание продукта: Horizon Hobby Vaterra 1969 Chevrolet Camaro RS. Владельцы этого потрясающего автомобиля могут с легкостью загрузить бесплатное Руководство по эксплуатации с нашего веб-сайта. Наслаждайтесь управлением этой знаменитой модели и смело отправляйтесь в путь! Скачайте его с manualshive.com.
Поделиться
Скачать


Отзывы:
Нет отзывов
Похожие инструкции для Vaterra 1969 Chevrolet Camaro RS

expert 2000
Бренд: Labrie Страницы: 172

2008 HUV4210-E
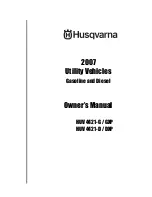
Бренд: Husqvarna Страницы: 64
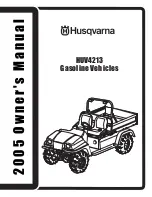
2005 HUV4213
Бренд: Husqvarna Страницы: 46

2008 HUV 4213-G
Бренд: Husqvarna Страницы: 52

4210-E
Бренд: Husqvarna Страницы: 56

2007 HUV4421D
Бренд: Husqvarna Страницы: 60

4421-DXL
Бренд: Husqvarna Страницы: 68

2009 HUV 4214
Бренд: Husqvarna Страницы: 57
2007 HUV 4421-D
Бренд: Husqvarna Страницы: 64

APU06E
Бренд: Applestone Страницы: 134

MAN-00167
Бренд: Mahindra Страницы: 79

ROXOR
Бренд: Mahindra Страницы: 100

S200
Бренд: KAYO MOTO Страницы: 186

2006 MX X
Бренд: Ski-Doo Страницы: 28

LT-A700X 2004
Бренд: Suzuki Страницы: 481

CN90U-2
Бренд: Baja motorsports Страницы: 77

MP6810
Бренд: Erde Страницы: 6

BUSHLANDER
Бренд: Woodland Mills Страницы: 60


