Hitachi AJ-CE series, Operation Manual
The Hitachi AJ-CE series is a reliable and efficient product designed for various purposes. With a user-friendly interface, its operation manual is indispensable for a smooth experience. You can easily access and download the manual for free from our manualshive.com, ensuring complete guidance for optimal usage.
Share
Download


Reviews:
No comments
Related manuals for AJ-CE series
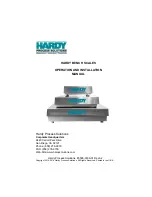
400 Series
Brand: Hardy Process Solutions Pages: 18
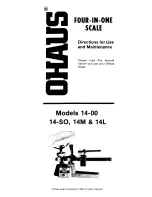
1400 Series
Brand: OHAUS Pages: 5

PS-500
Brand: Salter Brecknell Pages: 19

AD-4410
Brand: A&D Pages: 82

G20087
Brand: TREVIDEA Pages: 16

717A
Brand: Seca Pages: 125

MCT PLUS SERIES
Brand: Tree Pages: 27

ITKU-20-02-01-12-A
Brand: RADWAG Pages: 48

PALLET RUNNER 3000
Brand: Salter Brecknell Pages: 20

SL700 Series
Brand: Magnescale Pages: 16

H-11
Brand: AWS Pages: 5

BK150
Brand: Black & Decker Pages: 12

H-9100N-US
Brand: TEC Pages: 4

PK-DS04
Brand: Punktal Pages: 2

TWO120
Brand: Eldom Pages: 29

HS25KGP
Brand: Cardinal Pages: 4

Detecto 475
Brand: Cardinal Pages: 8

Detecto
Brand: Cardinal Pages: 22


