Hills HILLS series, User Manual
Introducing the Hills HILLS series of user manuals, a comprehensive collection crafted to assist you in maximizing the potential of your product. Discover the convenience of instantly accessing and downloading these essential manuals for free from manualshive.com. Unlock the full potential of your Hills device with our user-friendly manuals.
Share
Download


Reviews:
No comments
Related manuals for HILLS series

Airblade 9KJ
Brand: Dyson Pages: 2
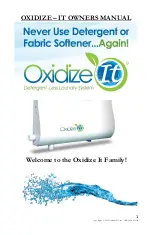
Oxidize It OX4000-A
Brand: Oxidizer Pro Pages: 12

00111310
Brand: Xavax Pages: 22
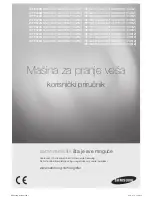
WF9622SQR
Brand: Samsung Pages: 40

TSP500
Brand: LG Pages: 83

NP8350
Brand: LG Pages: 53

PH300
Brand: LG Pages: 86

NP8350
Brand: LG Pages: 56

S3 ERB Series
Brand: LG Pages: 188

QP-14
Brand: Saivod Pages: 24

1822617
Brand: SOMFY Pages: 2

96 87 48
Brand: Westfalia Pages: 8

Kenmore 91601 Series
Brand: Sears Pages: 16

DKIT-05
Brand: Simply Automated Pages: 12

GT3340-1
Brand: Sunter Lighting Pages: 3


