background image

R4

SAFETY NOTICE

PLEASE READ THIS ENTIRE MANUAL BEFORE YOU INSTALL AND USE YOUR NEW ROOM HEATER.  FAILURE TO
FOLLOW INSTRUCTIONS MAY RESULT IN PROPERTY DAMAGE, BODILY INJURY, OR EVEN DEATH.

FOR USE IN THE U.S. AND CANADA.  SUITABLE FOR INSTALLATION IN MOBILE HOMES

IF  THIS  HARMAN  PELLET  FURNACE  IS  NOT  PROPERLY  INSTALLED, A HOUSE FIRE MAY RESULT.  FOR YOUR
SAFETY,  FOLLOW INSTALLATION  DIRECTIONS.

CONTACT LOCAL BUILDING OR FIRE OFFICIALS ABOUT RESTRICTIONS AND INSTALLATION INSPECTION
REQUIREMENTS IN YOUR AREA.

CONTACT YOUR LOCAL AUTHORITY (SUCH AS MUNICIPAL BUILDING DEPARTMENT, FIRE DEPARTMENT, FIRE
PREVENTION BUREAU, ETC.) TO DETERMINE THE NEED FOR A PERMIT.

CETTE GUIDE D'UTILISATION EST DISPONIBLE EN FRANCAIS. CHEZ VOTRE CONCESSIONNAIRE DE HARMAN STOVE
COMPANY.

SAVE THESE INSTRUCTIONS.

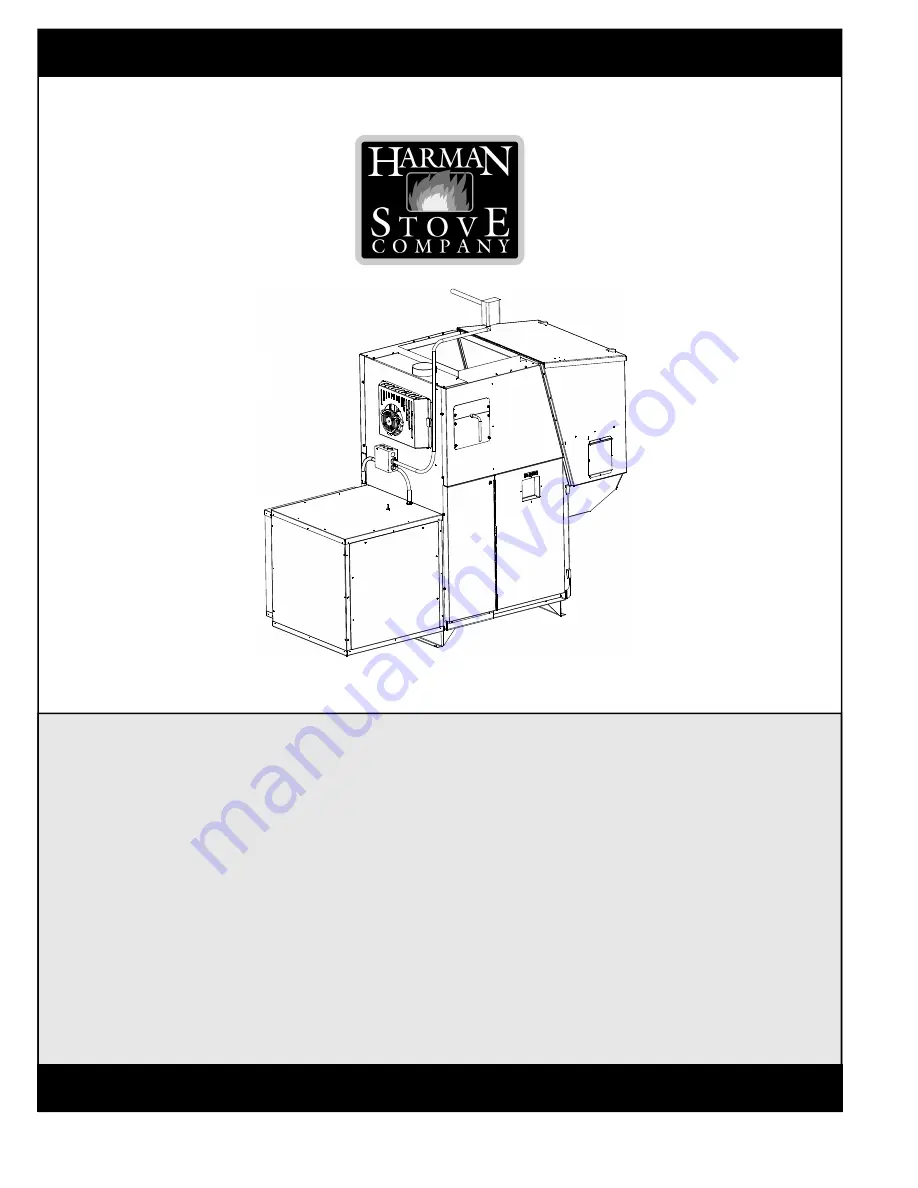
The Harman PF 100 Pellet Pro Furnace

Installation & Operating Manual

“Ce manuel est disponible en Français sur demande”

R7

Summary of Contents for PF-100 Furnace

Page 1: ... FOR YOUR SAFETY FOLLOW INSTALLATION DIRECTIONS CONTACT LOCAL BUILDING OR FIRE OFFICIALSABOUT RESTRICTIONSAND INSTALLATION INSPECTION REQUIREMENTSIN YOUR AREA CONTACT YOUR LOCALAUTHORITY SUCHAS MUNICIPAL BUILDING DEPARTMENT FIRE DEPARTMENT FIRE PREVENTION BUREAU ETC TO DETERMINE THE NEED FORAPERMIT CETTEGUIDED UTILISATIONEST DISPONIBLEENFRANCAIS CHEZVOTRECONCESSIONNAIREDEHARMANSTOVE COMPANY SAVETH...

Page 2: ...mbustion Blower Combustion Blower cover Fan Control Hopper Lid Latches Control Cover 3 Speed Switch Viewing Glass Outer Door Vent Pipe Heat Exchanger Shaker Handle Outer Door Latches Filter Box Hopper PF100 Parts ...

Page 3: ...ons 38 Warranty 39 Testing Label 40 Quick Reference Start Up 41 Please read this entire manual before you install and use your new furnace Failure to follow instructions may result in property damage bodily injury or even death SAVE THESE INSTRUCTIONS Harman Stove Company 352 Mountain House Road Halifax PA17032 Table of Contents DO NOT INSTALL IN A MOBILE HOME ...

Page 4: ...only2 inches This 2 inch clearance is also approved by the pipe manufacturers See images on left See page 14 Fig 24 and 26 for larger images The sections ofpipe lock together to form an air tight seal in most cases however in some cases a per fect seal is not achieved For this reason and the fact that the PF100 operates with a positive vent pressure wespecify that alljoints withinthe structure sho...

Page 5: ...Place the bottomon the floor The edge closest to the knockouts will be the edge towards the furnace See Fig 4 2 Place the desired vertical panelinside the bot tom trayand hold into place with one Tek screw in the bottommiddle hole solid panelshown See Fig 4 Bottom Solid Side Panel Fig 4 Knockouts Tek screw from outside Bottom same as top Top same as bottom Filter Frame Panel Solid Side Panel Blowe...

Page 6: ...rewsinto anyofthetop holes at this time 4 Place the remaining panel in this case the blower access panel in the bottompaneland into the corner ofthe solid panel SeeFig 7 Make surethat the panelisintheuprightposition Therearenocovermount ingholesinthe bottomedgeofthispanel Holdthepanel into place with one Tek screw in the middle holeofthe solid panel and one in the bottom middle hole of the blower ...

Page 7: ...tionblower installation Note It is best to wait untilthe blower filter box and cold air return duct work isinstalled before install ing the filter and side panel 7 After the Filter Box is installed on the furnace the electricalwiring to the three speed switch needs to be completed WHITE to WHITE VIOLET to the center terminalof the switch and the BLACK RED BLUE to the terminals shown Note Theoption...

Page 8: ... blower NOTE These Blower Motors are not designed to be operated without any positive static back pressure OPERATION WITHOUT SUPPLY DUCTWORK OR IN FREE AIR WILL CAUSE MOTOR OVERLOAD AND PREMATURE FAILURE 3 Mount the filter box on the furnace with 8 10 x 3 4 Tek screws 3 on each side Visually locate these holes so you are familiar withtheirlocationonthe filter boxandthe furnace Access to the mounti...

Page 9: ...to be installed before operating the furnace The baffle has a long 45 degree bend on the bot tom ofthe firebox side See Fig 17 The top has a 90 degree bend on the same side to use as a handle Onthe oppositeside there are fourhooks that will support the baffle Onthe front and rear ofthe fireboxwalls there are brackets that these hooks fit into See Fig 16 Slide the upper baffle down on to the bracke...

Page 10: ... Anyexteriorventing vent pipe exposedto out side ambiant temperatures should be kept to a minimum due topotentialcondensation problems This is especiallyimportant in highhumiditycold weather climates such as maritime areas lake shores and low river valleys 4 Type L or PL Vent pipe Thisistheminimumventingconfiguration NOTE This would only be allowed with non combustible walls Fig 18 Venting NOTE Al...

Page 11: ...11 PF100 Fig 19 Venting Configuration Graph Venting ...

Page 12: ...orizontalcenter line ofthe regulator 1 I The clearance to service regulator vent outlet must be aminimumof6 feet 1 J The clearance to a non mechanical air supply inlet to the building or the combustion air inlet to any other appliance must be a minimumof48 1 K The clearance to a mechanicalair supply inlet must be aminimumof10 feet 1 with outside air installed 6 feet L The clearance above a paved s...

Page 13: ...ide of the ash pan door The 18 clearanceonthe hopper endis a manufactur ers recommendationfor adding pellets andor servicing the feeder mechanism The minimum ceiling height is 6 6 This is set by the clearance to combustibles 28 from the top of the of the furnace See Fig 22 Theminimumclearanceto thetopoftheplenumis4 Note the minimumheight to the bottomofthe supply duct ifit crosses the hopper Themi...

Page 14: ...ol chimney flue of a slow burning fire As a result creosote residue accumulates on the flue lining When ignited this creosote makes an extremely hot fire The pellet vent pipe should be inspected at least twice monthly during the heating season to determine if a creosote buildup has occurred If creosote has accumulated it should be removed to reduce the risk of a chimney fire Guidance on minimizing...

Page 15: ... OutsideAir knockout is located on the face of the Feeder Cover It is pre cut except for several small tabs There is also a filler plate screwed to the inside to cover the top ofthe hole after the Outside Air Pipe has been installed This will allow for removal of theFeederCoverwithout disconnectingtheOutsideAir Pipe See Fig 28 Only metal Intake Flex should be used for the Outside AirSupplyconnecti...

Page 16: ... case electricalbox It could also be mounted directlyto a stud using 2 drywallscrews In either case the screws should be turned in and tested for a snug fit when the Wall Control is slid down over the screws The Wall Controlonlyhangs onthe screwsso a good fit is impor tant Remove theWallControland make the Datacom cable connections with the UY auto splicers provided DONOT STRIPTHE WIRES Followingt...

Page 17: ...pplyduct for the existing furnace and 1 in the warm air supply duct of the PF100 after or downstream of the high limit fan control These dampers can be manuallyoperated or fullyautomatic In either case the unit that is not being used must be prevented frombeing operated This also can be done manuallyor automatically NOTE Anycontrolwiring power wiring needed should be performed bya quali fied insta...

Page 18: ...s Therefore the largest size duct practialshould be used The velocityto sound levelmust betakeninto con sideration whenconnecting this furnace into anexisting duct sustem As a primary source furnace the duct systemcan be installed to fit the customers needs These arerecommended SupplyAir duct sizes in square inches for the different CFM blowers that may be usedwith this furnace Velocity 500fpm 700...

Page 19: ...wnwith copper jumper that has alreadybeen removed 6 Connect the two VIOLET wires to the FAN CONTROL switch It doesn t matter which wire is on which screw See Fig 36 7 Connect the WHITE and SKY BLUE wires to the LIMIT switch It doesn t matter which wire is on which screw See Fig 36 8 Make sure that allofthe wires are out ofthe way whenclosing thecover Excess twistingand pinching of the wires could ...

Page 20: ... properly Controlboarddamage could occur Checking Re cording the Low Draft Fig 37 After the venting is completed the firebox low draft will need to be checked and possibly adjusted After re moving the3 8 bolt fromthedraft hole showninFig 38 insert the draft meter tube The inner ash door and the hopper lid must be latched during this test It is recom mended that the draft meter have a scale of0 to ...

Page 21: ...d for each position Simplymove the cover to the desired position byplacing the tabs on the cover in the proper slots Fig 40 Fig 41 blower cover Blower Shaker Handle Latches WARNING Do not operate with fire chamber or ash removal doors open WARNING Do not store fuel or other combustible material within installation clearance area CAUTION Hot while in operation Do not touch Keep children clothing fu...

Page 22: ...h to low every minute to remind you that you are still in Test Mode Low Fuel Light Indicates that fuel in the hopper is low and needs to be refilled IgnitEr Light Indicates power to the ignitor Lighting Mode Selector Switched between Auto and Manual lighting Mode Selector See explanation below Status light error messages 1 Blink Indicates control board self diagnostic failure This requires a manua...

Page 23: ...nob setting Low Fuel Sensor There is a low fuelsensor in the hopper that tells the controlthat the fuellevelin the hopper has dropped below the sensor Whenthishappens theLowFuellight on the WallControl will start to blink You then know that it istime to fillthe hopper with pellets Note Testing the low fuelsensor can be done by turning the FEED ADJUSTER knob to Test The POWER light willgo offwhen t...

Page 24: ... Automatically Fig 46 Fig 47 Fig 48 3 Clean burnpot with scraper if necessary This is usuallya weekly maintenance procedure Cleaningtheburnpotwiththescraperwithasmallamount ofnew fuelinthe bottomis not a problem First scrape the ashes on the front ofthe burn pot into the ash pan Then scrape the hole grid surface downward into the burnpot Whenthe stove is ignited these scrapings will be pushed out ...

Page 25: ... will probably need to be increased if maxi mum BTU output is desired After you know a feed rate setting that works well for your application use that setting Remember if your feed rate is too high you may waste fuel due to overshooting the Wall Control setting 6 Flip the Igniter Switch up into the AUTO LIGHT position 7 Turn the Temperature Dial on the wall control to desired room temperature Note...

Page 26: ...10 Fill hopper with pellets and remove ashes as required Fig 53 Type of Fuel Use pelletizedwood only Note The lower the ash content ofthe pellets the less cleaning that will be needed oftheheat exchangersurfaces Thecleanerthese surfaces are kept the more efficient thefurnace willbe NOTE Do not burn garbage gasoline naphtha engine oil or other inappropriate materials in the PF100 Store pelletsinthe...

Page 27: ...ing gel as shown in Fig 58 NOTE Stirring the starting gelinto thepellets usually allows the fire to become established quicker CAUTION A vapor flash could occur if too much time is allowedto pass before lightingthe starting gel CAUTION Caremust be takennot toget starting gel onyour handsor clothing Serious burnscould occur during thelightingprocess CAUTION Never tryto applymore startinggelto an al...

Page 28: ...heat This rate is about 1 pound offuelper hour 12 Light The Starting Gel With A Match 13 Close The Doors The fire willlight and the PF100 willadjust the fire to properlevelaccording to thetemperature dialsetting onthewallcontrol 14 Return air filter Check the condition of the return air filter periodicallyand replace as needed Fig 59 Solid fuelburning appliances need to be cleaned frequently becau...

Page 29: ... pellets into the burnpot Note Anold long shank screwdriver withthe end sharpenedisanidealaidintheremovalofthesedeposits Cleaning the burnpot air chamber This area onlyneeds to be cleaned twice a heating season unlessexcessive buildup isnoticedduringsched uled cleanings There isa cover onthefront ofthe burnpot to gain access to the air chamber and igniter The cover is held into place by two thumb ...

Page 30: ...llydispersed theyshould be retained in the closed container until all cinders have thoroughly cooled Fig 64 Fig 65 Soot and Flyash Formation and Need for Removal The products ofcombustion willcontain small particles offlyash The flyashwillcollect in the exhaust venting system and restrict the flow ofthe flue gases Incomplete combustion suchas occurs during startup shutdown orincorrect operationoft...

Page 31: ...nted end ofthe scraper suppliedto clean the accordion heat exchanger A small wisp brush wire brush or anold stiffbristled paint brushworks best for cleaning the firebox walls All of the fly ash removed duringcleaningwillfalltothebottomofthefurnacewhere there is an unobstructed access for cleaning Even the bottom ends of the chains can be seen and accessed easilyfromthe door opening See Fig 68 Fig ...

Page 32: ...l outwardontheplatehandleuntilthecompleteunit comes loose Now rotate the plate counter clockwise about 1 8 turn This will allow the complete assembly to be removed fromthe blower chamber Clean the blower fan blades and the blower plate sealing overlap See Fig 71 Note Be carefullnot to bend the fan blades this willthrow the fanblade out ofbalance or it mayrub the inner chamber whichmayaffect theper...

Page 33: ...ee Fig 73 The heatexchangerstubeshave anexternal handle that operatesthe cleaning mechanism SeeFig 74 This cleaning shouldbe done at least once a week althoughit canbe done as oftenasdesired The cleaner the heat exchangers are the more efficient the furnace willbe This cleaning canbe done at anytimeand inany mode ofoperation Cleaning the Tube heat exchangers Thehandlehastwo directions ofmovement R...

Page 34: ...OUT 1 No pellets in hopper 2 Draft setting is too low 3 Something is restricting fuel flow 4 Feed motor or combustion blower has failed 5 Power failure or blown fuse SMOKE IS VISIBLE COMING OUT OF VENT 1 Air fuel ratio is too rich A Feed rate too high B Draft too low caused by a gasket leak LOW HEAT OUTPUT 1 Feed rate too low 2 Draft too low because of gasket leak 3 Poor quality or damp pellets 4 ...

Page 35: ...35 PF100 Feeder Parts ...

Page 36: ... control board 05 AMP aux auger optional 7 AMP 1000 CFM blower shade pole 6 5 AMP 1500 CFM blower PSC 4 AMP 2000 CFM blower PSC 5 1 AMP Average electrical usage is 5 KWH BTU Input Range 0 8500 to 112 000 0 if system is satisfied then min burn 1 pound per hour max burn 13 pounds per hour Specifications ...

Page 37: ...37 PF100 Wiring Diagram Red White Blue Blue Orange W hite Orange Blue White Blue MAIN TERMINAL BLOCK CONNECT POWER HERE LOAD LINE NEUTRAL Wiring Diagram ...

Page 38: ... X 6 X 1 25 Firebrick 3 40 86125 Glass WithGasket 1 10 5555 Ash Pan 1 10 73351 BurnPot Gasket 3 44 00409 WiringDiagram 3 90 73370 Owners Manual 3 90 08101 Hopper Lid Label 3 90 08415 Chain Shaker Gasket 3 44 08100 Low FuelSensor 4 20 03835 CombustionBlower 3 21 08639 InnerAshDoor Gasket 2 00 00539 Circuit Breaker Harness 3 20 04947 10Amp Circuit Breaker 3 20 334110 4 PoleThermostat Extension 3 20 ...

Page 39: ...nd overtime are not covered Nuisance calls are not covered by these warranties THISWARRANtYISLIMITEDTODEFECTIVEPARTS REPAIRAND ORREPLACEMENTATHARMANSTOVECOMPANY S OPTIONAND EXCLUDESANYINCIDENTALAND CONSEQUENTIALDAMAGESCONNECTEDTHEREWITH WARRANTY EXCLUSIONS Failure due but not limited to fire lightning acts of god power failures and or surges rust corrosion and venting problems are not covered Dama...

Page 40: ...40 PF100 Testing Label ...

Page 41: ...Adjuster back to the 4 setting 8 Turn the Wall Control to the desired temperature 9 Turn all of the Furnace Control knobs to the settings shown 10 Flip the Auto Light switch up The furnace will ignite if the temperature in the room is less than the temperature set on the Wall Control See the section on Operation for information about Manual Lighting and Emergency Power See the section on Maintenan...

Reviews: