Hanseatic T386, User Manual
The PRONAR T386 Operator's Manual is a comprehensive manual that provides detailed instructions and guidelines for operating and maintaining your PRONAR T386 product. Download this manual for free from manualshive.com to ensure you have all the necessary information to effectively use and care for your equipment.
Share
Download


Reviews:
No comments
Related manuals for T386

T87
Brand: Hamilton Beach Pages: 27

7506
Brand: Quest Engineering Pages: 6

ST-2
Brand: Sammic Pages: 16

A151.300
Brand: Bartscher Pages: 61

TSCALTR2GM
Brand: Calphalon Pages: 2
LONDON
Brand: PALSON Pages: 15
MB-35
Brand: DALKYO Pages: 24
22004
Brand: Hamilton Beach Pages: 2
22910
Brand: Hamilton Beach Pages: 2
22601
Brand: Hamilton Beach Pages: 2
22504
Brand: Hamilton Beach Pages: 2

22790
Brand: Hamilton Beach Pages: 19

AVANTE
Brand: T-Fal Pages: 24
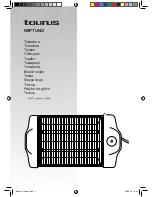
Neptuno
Brand: Taurus Pages: 32
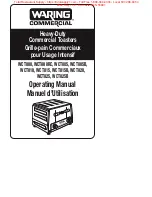
WCT800
Brand: Waring Pages: 7
MT-12
Brand: A.J.Antunes Pages: 20

TOSTAPANE
Brand: Kasanova Pages: 18

ST 8730
Brand: ECG Pages: 64


