Hanasis M-215D, User Manual
The Hanasis M-215D is a powerful and user-friendly printer perfect for home or office use. Get started with your device by downloading the free User Manual from our website for easy setup and troubleshooting. Enhance your printing experience with this reliable and efficient device. Download the manual from manualshive.com.
Share
Download


Reviews:
No comments
Related manuals for M-215D
C680 3G
Brand: VeriFone Pages: 2

multiPos
Brand: ANZ Pages: 108

Ingenico Lane/5000 BackPlate
Brand: Tailwind Pages: 2

RealPOS X Series
Brand: NCR Pages: 6

SCPSt 07 G02 NC
Brand: Schmalz Pages: 74

V-T4M
Brand: Jobsite Pages: 4

Design Center 1000
Brand: Variquest Pages: 2

Link/2500
Brand: Ingenico group Pages: 25
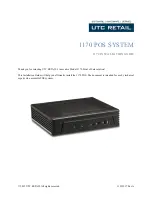
1170
Brand: UTC Pages: 9

Anypos30
Brand: Wintec Pages: 10

FollowMe
Brand: Ringdale Pages: 26

Mobi 100
Brand: Infinite Peripherals Pages: 2

TeleCLIENT TC7370
Brand: TeleVideo Pages: 68

RP240
Brand: Parker Compumotor Pages: 10

BHT-200Q
Brand: Denso Pages: 166

B7A
Brand: Omron Pages: 121

HV ANSI Series
Brand: 2T Technology Pages: 81

CLT-2DIM8
Brand: Crestron Pages: 4


