Installation and User Manual
Instructions d’installation et
Guide de l’utilisateur
Instrucciones de instalación y
Manual del usuario
HPND14XCT
HPND14XHT
Portable Air Conditioner Climatiseur portatifAcondicionador de aire portatil
49-7824
11-17 GEA
Page 1: ...nual Instructions d installation et Guide de l utilisateur Instrucciones de instalaci n y Manual del usuario HPND14XCT HPND14XHT Portable Air Conditioner Climatiseur portatif Acondicionador de aire po...
Page 2: ......
Page 3: ...er _______________________________________ Serial number _______________________________________ Date of purchase AIR CONDITIONER SAFETY 2 PARTS AND FEATURES 3 INSTALLATION REQUIREMENTS 4 Tools and Pa...
Page 4: ...ing directly on top of the air conditioner Use two or more people to move and install air conditioner place Do not use the air conditioner near a bathtub shower or wash basin or other wet area READ AN...
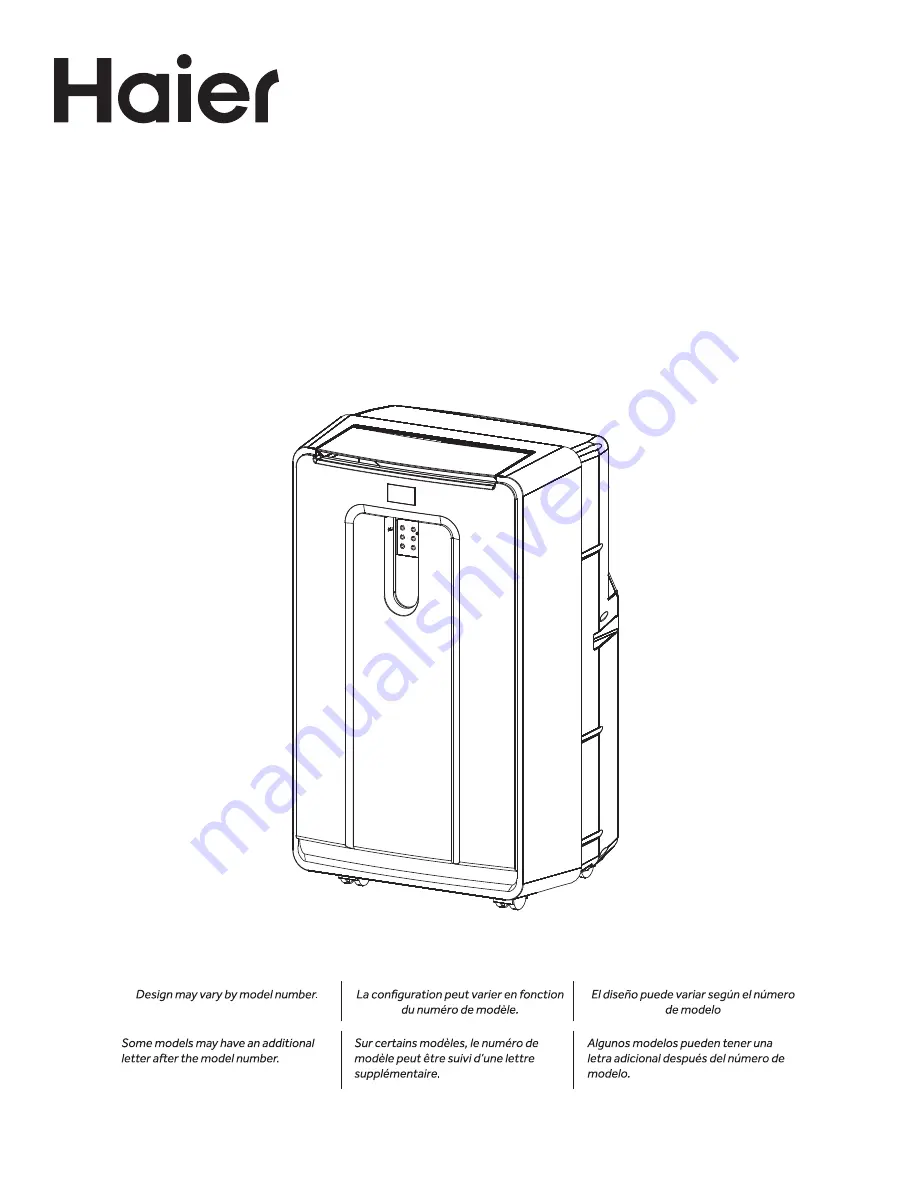
Page 5: ...ing the problem press the reset button to resume operation 1 Air Outlet 2 Control Panel 3 Handle 4 Remote Control Cradle 5 Casters 6 Air Inlet 7 Air Oulet 8 Upper Drain 9 Power Cord 10 Lower Drain NOT...
Page 6: ...ce with all local codes and ordinances 115V 15 Amp INSTALLATION REQUIREMENTS WARNING Electrical Shock Hazard Plug into a grounded 3 prong outlet Do not remove the ground prong from the power cord plug...
Page 7: ...als inside the air conditioner to remove Do Not open the cabinet Properly dispose of recycle all packing material Handle the air conditioner gently Keep the air conditioner upright and level Do not se...
Page 8: ...a grounded 3 prong outlet Do not remove the ground prong from the power cord plug Do not use an adapter Do not use an extension cord electrical shock STEP 5 COMPLETE INSTALLATION 1 Plug the power cord...
Page 9: ...he unit to turn on 3 If you press the ON OFF button the preset timer function will be canceled 4 Timer setting range is 1 24 hours To clear Timer Delay program 1 Press the Timer Button 2 Press and hol...
Page 10: ...s on standby you can present a time for the unit to turn on 3 If you press the ON OFF button the preset timer function will be canceled 4 Timer setting range is 1 24 hours To clear Timer Delay program...
Page 11: ...e 1 Unplug or disconnect power 2 Drain the water from the water tank See Air Conditioner Care 3 Use the original packaging to repack the unit to avoid a buildup of dust or dirt 4 Store the air conditi...
Page 12: ...See Control Panel The batteries in the remote control are dead Replace the batteries The internal water tank is full NOTE The air conditioner automatically turns alert you of this condition Empty the...
Page 13: ...y voltage accident fire floodsoractsofGod Incidentalorconsequentialdamagecausedbypossible defectswiththisairconditioner Damagecausedafterdelivery What Will Not Cover For The Period Of Will Replace One...
Page 14: ...___ Num ro de s rie _______________________________________ Date d achat 12 FRAN AIS TABLE DES MATI RES S CURIT DU CLIMATISEUR 13 PI CES ET CARACT RISTIQUES 14 EXIGENCES D INSTALLATION 15 Outillage et...
Page 15: ...et le climatiseur Ne rien remiser directement au dessus du climatiseur Utiliser deux personnes ou plus pour d placer et installer le climatiseur pas en place Ne pas faire fonctionner le climatiseur pr...
Page 16: ...me r solu appuyer sur le bouton de r initialisation pour red marrer l appareil 1 Sortie d air 2 Panneau de commande 3 Poign e 4 Socle de t l commande 5 Roulettes 6 Admission d air 7 Sortie d air 8 Ori...
Page 17: ...DE LIAISON LA TERRE REQUISE Ce climatiseur doit tre reli la terre Le climatiseur est quip d un cordon d alimentation lectrique trois broches pour la liaison la terre Le cordon d alimentation correspo...
Page 18: ...riau d emballage retirer l int rieur du climatiseur Ne pas ouvrir la caisse Jeter recycler tous les mat riaux d emballage de mani re ad quate Manipuler le climatiseur d licatement Garder le climatise...
Page 19: ...adapter la largeur ou la hauteur de la fen tre au moyen des jeux de vis et d crous mont s sur le panneau principal A C A B AVERTISSEMENT Risque de choc lectrique Brancher sur une prise 3 alv oles reli...
Page 20: ...OFF marche arr t la fonction de pr r glage de la minuterie sera annul e 4 La plage de r glage de la minuterie s tend de 1 24 heures REMARQUE Le climatiseur peut tre en arr t ou en marche 1 Appuyer sur...
Page 21: ...lle on peut utiliser le bouton de r glage de la minuterie pour r gler un d lai de mise en marche de l appareil 3 Si l on appuie sur le bouton ON OFF marche arr t la fonction de pr r glage de la minute...
Page 22: ...seur pour la premi re fois apr s l avoir branch sur une prise lectrique l appareil d marre en mode de refroidissement r gl sur 75 F 24 C et sur une vitesse de ventilateur lev e Le tableau de Lorsque l...
Page 23: ...UE 3 aspirateur REMARQUE ment pour liminer le surplus d eau et de particules de 4 5 Brancher l appareil ou reconnecter la source de courant lectrique R SERVOIR D EAU INTERNE Le t moin Water Full r ser...
Page 24: ...pi ce ne refroidit pas La temp rature de la pi ce est lev e REMARQUE Durant les journ es tr s chaudes et humides le climatiseur met plus longtemps refroidir la pi ce Lors d une premi re utilisation l...
Page 25: ...onn parunetensiond alimentation inappropri e unaccident unincendie uneinondationou d autrescatastrophesnaturelles Lesdommagesaccessoiresouindirectscaus spar d ventuelsd fectuosit sdececlimatiseur Lesd...
Page 26: ...___________________________ Fecha de compra SEGURIDAD DEL ACONDICIONADOR DE AIRE 25 PIEZAS Y CARACTER STICAS 26 REQUISITOS DE INSTALACI N 27 Herramientas y piezas 27 Requisitos de ubicaci n 27 Requisi...
Page 27: ...tacto con el acondicionador de aire No almacene nada directamente encima del acondicionador de aire Con la ayuda de dos o m s personas mueva e instale el acondicionador de aire de aire no est n coloca...
Page 28: ...ma presione el bot n de reanudar para reiniciar el funcionamiento 1 Salida de Aire 2 Panel de Control 3 Manija 4 Base del Control Remoto 5 Rueditas 6 Entrada de Aire 7 Salida de Aire 8 Drenaje Superio...
Page 29: ...debe estar conectado a tierra El acondicionador de aire est equipado con un cable de suministro de energ a que tiene un enchufe de tres termina les con conexi n a tierra El cable de suministro de ene...
Page 30: ...gabinete Desh gase adecuadamente de todos los materiales de empaque o rec clelos Manipule el acondicionador de aire con cuidado Mantenga el acondicionador de aire en posici n vertical y nivelado No co...
Page 31: ...incidan con el ancho y alto de la ventana con el conjunto de tornillos y tuercas montados en el panel principal A C A B ADVERTENCIA Peligro de Choque El ctrico Conecte a un contacto de pared de conexi...
Page 32: ...tiempo para que la unidad se encienda 3 Si presiona el bot n ON OFF Encendido Apagado cancelada y 24 horas Para borrar el programa de Timer Delay Retraso del Temporizador NOTA El acondicionador de ai...
Page 33: ...a de un tiempo para que la unidad se apague ci n previa de un tiempo para que la unidad se encienda 3 Si presiona el bot n ON OFF Encendido Apagado la funci n presente del temporizador ser cancelada y...
Page 34: ...vez despu s de conectarlo a un toma corriente el ctrico la unidad comenzar a funcionar en el modo Cooling del ventilador El panel de control mostrar la temperatura actual de la habitaci n Al encender...
Page 35: ...de aire NOTA 3 NOTA el exceso de agua y las part culas de polvo atrapadas en el 4 5 Enchufe o vuelva a conectar el suministro de energ a TANQUE DE AGUA INTERNO El indicador Water Full M ximo nivel de...
Page 36: ...ol remoto est n agotadas Reemplace las pilas El tanque de agua interno est lleno NOTA El acondicionador de aire se apaga autom ticamente y el indicador Water Full M ximo nivel de agua se ilumina para...
Page 37: ...ionadossobreelproductopornivelde suministrodevoltajeinadecuado accidente incendio inundacionesocat strofesnaturales Da osconsecuentesoincidentalescausadosporposibles defectosdelacondicionadordeaire Da...
Page 38: ...TANT Do Not Return This Product To The Store If you have a problem with this product please call 1 877 337 3639 for the name and telephone number of the nearest authorized service center DATED PROOF O...