


G-SWA
Assembly and Operating Manual
Dear customer,
Congratulations!
You have chosen the best product we know how to make with our
30 years of experience and passion for precision.
Please follow the instructions in this manual to
avoid mistakes and save time.
In case you need further information or you have
further requests we will be glad to be at your disposal.
With best regards
Your GRIP GmbH
GRIP GmbH Handhabungstechnik
Alter Hellweg 70
Tel. +49 231 96450 01
44379 Dortmund, Germany
Fax +49 231 96450 50
www.grip-gmbh.com
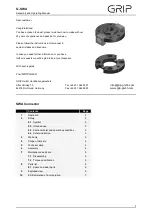
SWA Connector
1
6
7
4
5
6
5
5
5
8
Warranty
7.2
Torque specification
Parts list
Assembly
Maintenance and care
7.1
Disassembly
Page
2
3
3
3
3
2.3
Environmental and operating conditions
2.4
Safety indication
Scope of delivery
Technical data
3
4
4
3
5
1
2
Contents
Operation
Safety
2.1
Symbol
10
8.1
Spare and wear parts
5
Exploded view
EC-Declaration of incorporation
7
2.2
Intended use
3
4
9


