background image

OPERATION, SERVICE AND PARTS

INSTRUCTION MANUAL

999 1304.6  REV 2

©1997 Greenlee Textron

6/97

Read and understand this material before
operating or servicing this tool. Failure to
understand how to safely operate the tool
could result in an accident causing serious
injury or death.

43179

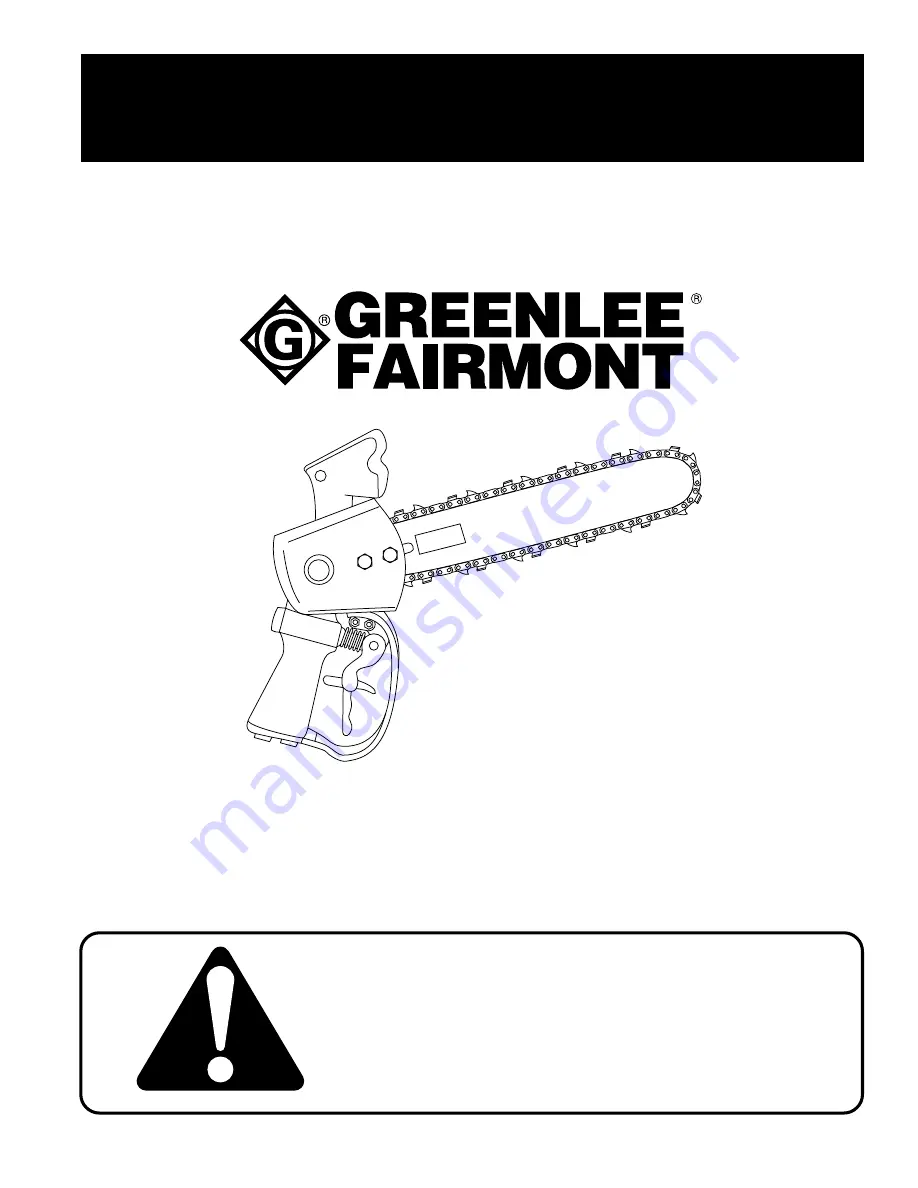
PISTOL GRIP CHAIN SAW

Limb-Lopper

TM

by

Summary of Contents for 43179 Limb-Lopper

Page 1: ...2 1997 Greenlee Textron 6 97 Read and understand this material before operating or servicing this tool Failure to understand how to safely operate the tool could result in an accident causing serious...

Page 2: ...ceived complete the following record SERIAL NUMBER ____________________________ DATE OF PURCHASE _________________________ WHERE PURCHASED ________________________ Always mention the tool s serial num...

Page 3: ...y precautions It means ATTENTION Become alert Your personal safety is involved Read the message that follows and be alert to the possibility of personal injury or death Hazards or unsafe practices whi...

Page 4: ...can cut even when stationary Failure to observe these warnings could result in severe injury or death Kickback hazard Kickback may occur when the moving saw chain at the nose or tip of the guide bar t...

Page 5: ...cribed in this manual can result in injury or property damage Inspect hydraulic hoses and couplings every operating day Repair or replace if leakage cracking wear or damage is evident Damaged hoses or...

Page 6: ...e provide operator comfort A two step safety trigger trigger guard knuckle guard and sprocket cover provide operator protection PARTS OF THE CHAIN SAW A Serial Number J Trigger Safety Latch B Guide Ba...

Page 7: ...rnings could result in severe injury or death A saw chain is furnished with the tool Replacement saw chains are available from Greenlee Fairmont as repair parts CONTACT AUTHORIZED DISTRIBUTOR Any saw...

Page 8: ...pressure relief valve must be located in the supply circuit between the pump and tool to limit excessive hydraulic pressure to the tool to 2000 psi Figure 3 shows a typical power source being used wi...

Page 9: ...nnecting Hoses See Figures 1 2 and 3 1 STOP THE POWER SOURCE 2 Disconnect the supply pressure hose from the power source port P to the tool P port Note Supply pressure hose connection should always be...

Page 10: ...emove or modify tool s two step safety trigger Accidental start up can result in serious injury Always disconnect tool from power source before attempting to adjust or service the chain saw Accidental...

Page 11: ...h 10 forward and depress squeeze trigger 9 4 Feed the rotating saw chain into the wood using a steady constant pressure DO NOT TWIST THE GUIDE BAR IN THE SAW CUT DO NOT BUMP JAM OR FORCE GUIDE BAR NOS...

Page 12: ...tension at all times 11 Always stand to the side of the cutting path of the saw chain Kickback hazard Kickback may occur when the moving saw chain at the nose or tip of the guide bar touches an object...

Page 13: ...alert to forces or situations that may cause the wood to pinch the top of the saw chain 2 Cut only one limb at a time 3 Do not twist the saw when withdrawing the guide bar from the cut Pull In See Fig...

Page 14: ...ine spray of oil at the guide bar nose if the oiler is working properly Insufficient lubrication can ruin the saw chain and or guide bar 6 To prevent contamination always install dust caps over the hy...

Page 15: ...chain drive links may be damaged or hydraulic pressure may be trapped in the saw motor If there is pressure in the motor the hoses were discon nected improperly and the pressure must be released See H...

Page 16: ...F DRIVE LINK EQUALS GAUGE B Saw Chain Gauge See Figure B Gauge refers to the thickness of that portion of the drive link which fits into the guide bar groove The guide bar and saw chain gauge must mat...

Page 17: ...pening 3 See Figure 10 Place the depth gauge tool on the cutter If the depth gauge projects file it level with the top of the tool Always file from the inside of the saw chain toward an outside cutter...

Page 18: ...bottom every time the saw chain is removed or at regular intervals to help ensure even guide bar rail and groove wear 4 The guide bar rails should be checked for wear at regular intervals A Place a s...

Page 19: ...owing steps will help to determine the problem area Troubleshooting Determine the Problem Area 1 Stop the power source Disconnect the existing tool from the hoses and power source 2 Connect a known wo...

Page 20: ...level Fill to FULL mark Check system for leaks Use fluid viscosity recommended See Recommended Hydraulic Fluids Tighten component hardware Disassemble tool and clean components Disassemble tool Repla...

Page 21: ...or gaskets Tool components worn or damaged Tool components loose Tool components worn or damaged Check fluid level Fill to FULL mark Check system for leaks Use fluid viscosity recommended See Recomme...

Page 22: ...or install a sharp chain Check oiler setting Clean oil ports in guide bar Adjust oiler setting if necessary See Automatic Chain Oiler Check bar groove and rail wear See Guide Bar If wear is excessive...

Page 23: ...the working surface as possible Inspect all parts as they are disassembled and mating parts in the tool that are not removed for signs of damage wear cracks etc Replace any parts which appear to be d...

Page 24: ...he saw head 1 Metering Screw Remove the metering screw 25 from the saw head 1 Remove the O ring 24 from the metering screw Saw Head and Motor 1 Scribe a line across the motor cap 13 and saw head motor...

Page 25: ...bar must be straight The rails and groove must not have excessive wear If it does replace the bar 10 Saw Chain 45 Saw Chain must not have exces sive wear broken or damaged components If it does repair...

Page 26: ...uckle Guard 1 Install the auxiliary handle 53 to the saw head body 1 using two 1 4 inch hex socket head cap screws 55 and one 10 hex socket head machine screw 54 2 Install the knuckle guard 56 to the...

Page 27: ...ress bearing into motor body until bearing cage is 016 inch below Surface A 3 Repeat procedure for the other bearing if it was removed Motor Cap See Figure 20 1 Install a new bearing 5 with identifica...

Page 28: ...Rockford IL 61109 815 397 7070 Pistol Grip Chain Saw GREENLEE FAIRMONT 504 3179 0 Chain Saw Exploded View 49 48 50 47 46 44 45 58 57 56 55 54 53 4 15 16 21 52 51 14 22 4 13 23 3 1 6 7 9 12 10 5 11 27...

Page 29: ...0829 133742 Safety Latch 1 28 41190 155123 Torsion Spring 1 29 41956 F022421 Dowel Pin 1 30 41760 F019817 Spring 1 31 40462 122755 Washer 1 32 41585 F016230 Round Head Machine Screw 10 24 x 1 1 4 1 33...

Page 30: ...r ized fluid varies with pressure and rate of flow The size of the components must be adequate to keep pressure losses to a minimum and avoid damage to the hose due to heat generation or excessive tur...

Page 31: ...ation all air entrapment must be eliminated and the system pressurized to the maximum system pressure and checked for proper function and freedom from leaks Note Avoid potential hazardous area while t...

Page 32: ...diary of Textron Inc 4455 Boeing Drive Rockford IL 61109 2988 USA General Offices 815 397 7070 Customer Center and Field Service 800 435 0786 Fax 24 Hour Customer Center 800 451 2632 815 397 1865 Cana...

Reviews: