


English
1
How to use this manual?
The game controller is compatible with PC, PlayStation®2 and PlayStation®.
For PC users, please refer to section A of “Installation for PC system”.
For PlayStation®2 and PlayStation®, refer to section B of “Installation for PlayStation®2 and
PlayStation®”.
A. Installation for PC system
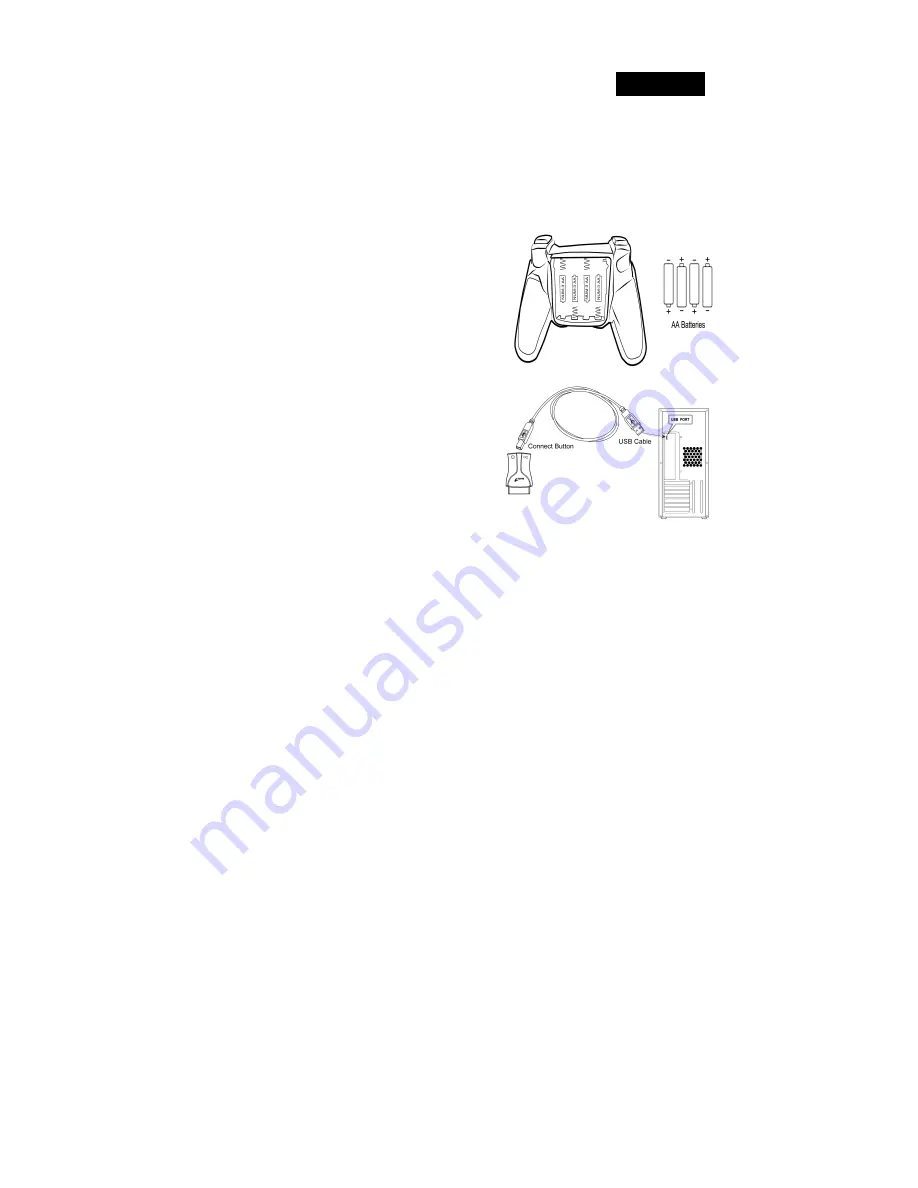
1. Install four AA batteries in the game pad
2. Make sure you turn your computer on.
3. Insert the driver disc into the CD-ROM drive,
and the setup program will start automatically. If
not, start the setup program manually by
selecting
Start/Run
and type in
“E:\setup”
(Where “E:” represents the location of the
CD-ROM drive), then press the Enter key.
(If you are using Windows 98, just follow the
instructions on the screen to finish the installation)
4. Please follow the instructions on the screen to
finish the driver installation. (Some operating
systems will install the DirectX program
automatically first, so just follow the
instructions on the screen to finish the program
installation.)
5. After the software installation is completed, you
can plug the USB connector of the cable to the
port on the receiver and another USB connector
to the USB port on your computer.
6. Press and hold the Connection/Vibration button of the game pad until the MODE LED
flashes in green, then press the button of the receiver to connect with each other.
7. Click
Start / Settings / Control Panel
and double click on the
“Game Controllers”
or
“Gaming Options”
icon.
8. In the
“Game Controllers”
or
“Gaming Options”
screen, you can calibrate and test your
game controller before you play any game.
9. When you finish the calibration and test, you can now play any game.


