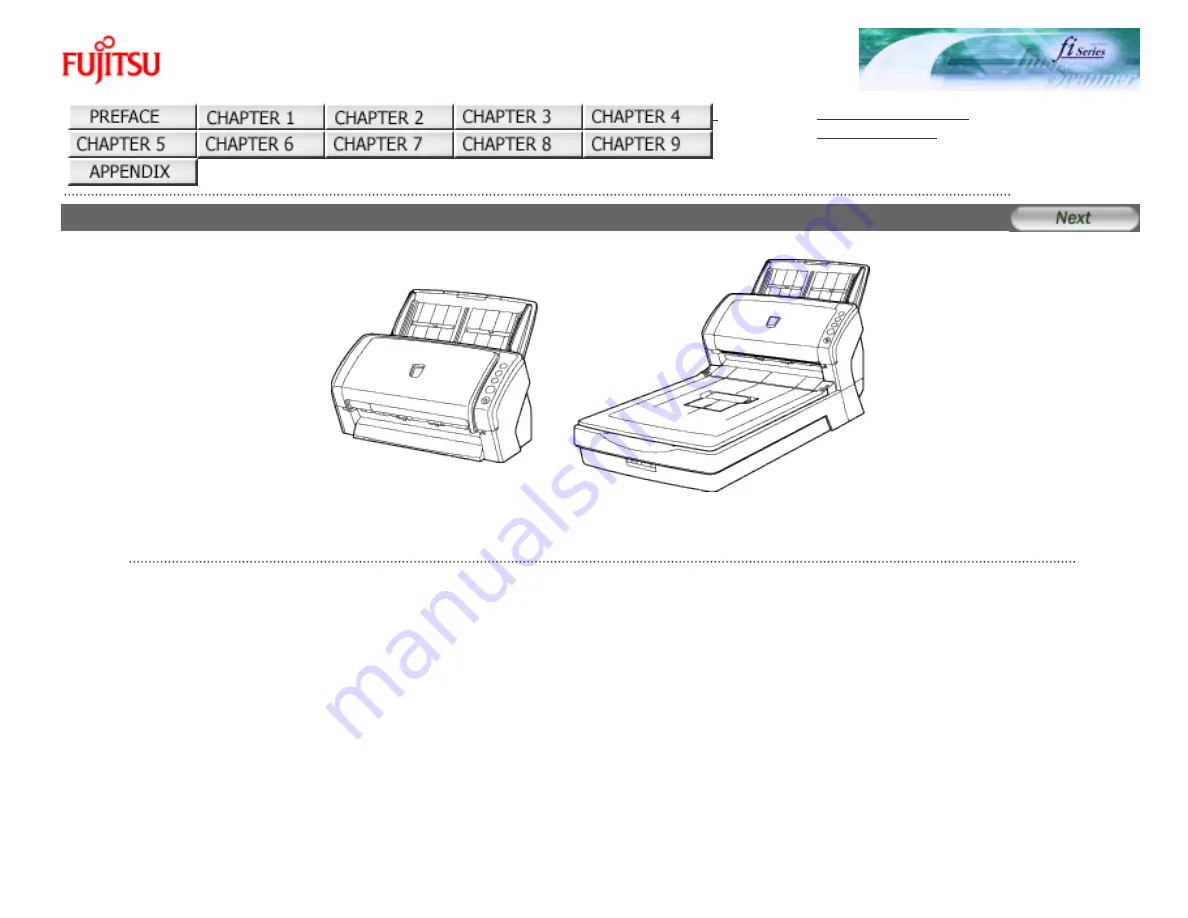
fi-6140 / fi-6240 Image Scanner Operator's Guide
fi-6140 / fi-6240 Image Scanner Operator's Guide
fi-6140 / fi-6240 Image Scanner Operator's Guide P3PC-1922-01EN
All Rights Reserved. Copyright 2007 © PFU LIMITED
file:///D|/Documents%20and%20Settings/scanner/Desktop/Lynx3/06/contents/EN/index.htm9/28/2007 2:37:34 PM