Installation
Instructions
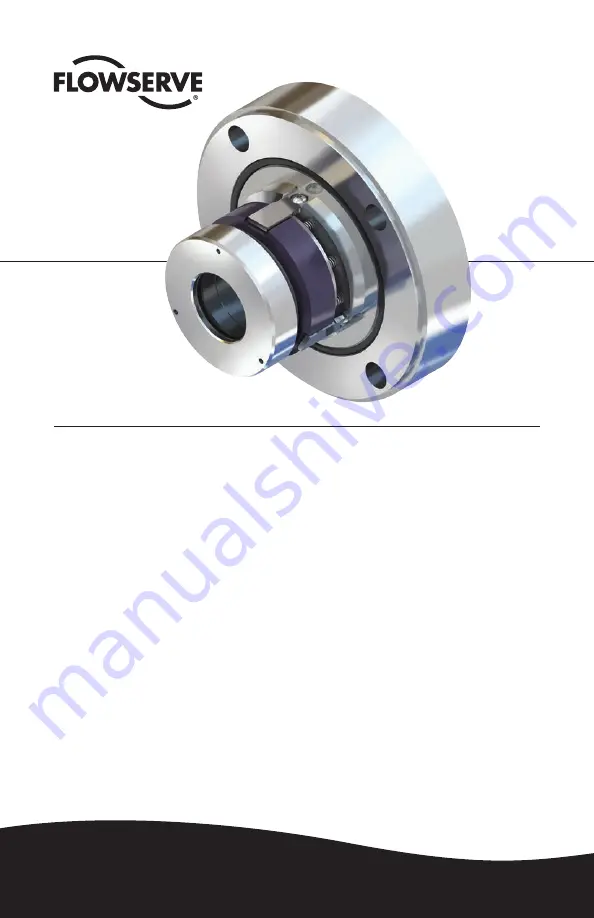
HSH Series
Balanced high
pressure
pusher seals
Experience In Motion
1
Equipment Check
1.1
Follow plant safety regulations prior to equipment disassembly:
1.1.1
Wear designated personal safety equipment
1.1.2
Isolate equipment and relieve any pressure in the system
1.1.3
Lock out equipment driver and valves
1.1.4
Consult plant Safety Data Sheet (SDS) files for hazardous material regulations
1.2
Disassemble equipment in accordance with the equipment manufacturer’s instructions
to allow access to seal installation area.
1.3
Remove existing sealing arrangement (mechanical seal or otherwise).
Clean seal chamber and shaft thoroughly.
1.4
Inspect surfaces under gaskets to ensure they are free from pits or scratches. Break all sharp
corners on shaft steps, threads, reliefs, shoulders, key ways, etc. over which gasket(s) must
pass and/or seal against.
1.5
Check shaft or sleeve OD, seal chamber bore, seal chamber depth, gland pilot, stud diameter,
stud bolt pattern and distance to first obstruction to ensure they are dimensionally the same
as shown in the seal assembly drawing.
1.6
Check seal assembly drawings for any modifications (reworks) to be made to the equipment
for mechanical seal installation and act accordingly.
1.7 The equipment must be earthed to prevent sparks due to static electricity discharge.