background image


D

D

u

u

a

a

l

l


F

F

u

u

n

n

c

c

t

t

i

i

o

o

n

n


M

M

a

a

g

g

n

n

e

e

t

t

i

i

c

c


R

R

o

o

w

w

i

i

n

n

g

g


M

M

a

a

c

c

h

h

i

i

n

n

e

e


USER MANUAL 


IMPORTANT: 

Read all instructions carefully before using this product. Retain this manual for future 
reference. 
 

Summary of Contents for Oceans 200

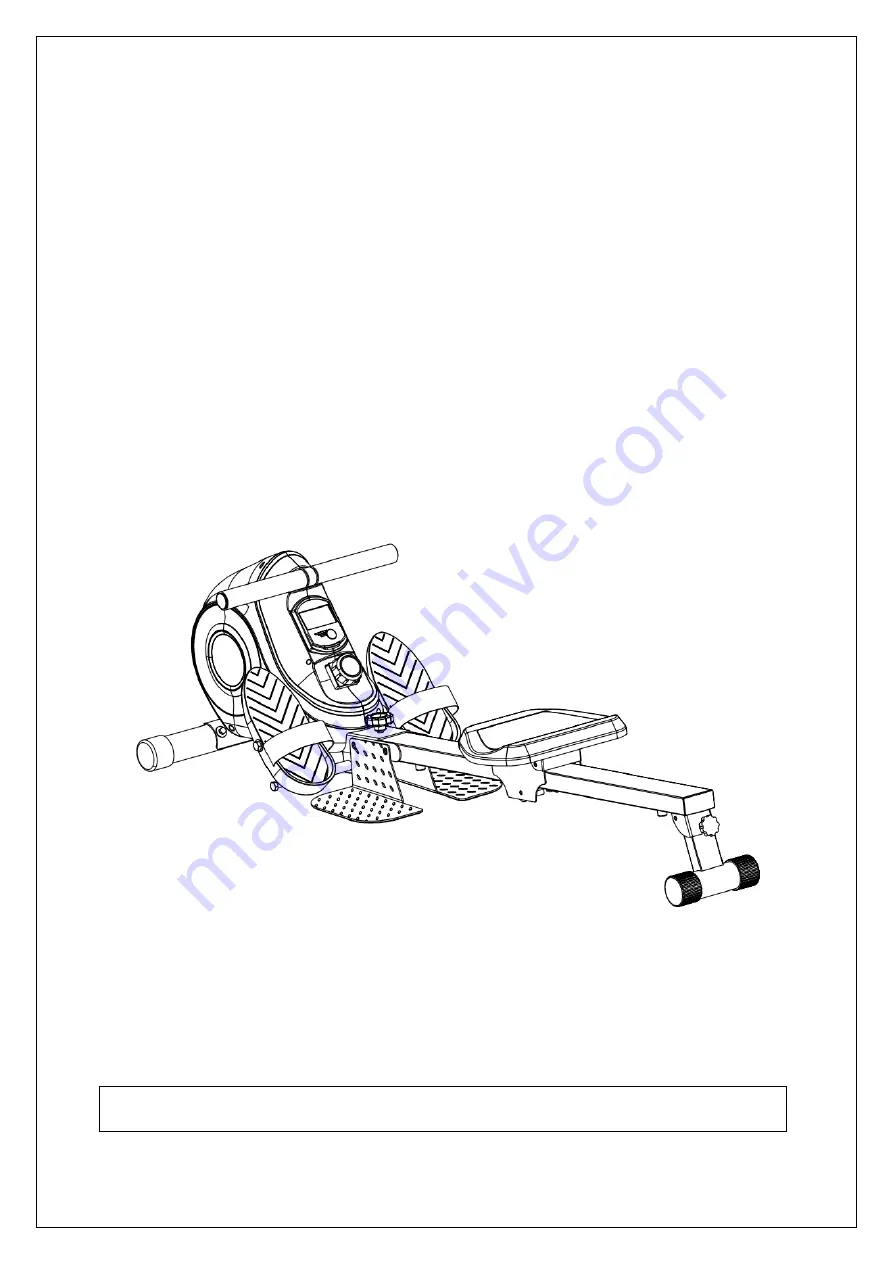
Page 1: ...l F Fu un nc ct ti io on n M Ma ag gn ne et ti ic c R Ro ow wi in ng g M Ma ac ch hi in ne e USER MANUAL IMPORTANT Read all instructions carefully before using this product Retain this manual for future reference ...

Page 2: ... the machine 6 Keep children and pets away from the machine Do not allow children to play or use the machine This machine is designed for adults only 7 Pay attention to your balance while using the machine 8 Stop exercise immediately if you feel nausea shortness of breath lightheadedness headache pain tightness in your chest or any discomfort 9 Do not place fingers or any other objects into the mo...

Page 3: ... 2 EXPLODED DIAGRAM ...

Page 4: ... 9 Nylon nut M10 2 33 Front bottom tube 1 10 Flat washer D13 2 34 Front end cap 2 11 Pedal 1pr 35 Flat washer D10 1 12 Hex bolt M12 155 4 36 Sensor wire 1 13 Saddle 1 37 Screw ST3X10 2 14 Hex bolt M10 108 2 38 Square end cap 1 15L R Foot plate 1pr 39 Magnet 1 16 Nylon nut M8 4 40 Cap 4 17 Flat washer D8 8 41 Bearing 608 8 18 Slide rest 1 42 PU wheel 4 19 Hex bolt M8 110 3 43 sleeve2 2 20 Sleeve 1 ...

Page 5: ...ONS STEP 1 1 Remove the Carriage Bolt 30 Paper Tubes A Arc Washers 31 and Cap Nuts 32 from the Front Bottom Tube 33 2 Attach the Front Bottom Tube 33 to the Mainframe 1 with Carriage Bolts 30 Arc Washers 31 and Cap Nuts 32 ...

Page 6: ...nto the Slide Rail 22 and tighten the Cushion 24 to the Slide Rail 22 2 Attach the Plate 44 to the Slide Rail 22 with Screws 45 STEP 3 1 Attach the Support Frame 28 to the Slide Rail 22 with Hex Bolt 25 Flat Washers 17 and a Nylon Nut 16 Tighten with Small Knob 27 and Flat Washer 17 ...

Page 7: ...ighten the Slide Rail 22 and Foot Plates 15L R to the Mainframe 1 with Hex Bolts 14 Flat Washers 8 Large Knobs 2 Flat Washers 35 and Nylon Nuts 9 Cover with Caps 40 3 Insert Hex Bolts 12 through the Pedals 11 and Flat Washer 10 to the Mainframe 1 Tighten with S19 wrench ...

Page 8: ...he Large Knob 2 and the Flat Washer 35 Safety note The seat will glide down the Slide Rail 22 when folding 2 Hold the seat and fold the Slide Rail 22 up Lower the seat all the way down 3 Insert the Large Knob 2 and Flat Washer 35 into the aligned holes in the Slide Rail 22 and tighten ...

Page 9: ...e 1 Unscrew the Large Knob 2 and the Flat Washer 35 2 Hold the seat and unfold the Slide Rail 22 down Lower the seat all the way down 3 Insert the Large Knob 2 and Flat Washer 35 into the hole on the Slide Rail 22 and tighten ...

Page 10: ... upper body strength exercises When using it as a rowing machine make sure to put your feet in the Pedals 11 and use the straps When using it to do upper body exercises turn the Pedals 11 forward so they are out of the way Move the Saddle 13 towards the middle of the Slide Rail 22 Stand on the Foot Plates 15 Pull on the Handlebars 5 to do the exercises ...

Page 11: ...ries from start to end 6 COUNT MIN Display current rowing strokes per minute or the frequency per minute 7 PULSE RATE IF POSSIBLE 1 Press MODE and navigate to PULSE 2 Wear a transmitter belt properly and it will wirelessly transfer your heart rate signal to the meter to display 8 AUTO ON OFF AUTO START TOP Without any signal for 4 minutes the power will turn off automatically Start exercising or p...

Reviews: