background image

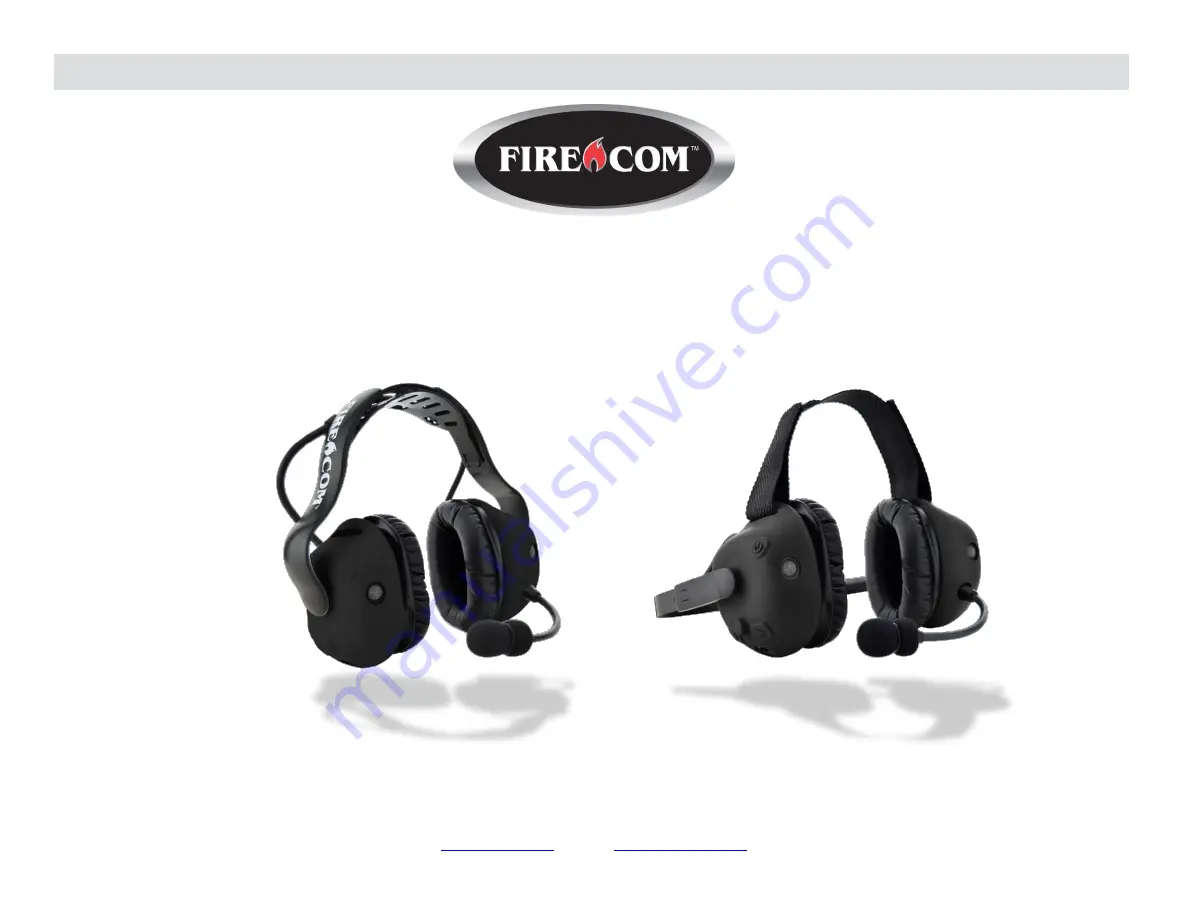
FHW50X and UHW50X headsets 

DECT7, Bluetooth, and Electronic Headsets 

Manual 

 7340 SW Durham Road, Portland, OR 97224 USA 

Phone: 800-527-0555, 503-684-6647, Fax 503-620-2943 

www.firecom.com

 • e-mail

[email protected]


Summary of Contents for FHW50X

Page 1: ...50X and UHW50X headsets DECT7 Bluetooth and Electronic Headsets Manual 7340 SW Durham Road Portland OR 97224 USA Phone 800 527 0555 503 684 6647 Fax 503 620 2943 www firecom com e mail service firecom com ...

Page 2: ......

Page 3: ... DECT Signal Strength 12 Quick Launch 13 PC Programming 13 Locating the USB Port 13 Installation of Sonetics Configurator Software for Windows 13 Care and Maintenance 14 Mic Muff Replacement 14 Ear Seal Replacement 14 Troubleshooting 15 Service Contact 15 General Connection Issues 15 Wired Auxiliary 15 Wireless Bluetooth 15 Wireless DECT 15 Glossary 16 Specifications 17 Headset 17 Regulatory 17 Bl...

Page 4: ...rough Wired AUX Radio Transmit Wireless Bluetooth Wireless DECT7 Included Not Available Replacement Parts Silicone Ruggedizers Earseals Mic Muffs Head Bands and Head Straps Batteries Speaker Covers Contents in Box Headset 1 ea x Firecom Headset Manual and Reference 1 ea x Quick Reference Guide 1 ea x Manual online at www firecom com 1 ea x FCC IC NRR compliance sheet 1 ea x Warranty Card 1 ea x Ac...

Page 5: ... Firecom is able to deliver a wireless headset that is lighter than many wired headsets Listen Through Situational Awareness The Headset has two listen through microphones to give the user stereo situational awareness The microphones are placed on the forward edge of the headset to give the user the perception of sounds in the front versus from the rear The listen through has a programmable volume...

Page 6: ...e Headsets will connect to standalone Sonetics Wireless Base Stations or Sonetics IP DECT7 wireless systems A DECT7 network gives up to 1600ft of range line of sight from its wireless base with interference free digitally encrypted communications Backwards Compatibility Firecom Wireless Headsets are backwards compatible with Firecom first generation wireless DECT and DECT6 Wireless Base Stations w...

Page 7: ... users head Headband Removal Tools Required Sonetics Screwdriver 1 Place the handle of your Sonetics Screwdriver between the headband and the dome Make sure the handle is behind the notch on the inside of the headband 2 Use one hand to hold the dome on a flat surface 3 Gently push with the headband with the other hand 4 Route the headband cable through the headband as shown Headband Installation T...

Page 8: ...er Replace the ruggedizer Note the left and right Connecting a Two way Radio Tools Required Scissors Firecom screwdriver 1 Remove the left dome ruggedizer with the microphone boom attached 2 Cut the along the groove on the underside of the ruggedizer 3 Replace the ruggedizer 4 Open the Radio Cover and plug in the Firecom PR Radio Adaptor 5 Screw the adaptor into place 6 Connect the Sonetics PR Rad...

Page 9: ...e the rated hearing protection levels Overhead Fitment 1 Inspect Ensure no damage to the earseals or the Headset 2 Expand 3 Place 4 Adjust 5 Seal Behind Head Fitment 1 Inspect Ensure no damage to the earseals or the Headset 2 Expand 3 Place 4 Adjust 5 Seal ...

Page 10: ...not cause gap in the earseal Glasses Ensure Glasses do not cause a gap in the earseal Microphone Placement To optimize speech a noise cancelling microphone is used This type of microphone is designed to enhance sounds from very close while reducing sounds from afar Ensure proper placement for best results ...

Page 11: ...adapters will damage the Headset and void the warranty Vehicle Charging Connect the RED wire to 12VDC and the BLACK wire to battery chassis ground Install the fuse no further than 18 from the battery WARNING Only replace fuse with the same type 1 5A AGU WARNING Voltages exceeding the Headset charging specification will damage the Headset Verify the Headset voltage specification to the vehicle batt...

Page 12: ...Information 4 Insert the replacement battery positive end first 5 Close the battery door and tighten the screw 6 Replace the ruggedizer if installed LED Indications The Firecom Electronic Headset uses a multicolor LED indicator to give additional information on the status of the Headset The table below describes the behavior while charging or in use not all functions are available on all models Ch...

Page 13: ...ain Volume You can use either the plus and minus buttons on the left side of the Headset or the forward and back arrow buttons on the right side of the Headset to adjust the Main Volume Adjusting the Listen Through Volume Press both the and buttons on the right hand side of the Headset to toggle between the Main Volume and Listen Through volume A voice prompt will tell you which is active When Lis...

Page 14: ...tercom only Version Number Version 1 Indicates what firmware version your headset is running DECT Bandwidth DECT Wide Factory Setting Options DECT Wide DECT Wide Better sound quality DECT Narrow Better resistance to interference Radio On or Radio Off Enabling this setting makes the headset read out RSSI Received Signal Strength Indicator numbers that tell you how strong the connection to The Base ...

Page 15: ...ime thereafter the Headset will remember the Wireless Base Station and automatically reconnect To Create a New DECT Pairing 1 Turn off the Headset 2 Put the Wireless Base Station into Pairing Mode 3 Hold down the PTT and power buttons to turn on the Headset 4 Keep holding the PTT and Power buttons until the LED begins to flash Red Green 5 Release the PTT button 6 If successful the LED will begin t...

Page 16: ...Long Long Press Release Short Short Press Release 3 seconds Long Long Press 3 seconds PC Programming All 500 Series Headsets have a USB port located inside the left dome A Windows PC with the Sonetics Configurator software installed is required to adjust headset features Refer to the software for additional information Locating the USB Port Installation of Sonetics Configurator Software for Window...

Page 17: ...ths for optimal performance To replace the Mic Muff 1 Remove the old mic muff and o ring holding it in place 2 Slide the new mic muff over the microphone 3 Slide the o ring over the mic muff to hold it in place on the microphone as shown Ear Seal Replacement Replace the ear seals every 6 months for optimal performance and to maintain the headset NRR WARNING Worn ear seals will degrade the Headsets...

Page 18: ... charge both the Headset and the Wireless Base Station if applicable 7 Check location of the Wireless Base Station and external antenna location The Wireless Base Station should not be installed inside metal enclosures or any other location closer than 4 inches to a metal object or surface No audio communication and or PTT from or to the base 1 Ensure that power is turned on to the Wireless Headse...

Page 19: ...Cordless Telecommunications A wireless standard in the 1 9GHz wireless range DECT7 DECT7 has all of the benefits of DECT with wider audio bandwidth and added features such as multiple channels and broadcast mode Link ing When a paired device re connects to a paired device Pair ing To create a semi permanent wireless connection to a Base Station PTT Push to Talk Typically used to describe radio tra...

Page 20: ...Industry Canada IC UPN FHW507 7895A 95032520 IC UPN UHW507 7895A 95032520 IC UPN UHW505 7895A 95032530 IC UPN UHW503 7895A 95032530 IC UPN DW501B 7895A 95032540 ISO Conducted Transients 7637 2 Quality Management System Control ISO 9001 2008 MIL SPEC Chemical Exposure Intermittent Exposure MIL STD 810 Method 504 Isopropyl alcohol Formula 409 WD 40 Windex Bleach Water 1 1 Mineral oil Synthetic Sweat...

Page 21: ...2 x 12 up and down stream Channel Allocation Dynamic Encryption DECT Standard Cipher with 35 bit initialization vector Audio Bandwidth 300 Hz to 3 4 kHz Narrow Band G 726 compression 50 Hz to 7 kHz Wide Band G 722 compression Region 1 Specific Specifications Authorized for use in Canada USA Frequency Bandwidth 1919 808 MHz to 1930 176 MHz Number of Carriers 5 Total Time Slots 60 in G 726 narrow ba...

Page 22: ...re therefore advised not to place the DECT equipment or its antenna in close proximity to sensitive equipment by maintaining a 20cm minimum distance between the sensitive equipment even in standby mode Please also consider referencing the documentation provided by us and the manufacturer of sensitive electronic items guiding its proper usage General Communication Privacy Notice Although this equip...

Page 23: ...mful interference in a commercial environment This equipment generates uses and can radiate radio frequency energy and if not installed and used in accordance with the instruction manual may cause harmful interference to radio communications Operation of this equipment in a residential area is likely to cause harmful interference in which case the user will be required to correct the interference ...

Page 24: ... lessen when you press the cups your earmuff is probably not fitted properly If necessary reposition Headset and ensure hat hair or jewelry are not interfering with proper fit seal of the muff pad to head Regularly check cushions for wear and clean them occasionally as necessary with a damp cloth or disinfect ear seal surface with non alcohol PPE wipes Do not use harsh detergents or any solvents w...

Page 25: ...recom or an Firecom Authorized Service Provider f to a product or part that has been modified without the written permission of Firecom g if any Firecom serial number has been removed or defaced 7 This warranty does not extend to any other equipment apparatus vehicle aircraft or watercraft to which this product may be attached or connected THE FOREGOING IS YOUR SOLE REMEDY FOR FAILURE IN SERVICE O...

Page 26: ...FIRECOM A DIVISION OF SONETICS CORPORATION Copyright 2015 Sonetics Corporation All rights reserved The information in this document is subject to change without notice P N 600 0387 00 Rev E ...

Reviews: