Falcon F18, Руководство пользователя
Sanremo F18 - высококачественный кофейный аппарат, удобный в использовании. Для быстрой и простой установки рекомендуется скачать инструкцию по установке и быстрому запуску с нашего сайта бесплатно. Загрузить ее можно на manualshive.com. Начните наслаждаться отличным кофе с Sanremo F18 прямо сейчас!
Поделиться
Скачать


Отзывы:
Нет отзывов
Похожие инструкции для F18
F-22
Бренд: FARRIER MARINE Страницы: 52

37
Бренд: Tayana Страницы: 85
26
Бренд: MACGREGOR Страницы: 22
8
Бренд: Walker Bay Страницы: 16

110
Бренд: J Страницы: 30

42
Бренд: Lagoon Страницы: 122

64
Бренд: Jeanneau Страницы: 80

380
Бренд: Lagoon Страницы: 114
3500
Бренд: Tartan Страницы: 42
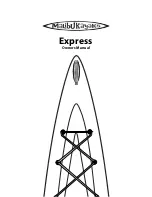
Express
Бренд: Malibukayaks Страницы: 19
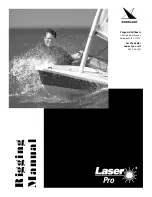
Laser Pro
Бренд: Vanguard Sailboats Страницы: 8

Sport
Бренд: TAKACAT Страницы: 12
Fun
Бренд: Jeanneau Страницы: 15
RX1
Бренд: NEILPRYDE Страницы: 4

Heron
Бренд: Feathercraft Страницы: 23

Wisper
Бренд: Feathercraft Страницы: 23
53
Бренд: Jeanneau Страницы: 58
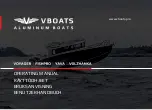
VOYAGER
Бренд: VBOATS Страницы: 72


