


ExRobotics B.V.
Delftechpark 26, 2628 XH, Delft, The Netherlands
[email protected]
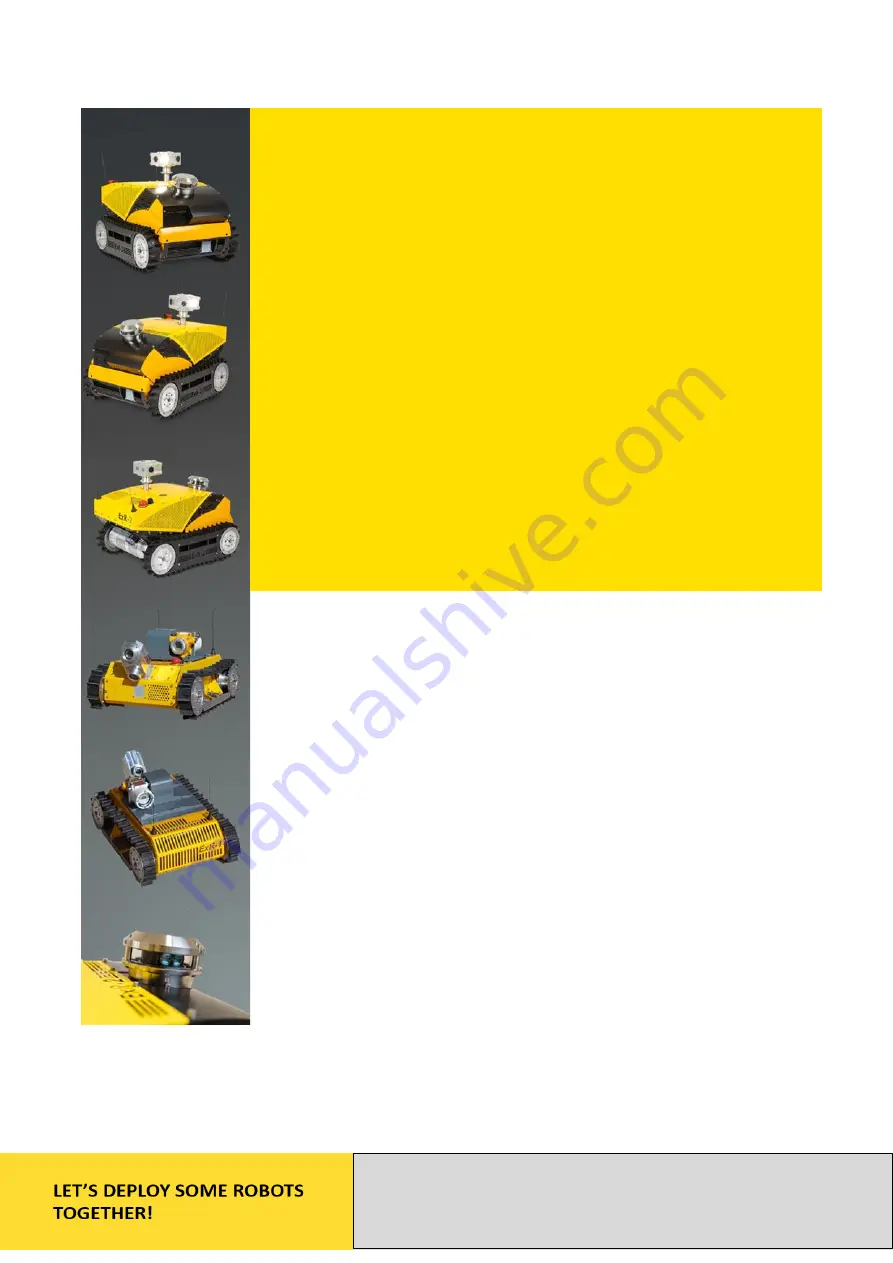
ExR-2 Robot
Operating Guide
Introducing the ExRobotics ExR-2, a cutting-edge robotic companion designed to revolutionize your daily tasks. Discover the full capabilities and unlock the true potential of your ExR-2 with our comprehensive Operating Manual, available for free download at manualshive.com. Maximize your experience and stay ahead with this essential manual at your fingertips.
ExRobotics B.V.
Delftechpark 26, 2628 XH, Delft, The Netherlands
[email protected]
ExR-2 Robot
Operating Guide


