


Model 100
v5.2.0
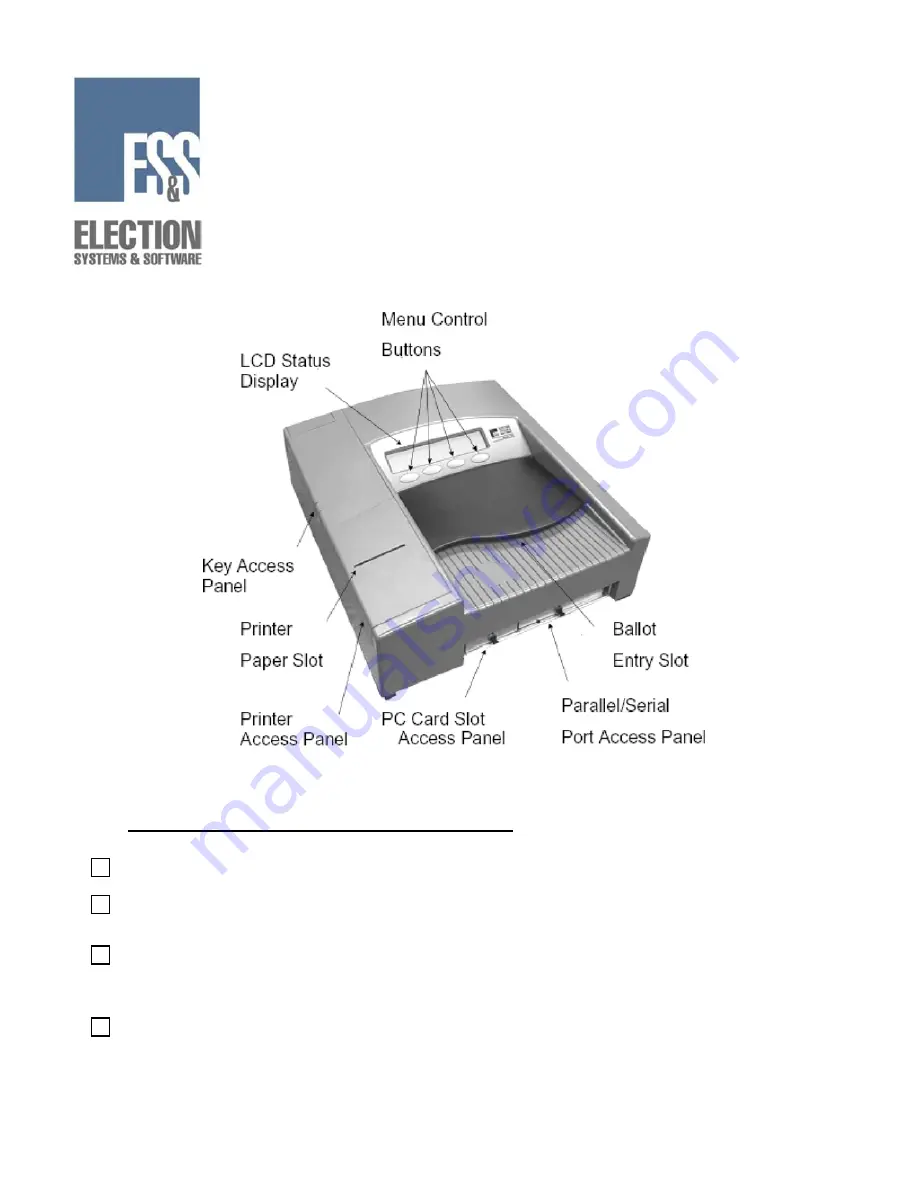
Pre-Election Day Checklist
Checking Supplies and the Equipment
1.
2.
3.
4.
1 paper spool per scanner per election
1 PCMCIA card with election definition
Sufficient number of BIC medium point black pens for voters at each
polling location
2 pressurized cans of air
Copyright 2004 by Election Systems & Software, Inc. Model 100 Pre-Election Day Checklist
All rights reserved.
1


