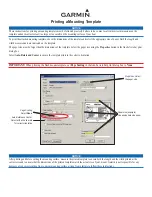
Emerson ES30, Owner'S Manual
The Samsung ES30 is a user-friendly digital camera designed for capturing memorable moments. With its sleek design and advanced features, this compact camera delivers high-quality photos and videos. Need a user manual? You can easily download the free manual from manualshive.com to unlock all the exciting features of the Samsung ES30.
Share
Download


Reviews:
No comments
Related manuals for ES30

CY-VHD9500U
Brand: Panasonic Pages: 6

CQVX100U - Car Audio - DVD Receiver
Brand: Panasonic Pages: 46

CQVW100U - Car Audio - In-Dash DVD Receiver
Brand: Panasonic Pages: 46

CQ-VX220W
Brand: Panasonic Pages: 20

436NA-0006
Brand: 1byone Pages: 17

SP-03
Brand: BAS-IP Pages: 18
GPSMAP 720
Brand: Garmin Pages: 2
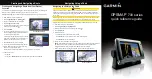
GPSMAP 740
Brand: Garmin Pages: 2
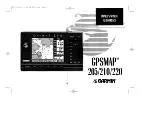
Astro 220
Brand: Garmin Pages: 92

PLASMA P31C
Brand: R-Tech Pages: 20

SP-03
Brand: BAS-IP Pages: 2

JEFMIG185-A
Brand: Jefferson Pages: 24

DMR11
Brand: V-Tec Pages: 2

EZH2O LZWS-LRPBM28K
Brand: Elkay Pages: 4

POLOview
Brand: Centurion Pages: 12

TriGas
Brand: LINNEPE Pages: 7

HBM 150/2
Brand: Hali-Brite Pages: 21

WG4000
Brand: Campbell Hausfeld Pages: 48


