Emerson CKD1100, CKD1100BL, CKD1100GN,, Owner'S Manual
Introducing the Emerson CKD1100 series - the ultimate kitchen companion! Enhance your cooking experience with these sleek and efficient appliances. Get step-by-step guidance on how to make the most of their features with our detailed Owner's Manual, available for free download at manualshive.com. Cook with confidence today!
Share
Download


Reviews:
No comments
Related manuals for CKD1100, CKD1100BL, CKD1100GN,

KCR-9
Brand: LENCO Pages: 5

AE 4200 EU
Brand: Albrecht Pages: 52

SVE 235
Brand: Majestic Pages: 15

AF-4X
Brand: Ubiquiti Pages: 28

CE3410
Brand: Zeon Pages: 4

CB3-DAB-WHT
Brand: MAJORITY Pages: 24

TF-1569U
Brand: Telefunken Pages: 18

MARINE MR HH330 FLOAT
Brand: Cobra Pages: 35

RC 820
Brand: Trevi Pages: 12

RF-DAB-BEDSIDE1
Brand: Renkforce Pages: 76

NSVS981
Brand: JRC Pages: 4

JSB-196
Brand: JRC Pages: 4

KM Series
Brand: Solectek Pages: 3

DMH
Brand: BK Radio Pages: 18

DMH 5992
Brand: BK Radio Pages: 34

EM8100 VHF
Brand: Excera Pages: 43
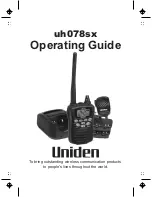
uh078sx
Brand: Uniden Pages: 28

PRESIDENT LTD 950
Brand: Uniden Pages: 33


