

450U-E WIRELESS ETHERNET MODEM AND DEVICE SERVER QUICK START GUIDE
©2013 Cooper Bussmann
www.cooperbussmann.com/wirelessresources
10/16
Page
1
of
2
Version
1.0
Setting Up a Bridge Network with Two 450U-E Radios
The following procedures provide instructions on how to connect a computer to the 450U-E,
configure the essential radio parameters, and then set up a bridged network between two modules.
Configure a PC to Connect to the 450U-E
1. On the PC Control Panel, open
Network and Sharing Center
-->
Change Adapter Settings
-->
Local Area Connection
.
The following instructions are for Windows 7
®
. Earlier Windows operating systems have
similar settings.
2. Open
Properties
of Local Area Connection.
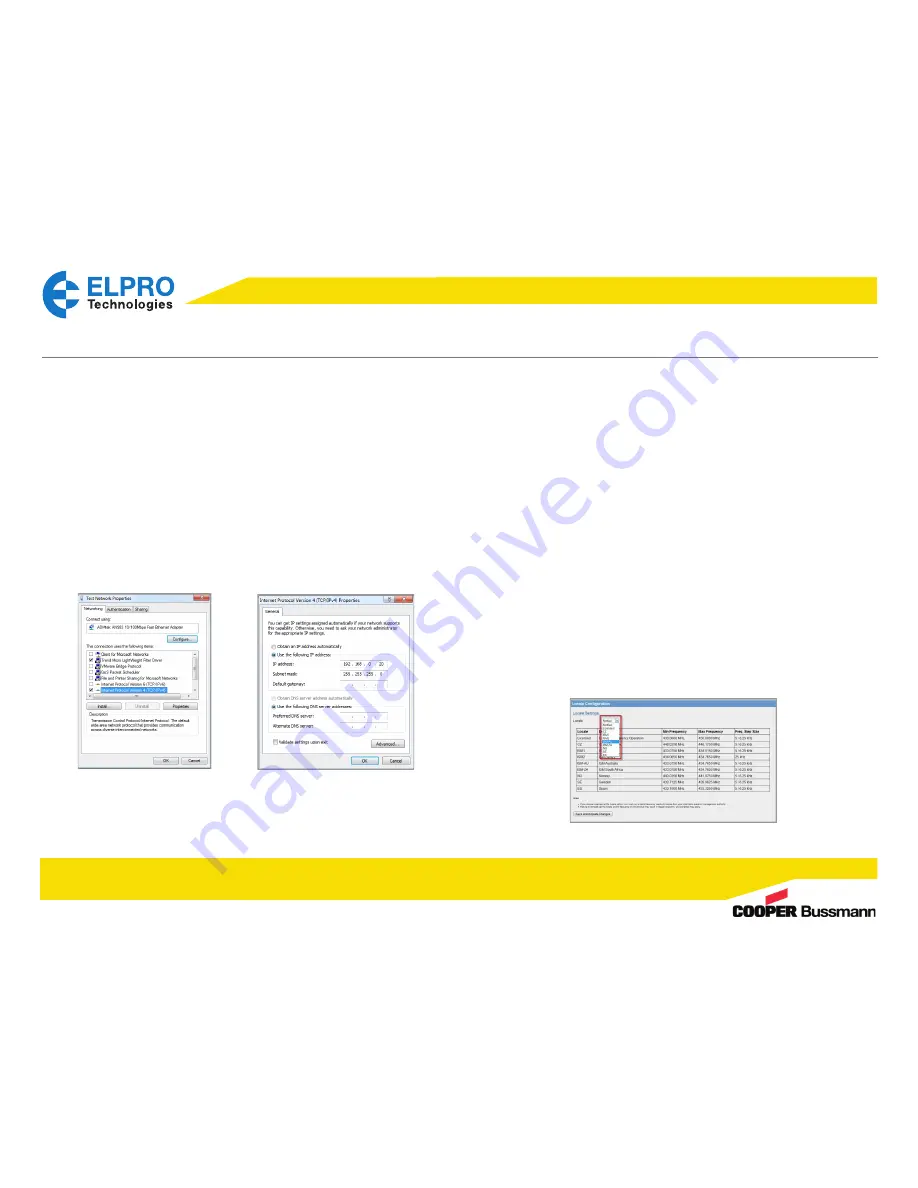
3. Select “Internet Protocol Version 4 (TCP/IPv4)” and click
Properties
(Figure 1).
4. Select “Use the following IP address” (Figure 2).
5. Enter an IP address in the range192.168.0.XXX, where “XXX” is an IP address that will not
conflict with any other device that may be connected on the same network.
6. Enter the subnet mask 255.255.255.0, and click
OK
. Click
OK
again, and then click
Close
to
return to the Network Connections window.
Figure 1 Local Area Connection Properties
Figure 2 Internet Protocol Version Properties
7. On the module, set the Run/Setup DIP switch (located on the bottom) to the SETUP position.
8. Connect an Ethernet cable between the 450U-E and the PC.
9. Apply power to the SUPPLY terminals (9–30 Vdc) on the module.
10. Open Internet Explorer
®
version 7 or greater, and enter the default IP address of the module
into the address bar.
You do not need to enter “http” or “www” or any other prefix.
The module’s Setup Mode IP address is on the label on the back of the module.
11. Step through any security warnings, and when prompted enter the username “user” and the
password “user” (case sensitive).
12. When connected to the module, set the Run/Setup DIP switch back to the RUN position.
•
If the modem is new and never been configured, or it has been reset to its factory
default settings, the Locale page appears (Figure 3). Go on to step 13.
•
If the module has been previously configured, the home page appears. Skip step 13
and go on to the next procedure.
13. If the Locale page appears, select the appropriate locale from the drop down list, and then
click
Save and Activate Changes
. Go on to the next procedure.
The table on this page shows the available locales and frequency ranges obtainable from
the radio hardware. When you click Save and Activate Changes, the Quick Start page
appears.
Figure 3 Locale Page


