Dear Electrolux customer!
Welcome to the family of Electrolux customers.
We hope that you will have many years of use from your new
machine.
The machine has many features. To make the most of its
functions, we recommend that you read the operating
instructions before using the machine. The operating
instructions include information on how you can help protect
the environment.
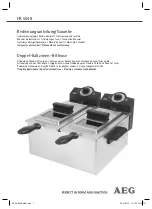
Operating Instructions
Tumble dryer
Electrolux TW SL3 M100