Elation DLED 12 BRICK, User Manual
Introducing the Elation DLED 12 BRICK - a cutting-edge lighting fixture built to mesmerize any event or stage. To unleash its true potential and explore endless possibilities, ensure you have the User Manual. Download this essential manual for free at manualshive.com, unlocking the full power of your DLED 12 BRICK effortlessly.
Share
Download


Reviews:
No comments
Related manuals for DLED 12 BRICK
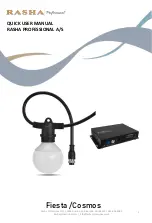
Fiesta
Brand: RASHA PROFESSIONAL Pages: 16
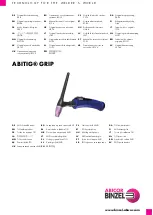
ABITIG GRIP 1502
Brand: Abicor Binzel Pages: 168

Ra Clicky
Brand: Ra Lights Pages: 3

Sonolux LTPESPR
Brand: XanLite Pages: 4

HALO ALS4A40GY
Brand: Cooper Lighting Solutions Pages: 6

409043
Brand: Berner Pages: 40

C-BAR
Brand: Qtx Pages: 7

twenty3 2330 G3 ZH
Brand: Trilux Pages: 32

30690
Brand: SHOWTEC Pages: 16

V3 365nm
Brand: uvBeast Pages: 21

K40365
Brand: Husky Pages: 5

FL 4000
Brand: 4K5 Pages: 40

Ultinon Essential LED-HL Series
Brand: Philips Pages: 24

Ultinon Essential LED-HL
Brand: Philips Pages: 32

Infinity iW-1915 RGBW Wash
Brand: Show Tec Pages: 35

176
Brand: Tektronix Pages: 79

SlimPAR QUAD 3 IRC
Brand: Chauvet Pages: 19

Intimidator Wash Zoom 250 IRC
Brand: Chauvet Pages: 29


