background image

OperatOr's Manual & parts

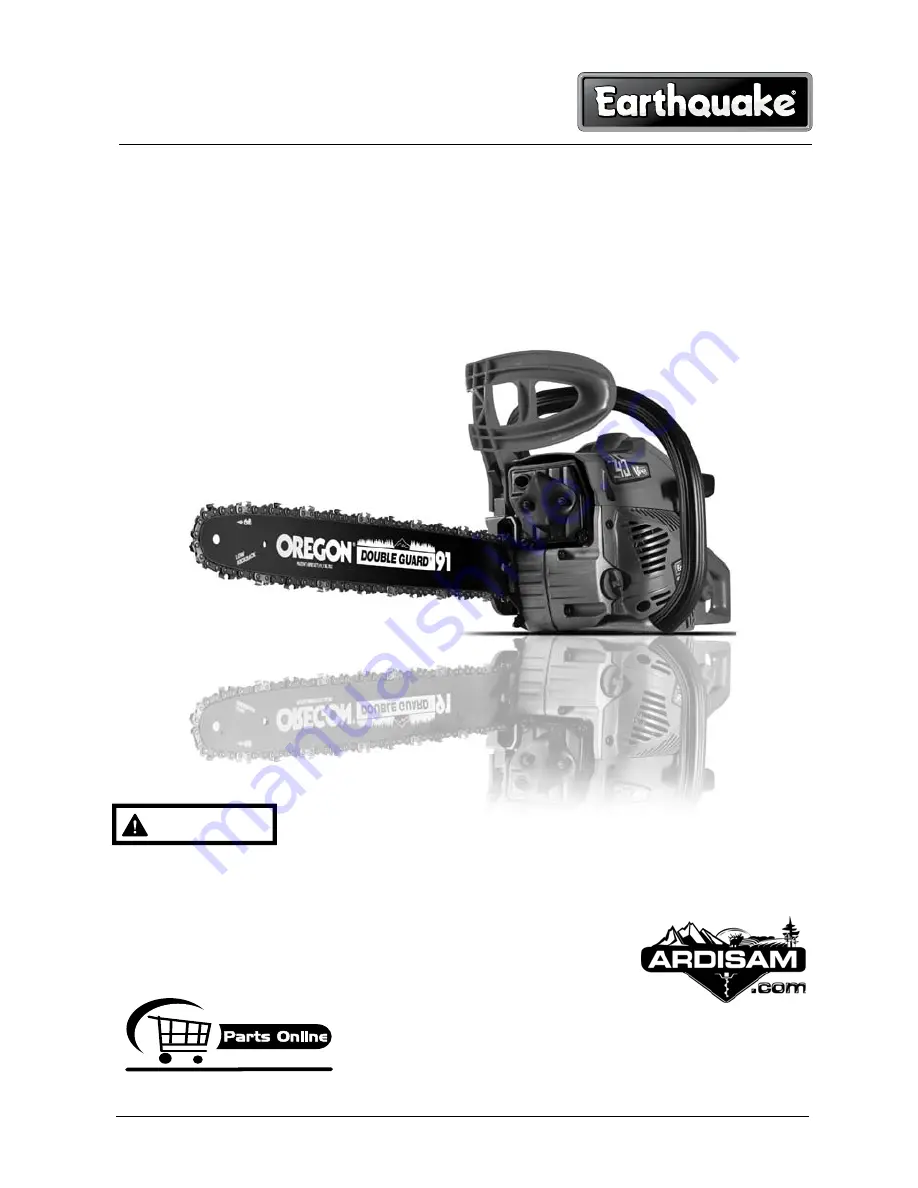
Chain Saw CS4518 

GetEarthquake.com

OMCS4518

Rev12-23-09

© Copyright 2009 Ardisam, Inc.

All Rights Reserved. Printed in China.

WARNING

Before using our products, please read this manual carefully to understand the 
proper use of your unit.

Summary of Contents for CS4518

Page 1: ...in Saw CS4518 GetEarthquake com OMCS4518 Rev12 23 09 Copyright 2009 Ardisam Inc All Rights Reserved Printed in China WARNING Before using our products please read this manual carefully to understand t...

Page 2: ......

Page 3: ...which must be followed or it leads to mechanical fail ure breakdown or damage NOTE This mark indicates hints or directions useful in the use of the product Page 1 Parts location 4 2 Symbols on the ma...

Page 4: ...le 3 Air filter cover 4 Choke knob 5 Throttle trigger lock out 6 Rear handle 7 Throttle trigger 8 Engine switch 9 Fuel tank cap 10 Oil tank cap 11 Front handle 12 Saw chain 13 Guide bar 14 Primer Bulb...

Page 5: ...ruction book before operating this machine 2 Appropriate ear eye and head protection must be worn 3 Use the chain saw with two hands 4 Warning Danger of kickback 5 Read understand and follow all warni...

Page 6: ...switch Flipping the switch to the O position immediately stops the engine Location rear at the left side of the rear handle d Operate the choke knob Pull out the choke knob and the choke closes push...

Page 7: ...enter Severe engine damage or personal injury may occur if proper procedures are not followed g Shows the directions that the chain brake is released white arrow and activated black arrow Position Fro...

Page 8: ...he influence of alcohol or drugs 3 Operate the chainsaw only in well ventilated areas Never start or run the engine inside a closed room or building Exhaust fumes contain dangerous carbon monoxide 4 N...

Page 9: ...starting the engine or cutting wood Keep bystanders and animals out of the work area Children pets and bystanders should be a minimum of 30 feet 10m away when you start or operate the chain saw 9 Nev...

Page 10: ...authorized repair center e g if improper tools are used to remove the flywheel or if an improper tool is used to hold the flywheel in order to remove the clutch structural damage to the flywheel could...

Page 11: ...s may cause a lightning fast reverse reaction kicking the guide bar up and back towards the operator Pinching the saw chain along the top of the guide bar may push the guide bar rapidly back towards t...

Page 12: ...the saw Don t let go 3 Make certain that the area in which you re cutting is free from obstructions Do not let the nose of the guide bar contact a log branch or any other obstruction which could be hi...

Page 13: ...s Use protective gloves for safety 1 Pull the guard towards the front handle to check that the chain brake is not on 2 Loosen a nut and remove the chain cover Then remove bar spacer used for shipping...

Page 14: ...just touch the bottom side of the bar rail 7 Tighten the nuts securely with the bar tip held up 10 ft lbs 100 130 inch lbs Then check the chain for smooth rotation and proper tension while moving it...

Page 15: ...unces 50 1 WARNING The fuel is highly flammable Do not smoke or bring any flame or sparks near fuel IMPORTANT 1 DO NOT USE FUEL WITHOUT AN OIL MIXTURE RAW GASOLINE It will cause severe damage to the e...

Page 16: ...e container clearly on the outside of the container to avoid mixing up with gasoline or other containers CHAIN OIL Use special chainsaw oil all year round Recommended for winter or summer use NOTE Do...

Page 17: ...he bulb 1 Oil 2 Fuel 3 Engine switch 4 Choke knob 6 Pull out the choke knob The choke will close and the throttle lever will then be set in the starting position NOTE When restarting immediately after...

Page 18: ...arly empty by the time fuel is used up Be sure to refill the oil tank every time when refueling the saw ADJUSTING CARBURETOR The carburetor on your unit has been factory adjusted NOTE Carb is set at f...

Page 19: ...Normally the brake is activated automatically by inertial force It can also be activated manually by pushing the brake lever Front handle guard down toward the front When the brake operates a white c...

Page 20: ...confirm brake operation on the daily inspection How to confirm 1 Turn off the engine 2 Holding the chain saw horizontally release your hand from the front handle hit the tip of the guide bar to a stum...

Page 21: ...hain seized in a cutaway can damage the clutch system When the saw chain is caught in the cut do not attempt to pull it out by force but use a wedge or a lever to open the cut Guard against kickback T...

Page 22: ...a around the tree arrange a good foothold and retreat path 3 Make a notch cut one third of the way into the tree on the felling side 4 Make a felling cut from the opposite side of the notch and at a l...

Page 23: ...r from being caught in the cutaway Cutting an unpillowed log Saw down halfway then roll the log over and cut from the opposite side Cutting a pillowed log In the area A in the picture right above saw...

Page 24: ...ning Cut up from the bottom finish down from the top WARNING 1 Do not use an unstable foothold or a stepladder 2 Do not overreach 3 Do not cut above shoulder height 4 Always use both hands to grip the...

Page 25: ...unusual conditions such as sustained high load or high temperature opera tion or use in unusually wet or dusty conditions consult your servicing dealer for recommen dations applicable to your individu...

Page 26: ...ally check and clean the cylinder fins after removing the air cleaner and the cylinder cover When installing the cylinder cover make sure that switch wires and grommets are positioned correctly in pla...

Page 27: ...necessary Spark plug type Champion CJ7Y or equivalent 5 Sprocket Check for cracks and for excessive wear interfering with the chain drive If the wearing is found obviously replace it with a new one Ne...

Page 28: ...on increases Fuel consumption increases Cutter setting standards WARNING Be sure to wear safety gloves Before filing Make sure the saw chain is held securely Make sure the engine is stopped Use a roun...

Page 29: ...the proper level as illustrated WARNING Be sure to round off the front edge to reduce the chance of kickback or tie strap breakage 1 Appropriate gauge checker 2 Make the shoulder round 3 Depth gauge s...

Page 30: ...62 For replacement use only above bars and chains Maintenance of Chain Bar Engine Maintenance Schedule Maintenance Item Every 8 hours daily Every 20 hours or seasonally Each Year Clean Engine and Chec...

Page 31: ...Page 31 1 Empty the fuel tank and run the engine out of fuel 2 Empty the oil tank 3 Clean the entire unit 4 Store the unit in a dry place out of the reach of children Storage...

Page 32: ...Page 32 1 3 4 6 5 2 Parts Explosions...

Page 33: ...h shell 1 7 845110 fuel cap kit 1 8 845115 fuel tube 1 9 845116 gas filter components 1 10 845118 primer bulb 1 11 845119 oil cap Kit 1 12 845117 air filter 1 13 845103 Scavenge tube 1 14 845102 pump...

Page 34: ...r ac celeration Rough idling Check for water or substandard mixture Check air filter and fuel filter for clogging Check carburetor for inadequate adjustment Replace with proper fuel Clean Have an auth...

Page 35: ...150 Maximum speed with cutting attachment 11000r min Ignition system C D I with timing advance function Spark plug Champion CJ7Y or equivalent Oil feeding system Mechanical plunger pump with adjuster...

Page 36: ...nd Maintenance Instructions The warranty period begins on the date of purchase by the first retail consumer or commercial end user and continues for the period of time stated above These warranties ap...

Page 37: ...w may require scheduled maintenance and are warranted up to the first scheduled replacement point for that part Coverage under this warranty includes only the parts listed below the emission and evapo...

Page 38: ...f any such part fails during the period of warranty coverage that part will be repaired or replaced at no charge to the owner Any such part repaired or replaced under the warranty will be warranted fo...

Page 39: ...no charge to the owner Any such part repaired or replaced under warranty will be warranted for the remainder of the period prior to the first scheduled replacement point for the part Add on or modifie...

Page 40: ...disam Inc 1160 Eighth Avenue P O Box 666 Cumberland Wisconsin 54829 800 345 6007 Fax 715 822 4180 E mail info ardisam com GetEarthquake com Visit www ardisam com and discover more innovations that wil...

Reviews: