


DUKANE AV DIVISION
0
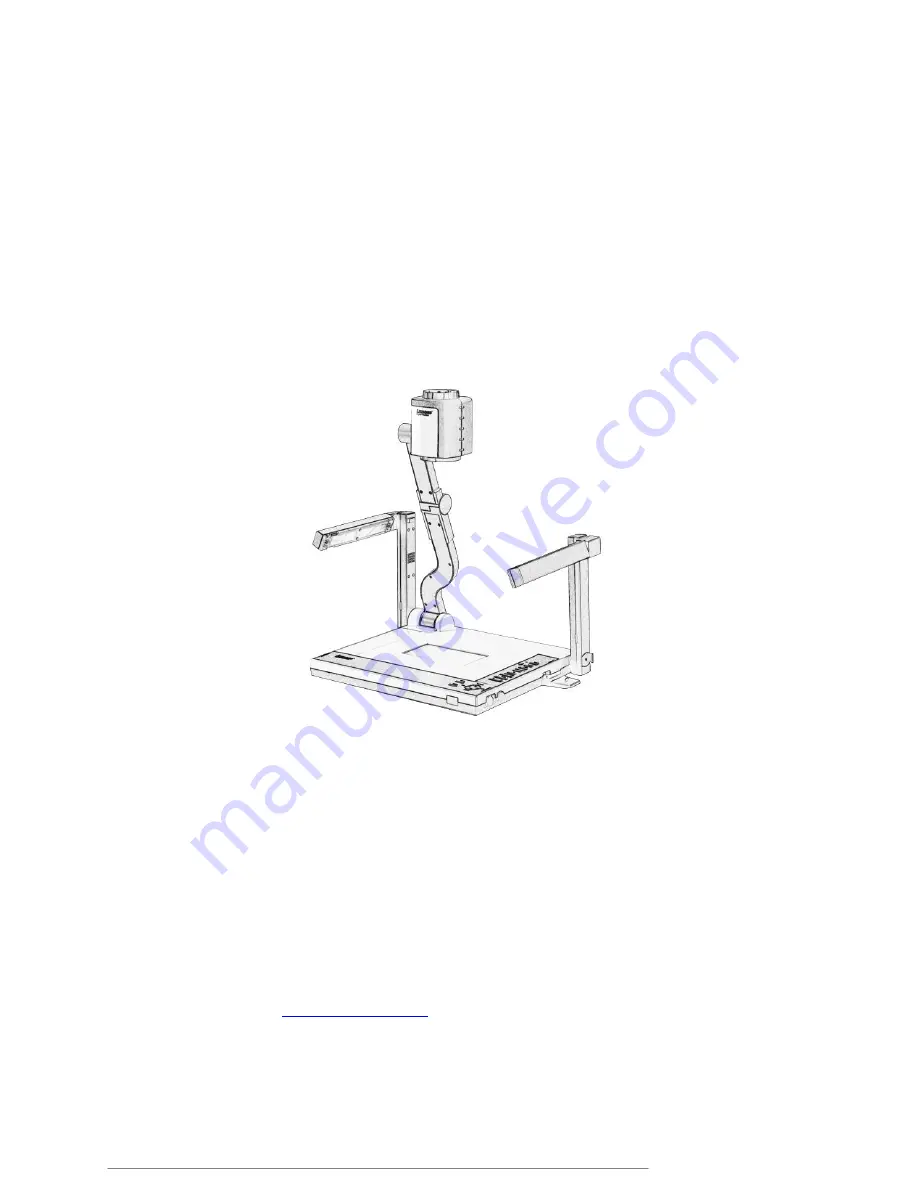
DVP507
Visual Presenter
User Manual
Doc 430-DVP507-00
5-20-10
[Important]
Information in this Guide may change due to product improvements. To
obtain the latest manuals, literature, and software please visit the Dukane
web site at
www.dukane.com/av
and look at the specific model
SUPPORT or DOWNLOADS section.
Summary of Contents for DVP507
Page 44: ...DUKANE AV DIVISION 43 ...


