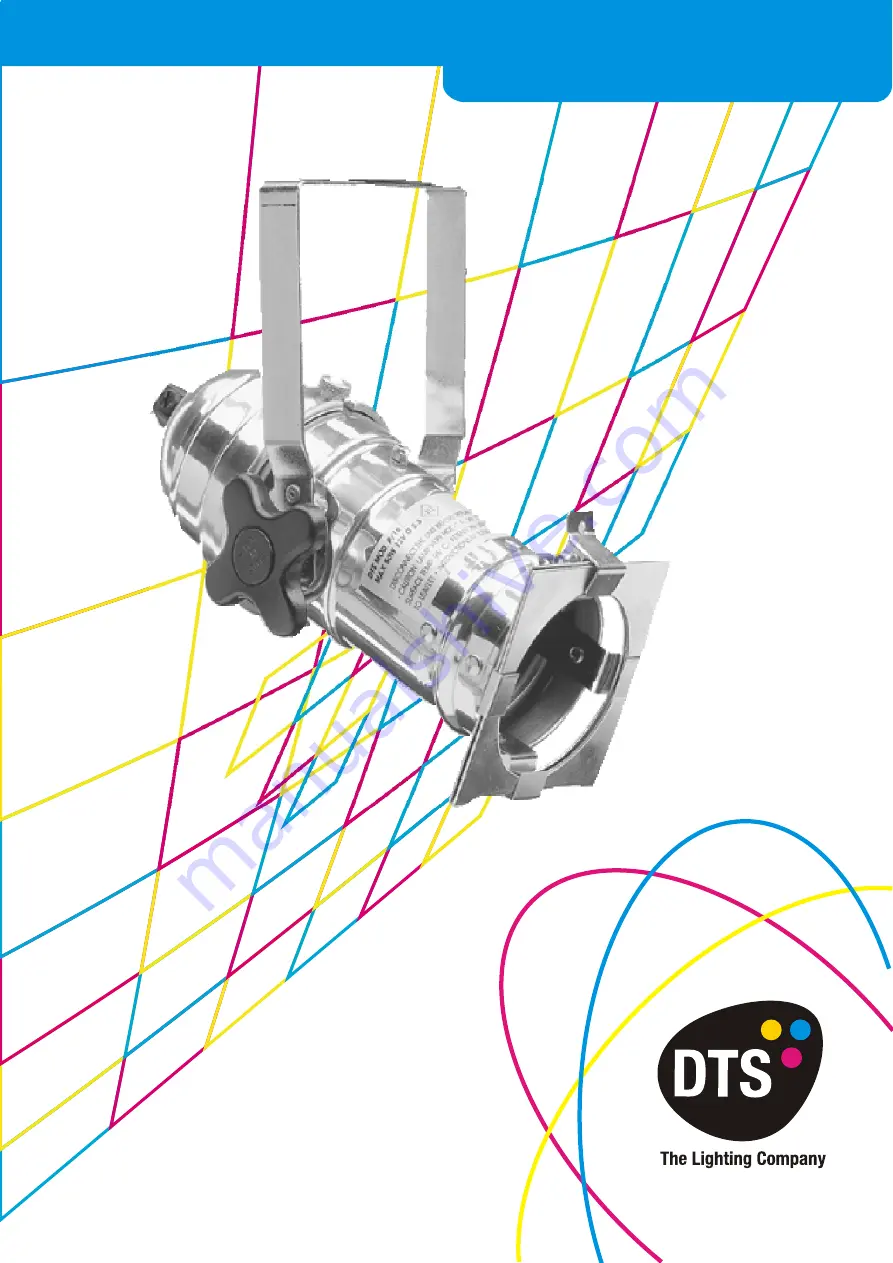
background image

Technical Datasheet

GB

Made in Italy

PAR16

User’s Manual Rel 2.0

D.T.S. Illuminazione srl - ITALY 
http://www.dts-lighting.it

PAR 16 GU/GZ 10
PAR 16 MR16 GX5,3 12V
PAR 16 LED

03.P16.02.01.01 
PAR 16 CLASSIC GU/GZ10 BLACK
+SOCKETS KIT 

03.P16.02.02.01 
PAR 16 CLASSIC GU/GZ10 LUX
+SOCKETS KIT  

Summary of Contents for 03.P16.02.01.01

Page 1: ...er s Manual Rel 2 0 D T S Illuminazione srl ITALY http www dts lighting it PAR 16 GU GZ 10 PAR 16 MR16 GX5 3 12V PAR 16 LED 03 P16 02 01 01 PAR 16 CLASSIC GU GZ10 BLACK SOCKETS KIT 03 P16 02 02 01 PAR...

Page 2: ...ducts or circuits described herein Les informations contenues dans le pr sent manuel ont t r dig es et contr l es avec le plus grand soin Nous d clinons toutefois toute responsabilit en cas d ventuell...

Page 3: ...laced if it has been damaged or deformed by prolonged use or overheating The PAR16 with GU10 GZ 10 lamp socket must always be equipped with an efficient ground connection THIS SYMBOL INDICATES A HOT S...

Page 4: ...a good grip This ensures safer operation because it permits 0 90 rotation as requested by international safety standards and the par can cannot take up positions that are hazardous for the inflammable...

Page 5: ...t Gx5 3 cables DTS code 0503A003 lux DTS code 00M00425 Gel holder lux DTS code 00M00411 Sticker for PAR16 Gx5 3 12V DTS code 0517P027 Bolt M10x1 for cable gland fixing PAR16 in MR16 LED configuration...

Page 6: ...such as halogen and incandescent provide minimal UV MR16 lamps are made using special quartz which has properties that enable it to filter out nearly all of the UV portion of the spectrum Safety The...

Page 7: ...e should also be sufficiently rigid so as not to move or shake Safety cable We recommend the use of a safety cable connected to the unit and to the suspension truss in order to avoid the fixture accid...

Page 8: ...PAR16 MECHANICAL PARTS DESCRIPTION 8 6 1 BRACKET 2 FIXING BRACKET KNOB 3 REAR SIDE 4 FRONT SIDE 5 GEL HOLDER 6 REAR SIDE FIXING KNOB PAR 16...

Page 9: ...LAMP SOCKET INSERTING PROCEDURE 9 Loosen the Allen screw on cable gland fixing the lamp socket cable Loosen the Philips screw on back side of the unit Pull up the rear side fixing knob and open the u...

Page 10: ...Unplug the earth ground fast on female cable connector 10 Rotate the lamp socket GU GZ10 counter clockwise and remove it from the unit Apply the Gx5 3 lamp sochet and rotate it clockwise till it has b...

Page 11: ...tic glue in the 3 holes of the pcb board to fix the LED module to the dedicated D T S Lenses Silicone or synthetic glue Place the MR16 LED unit into PAR16 by passing from the front side of the unit Fi...

Page 12: ...al or design modifications to any of its products without prior notice D T S assumes no responsibility for the use or application of the products or circuits described herein MADE IN ITALY D T S Illum...

Reviews: