background image


PowerStore Quick Start Guide 

Quick Start 

Copyright © 2021 Dell Inc. or its subsidiaries. All rights reserved. Dell, EMC, Dell EMC and other trademarks are 
trademarks of Dell Inc. or its subsidiaries. Other trademarks may be trademarks of their respective owners. 

P/N 300-015-629 Rev 04 


Before you begin 


Plan your installation: 

Read the 

PowerStore Planning Guide 

at 

http://dell.com/powerstoredocs

. 


Download the 

PowerStore Quick 

Start Guide Discovery Utility

 at 

http://dell.com/powerstoredocs

This tool helps you discover your 
appliances within your network, if 

you are remote. 


Create a support account 

at 

https://dell.com/support

.


You need 

this account later in the 
configuration process to activate 

software licenses and configure Dell 
EMC SupportAssist. 

Plan Your 

Installation

Record 

Network 

Addresses

Create a 

Support Account

Get Lift 

Assistance

Download the

Discovery

Utility

Configure 

Network


Configure network: 

Depending on 

the model of your system, read the 

PowerStore Networking Guide for 

PowerStore X Models

 or the 

PowerStore Networking Guide for 
PowerStore T Models

 at 

http://dell.com/powerstoredocs

.


Record network addresses:


Download the networking guide for 

your model from 

http://dell.com/powerstoredocs

and work with your network 
administrator to complete the 

Initial 

Configuration Worksheet

 section. 


Get lift assistance: 

Obtain the help 

of a second person to install the 
enclosure into the rack or use a 
mechanical lift.  

 
Note:

 If your appliance arrived pre-racked, begin installation at Step 5 of this guide. 


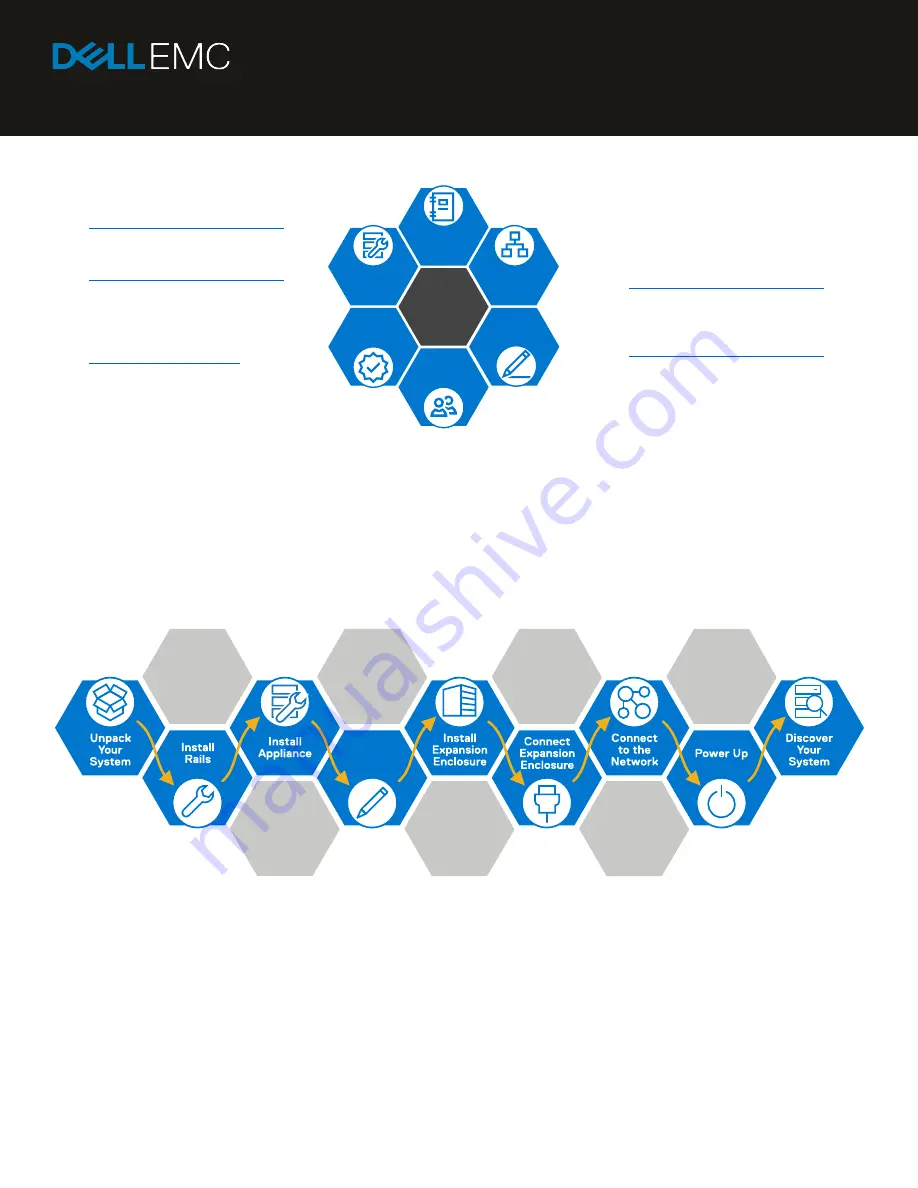
Installation workflow 


Record 

Dell Service

Tag

Summary of Contents for EMC PowerStore

Page 1: ...to activate software licenses and configure Dell EMC SupportAssist Plan Your Installation Record Network Addresses Create a Support Account Get Lift Assistance Download the Discovery Utility Configure Network Configure network Depending on the model of your system read the PowerStore Networking Guide for PowerStore X Models or the PowerStore Networking Guide for PowerStore T Models at http dell co...

Page 2: ...d behind the rack for serviceability 2 Install the rails into your cabinet When installing the rails ensure that the rail pins are lined up correctly For the front end of the rail the bottom pin of the rail goes through the middle hole of the lower U and the top pin goes through the top hole of the upper U For the rear end of the rail the bottom pin of the rail goes through the bottom hole of the ...

Page 3: ...se enclosure into a rack without a mechanical lift and or help from another person 1 From the front of the rack slide the base enclosure onto the rails Ensure that the base enclosure is flush with the front of the rack fully seated in the cabinet and does not easily slide out 2 Optional If securing the system for shipment in the cabinet or for other unstable environments Locate the captive screw u...

Page 4: ...imum Apply cable labels at each end of the following cables Node to first expansion enclosure Node to last expansion enclosure Expansion enclosure to expansion enclosure Cable both embedded modules on the base enclosure to the link control card LCC on the new expansion enclosure 1 Connect node A SAS port B to LCC A port A on the expansion enclosure 1 2 Connect node B SAS port B to LCC B port A on ...

Page 5: ...se enclosure to two switches to ensure a strong layer of redundancy Cable the Ethernet switches together by connecting two 100GbE ports of the bottom switch to two 100 GbE ports of the top switch 2 Using the supplied cables connect the network cables on node A a Port 0 of the embedded module connects to switch 1 b Port 1 of the embedded module connects to switch 2 3 Connect the network cables on n...

Page 6: ...ble Connect the other end of each power cable to PDU A and PDU B Repeat for all enclosures racked b Base enclosure Plug each power cable into the base enclosure power supply unit and close the retention bail over the base of the power cable Connect the other end of each power cable to PDU A and PDU B After you connect the power cables the base enclosure automatically starts up CL5992 ...

Page 7: ...tem Next discover your newly installed base enclosure and then create a cluster Note The procedure in this section only applies if you are physically present within the datacenter If you do not have access to the base enclosure download and run the PowerStore Discovery Utility on a remote system or virtual machine to discover your system Refer to the networking guide for your model for more inform...

Page 8: ...efault password during initial configuration You can disconnect the workstation or laptop from the service port after the initial configuration process is complete What s next Use the information from the Initial Configuration Worksheet in the networking guide to configure your cluster for use Other languages You can access localized versions of this and other documents at https dell com support 您...

Reviews: