


DMP-8122 Installation Quick Guide
DD4945520
Rev 04
16 March 2023
201 Daktronics Drive Brookings, SD 57006
www.daktronics.com/support
800.325.8766
Page 1 of 7
Required Parts
Wi-Fi Installation
• DMP-8122
• Power Supply (with power cord)
• Screw Kit and Mounting Hardware
• 2 x Antenna
• Mounting Bracket
• HDMI Cable (Ordered through Daktronics or provided by
customer)
• Serial Cable (Ordered through Daktronics or provided by
customer)
Note:
A USB keyboard and mouse are required for Wi-Fi configuration
Hard-wired Installation
• DMP-8122
• Power Supply (with power cord)
• Screw Kit and Mounting Hardware (Drywall Screws are NOT included)
• 2 x Antenna
• Mounting Bracket
• HDMI Cable (Ordered through Daktronics or provided by customer)
• Ethernet Cable (Ordered through Daktronics or provided by customer)
• Serial Cable (Ordered through Daktronics or provided by customer)
Standard Installation
DMP-8122 Mounting
The DMP-8122 can be attached to the VESA bracket or the rack shelf. The VESA bracket can be
mounted to different surfaces via direct screw holes, while the rack shelf attaches to a standard rack.
VESA Bracket Mounting
1.
Secure the VESA bracket directly to the desired
surface using the eight screw holes and drywall
screws. Refer to
Figure 2
.
Note:
The VESA bracket mount will indicate the
correct orientation with a
UP
arrow. Make
sure when mounting the VESA bracket
that the arrow points up. Refer to
Figure 2
.
2.
Align the player’s keyhole screws with the two
keyholes on the bracket and slide the player
down to secure it.
Note:
The DMP-8122 will attach to the VESA bracket either facing up or down. Both orientations
work.
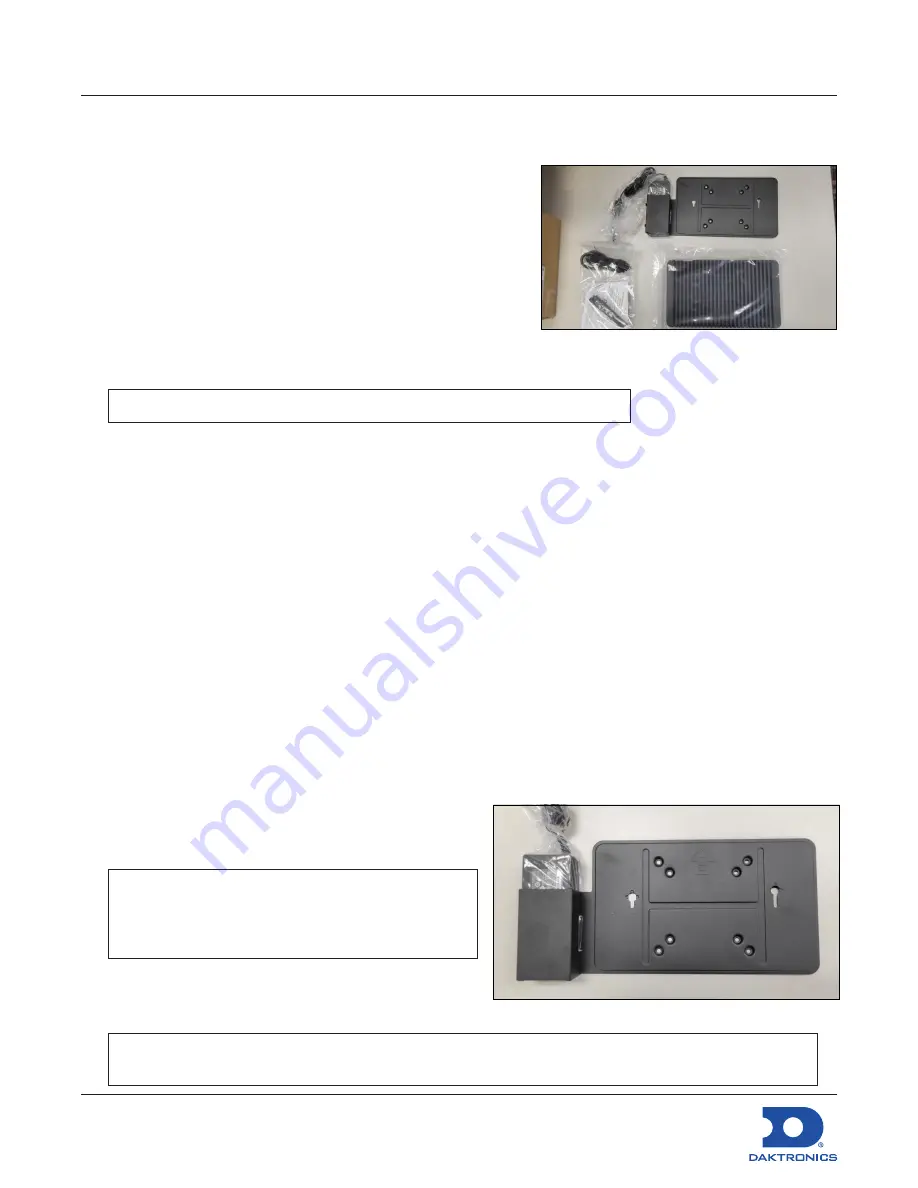
Figure 1:
Unboxed Components
Figure 2:
Mounting Bracket


