background image

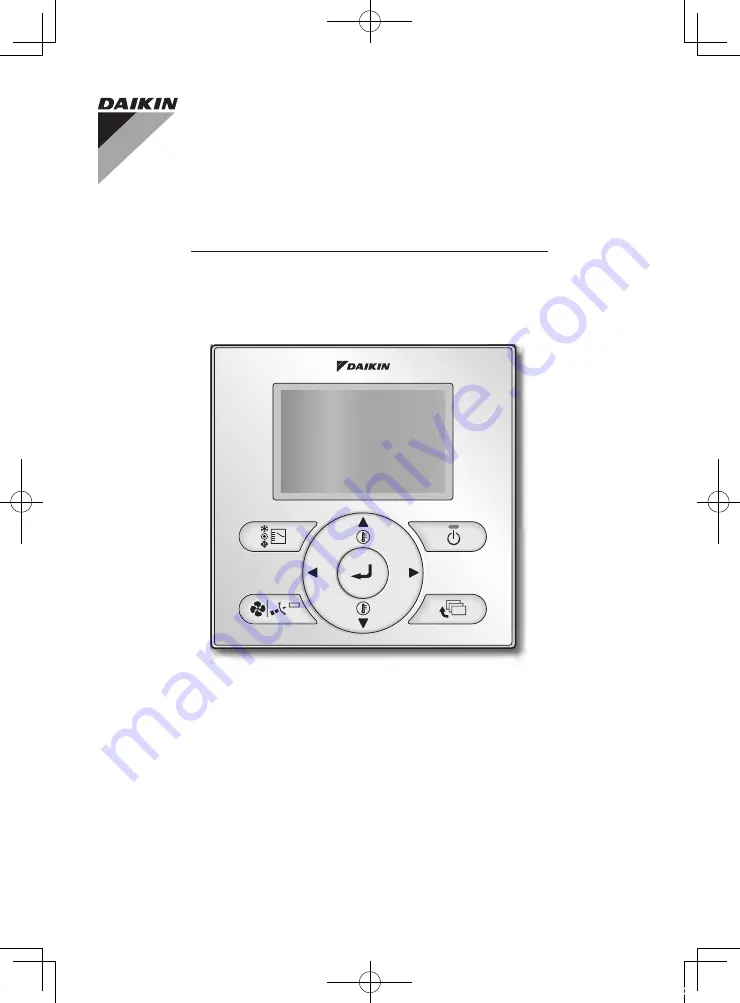
BRC1E63

WIRED REMOTE 

CONTROLLER 

OPERATION MANUAL


• Thank you for purchasing this product.


• This manual describes safety precautions required for the use of the 

product.

Read this manual carefully and be sure you understand the 
information before using the product.  

Keep this manual where it is readily accessible after reading it through. 
If another user operates the product in the future, be sure to hand over 
this manual to the new user.
Refer to the operation manuals attached to the indoor and outdoor units, 
etc.

Summary of Contents for BRC1E63

Page 1: ...e product Read this manual carefully and be sure you understand the information before using the product Keep this manual where it is readily accessible after reading it through If another user operat...

Page 2: ......

Page 3: ...sult in death or serious injury CAUTION Indicates a potentially hazardous situation which if not avoided may result in minor or moderate injury It may also be used to alert against unsafe practices WA...

Page 4: ...o not press the button of the remote controller with a hard pointed object The remote controller may be damaged Do not pull or twist the electric wire of the remote controller It may cause the unit to...

Page 5: ...entration Poss ble chemical symbols are Pb lead 0 004 Do not try to dismantle the system yourself the dismantling of the product treatment of the refrigerant of oil and of other parts must be done by...

Page 6: ...r button NOTE Do not press the buttons on the remote controller with a hard pointed objects Otherwise the remote controller may be damaged or malfunction Basic operations i c ON OFF Operation Mode Air...

Page 7: ...o press the part with the symbol 6 Right button Used to highlight the next items on the right hand side Display contents are changed to next screen per page Be sure to press the part with the symbol 7...

Page 8: ...trol 4 Set Setback Temperature display 5 Defrost Hot start 2 Air ow Rate Air ow level Fan Speed 3 Air ow Direction Displayed only when the air conditioner is in operation Detailed display screen The c...

Page 9: ...have the corresponding function If a number of indoor units are in operation the message will appear only if none of the indoor units is provided with the corresponding function i e the message will...

Page 10: ...page 18 12 Setback Refer to page 16 The setback icon blinks when the air conditioner is turned on under the setback control 13 Clock 12 24 hours time display Displayed when the clock is set Refer to p...

Page 11: ...e Explains a button operation procedure Operation button Describes the positions of buttons to be pressed Operation screen display Describes screens that will be displayed on the remote controller Coo...

Page 12: ...ng the or buttons Depending on the type of indoor unit the adjustment levels may be two levels of Lv 2 and Lv 4 or three levels of Lv 2 Lv 3 M and Lv 4 In Auto automatically according to set temperatu...

Page 13: ...e available depending on the type of indoor unit and return to the Basic screen operation may thus be different from what is displayed on the remote controller Operation condition Room temperature is...

Page 14: ...gh it takes some time until the room temperature reaches the set temperature Characteristics of Heating Operation in Heat Auto mode Starting Operation Heating Operation generally requires a longer tim...

Page 15: ...ure the indoor direction becomes horizontal that are set If the hot air stays around the ceiling and your feet feel cold the use of a circulator is recommended For details consult your local dealer Dr...

Page 16: ...pressed again the air conditioner will stop operating and the Operation lamp will be turned off Note To prevent water leakage or system failure do not turn off the power immediately Wait at least 5 m...

Page 17: ...m temperature drops below 10 C the air conditioner starts operating in Heating automatically As soon as it reaches 12 C the air conditioner returns to its original status If the room temperature goes...

Page 18: ...entilator for the season when cooling heating is unnecessary 2 The Ventilation mode can be changed from the Main Menu Refer to page 33 Ventilation mode Auto Energy Reclaim Ventilation and Bypass 3 The...

Page 19: ...ng changes are possible regardless of the cool heat selection eligibility If a cool heat selection eligibility is set in the Cool Heat selector all the remote controllers will display the icon In this...

Page 20: ...splay Auto will appear for the Heat Recovery System only 1 The remote controller with the selection elig bility Set to Cool Heat Dry Auto mode Other remote controllers Icon Changeover Under Control is...

Page 21: ...of indoor units are connected to a single BS unit Set the Cool Heat Auto Fan mode selection eligibility in one of the remote controllers BS Branch Selector unit The BS unit is used for cool or heat mo...

Page 22: ...ng menus 34 Setpoint Range The set temperature range can be restricted It is poss ble to restrict the temperature range based on a model and the mode of operation 35 Setback Condition Determine the po...

Page 23: ...lation are absolute values but other factors merely result from interpolations with tolerance This explains why the readout may deviate from the actual electricity consumption 41 42 Schedule Enable Di...

Page 24: ...d in either a 12 hour or 24 hour time format 62 Language The displayed language can be selected from the following language English Deutsch Fran ais Italiano Espa ol Portugu s Nederlands 64 Note 1 Ava...

Page 25: ......

Page 26: ...the buttons will appear 3 Select items from the Main Menu 1 Press buttons to select the desired item to be set 2 Press Menu Enter button to display the selected settings screen 4 To go back to the Bas...

Page 27: ...o Disable or Enable Return Setting Circulation Air ow Save the settings Press Circulation Air ow when operation start will be repeated mutually horizontal blow and downward blowing Heating swing Cool...

Page 28: ......

Page 29: ...al Air Direction screen Refer to page 27 Press buttons to select Individual Setting List Press Menu Enter button 2 Return Individual Setting List UnitA Outletmark Auto OFF Indiv Auto OFF Auto OFF Auto...

Page 30: ...the following 3 patterns Left Blow 1 2 3 4 0 Standard 0 1 2 3 4 Right Blow 3 2 1 0 4 1 Return Setting Individual Air Direction Individual Setting Individual Setting List Reset All Indivi Setting Air o...

Page 31: ...rn to the Basic screen Setti g Return Setting Air ow Direction Range Unit select Air range Unit No Left Blow 0 Quick Start SPLIT system only 1 Return Setting Main Menu Circulation Air ow Individual Ai...

Page 32: ...Basic screen Quick Start will no longer appear on the Basic screen Quick Start is now off Quick Start Quick Start capacity of the outdoor unit and quickly bringing the room to a comfortable temperatu...

Page 33: ...r to above Press buttons to select Ventilation Rate Press Menu Enter button to display the Ventilation rate screen 2 Return Setting High Ventilation Ventilation Rate Low High Press buttons to change t...

Page 34: ...ntilation mode Press Menu the Basic screen Press the Cancel button to return to the previous screen without changing the ventilation mode Ventilation Mode Automatic mode Using information from the air...

Page 35: ...tions screen Refer to above Press buttons to select Energy Saving List Press Menu Enter button to display the Energy Saving List screen 2 Return Setting Energy Saving List Setpoint Range Setback Condi...

Page 36: ...2 Return Setting Setpoint Range Cool 32 C Heat 16 C 31 C 20 C Press buttons to change the temperature setting range of cooling and heating Press buttons to move the cursor Press Menu Enter button afte...

Page 37: ...etback Condition Recovery Differential Cool Heat 2 C 2 C Press buttons to change the temperature differential of the Setback Press buttons to move the cursor Press Menu Enter button after selecting th...

Page 38: ...e the cursor Press Menu Enter button after selecting the item Example Adjust Cool SP 1 0 C Adjust Time Cool 30 min Limit Cool SP 30 C If it is determined that there is no person in the room by sensor...

Page 39: ...et the saving energy operation when the sensor detects the absence Press buttons to move the cursor Press Menu Enter button after selecting the item 3 Setting Save the settings Sensing Sensor Stop Yes...

Page 40: ...Set temp Set Time 60 min Heat Set temp 20 C Set Time 90 min 28 C Press buttons to set preset temperature and timing for the auto reset of the setpoint Press buttons to move the cursor Press Menu Ente...

Page 41: ...the unit it will automatically turn off in 60 minutes Off Timer Press buttons to set the time from operation start until the unit automatically stops Selections can be made in increments of 10 minutes...

Page 42: ...the Auto Display Off screen 2 Return Setting Setting 10 min Auto Display Off Press buttons to set the Auto Display Press Menu Enter button after selecting the item The con rmation screen will appear 3...

Page 43: ...Total 10 5 kWh Return Energy Consumption This week S M T W T F S 10 kWh Total 60 2 kWh Return Energy Consumption This year 0 3 6 9 12 1 kWh Total 150 kWh Press buttons to move the indicating screen To...

Page 44: ...ke to set it now Schedule Yes No Return Setting Before setting the schedule the clock must be set If the clock has not been set a screen like the one on the left will appear Press buttons to select Ye...

Page 45: ...creen 2 Setting Select Schedule Schedule Schedule nr 1 Return Press buttons to select Schedule nr 1 Schedule nr 2 or Schedule nr 3 Press Menu Enter button after selecting the item 3 Save the settings...

Page 46: ...the holiday settings Press buttons to switch the setting between set and release Multiple days can be selected as holidays Note To enable the schedule timer for the day selected as a holiday the holi...

Page 47: ...eat 6 00 Return Setting Schedule nr 1 Mon Time Act Cool Heat 6 00 Return Setting Set the time for the selected day Press buttons to move the highlighted item and press buttons to set the desired time...

Page 48: ......

Page 49: ...Disable Press buttons to select Enable or Disable on the Enable Disable screen Press Menu Enter button after selecting the item NOTE The Schedule number selected is Enabled To change the Schedule numb...

Page 50: ...screen Refer to page 25 Press buttons to select Filter Auto Clean and press Menu Enter button 2 Setting Filter Auto Clean Filter Auto Clean 0 00 3 00 Return Filter Auto Clean time zone setting can be...

Page 51: ...e indoor and outdoor units of your product will be displayed on the bottom of the screen For some models the product code may be displayed instead of model name The model name will not displayed if th...

Page 52: ...d press Operation Operation Quiet Operation Mode Outdoor unit SkyAir only Filter Auto Clean Maintenance Information Con guration Current Settings Clock Calendar Language Return Setting Clock has not b...

Page 53: ...ion Press buttons to select the Finish time The system will operate in quiet operation mode from 22 00 to 8 00 Setting 5 Return Quiet Operation Mode Save the settings Press Setting Setting Press can s...

Page 54: ...he Enable Disable screen 2 Return Setting Enable Disable Quiet Operation Mode Disable Press buttons to select Enable or Disable on the Enable Disable screen Press Menu Enter button after selecting the...

Page 55: ...g Auto Air ow Heat Condition Press buttons to select Cool Condition Press Menu Enter button to display the Condition Setting screen Press Menu Enter button after selecting the item The con rmation scr...

Page 56: ...r button to display the Draft Prevention screen 2 Return Setting Enable Disable Draft Prevention Disable Press buttons to select Enable or Disable Press Menu Enter button after selecting the item 3 Re...

Page 57: ...to display the Display screen 2 Return Setting Display Display Mode Standard Display Item None Press buttons to select Display Mode Press Menu Enter button to display the Display Mode screen 3 Return...

Page 58: ...ystem Some models may not display these items even if they are selected Be sure to read the following notes regarding display of room temperature and outdoor air temperature Room Temp The temperature...

Page 59: ...ns to select Contrast Adjustment Press Menu Enter button to display the Contrast Adjustment screen 2 Return Setting Dark Light Contrast Adjustment On the Contrast Adjustment screen press buttons until...

Page 60: ...Auto Disable 10 min OFF A list of the current setting status will appear Press buttons to go to the next item Press Cancel button to return to the Main Menu screen Circulation Air ow Ventilation Rate...

Page 61: ...Time Press Menu Enter button to display the Date Time screen 2 Select Year with buttons Change the year with buttons Holding down the button causes the number to change continuously 3 Date Time Year 2...

Page 62: ...our with buttons Change the hour with buttons Holding down the button causes the number to change continuously 6 Date Time Year 2017 Month 04 Day 04 Thursday 12 21 Return Setting Select Minute with bu...

Page 63: ...ss Menu Enter button to display the 12H 24H Clock screen 2 12H 24H Clock 24H Return Setting By default the time display is set to the 24H format Press buttons to select 12H or 24H Press Menu Enter but...

Page 64: ...ing Time screen 2 Daylight Saving Time ON Return Setting Press buttons to select ON or OFF Press Menu Enter button after selecting the item 3 Save the settings Observe Daylight Saving Time Daylight Sa...

Page 65: ...e 2 2 Display the Main Menu screen Refer to page 25 Press buttons to select Language and press the Menu Enter button 2 Return Setting Language English Press buttons to select the preferred language fr...

Page 66: ...unit 2 is washed cleaned or replaced Press Menu Enter button The Main Menu screen will appear 3 Return Setting Main Menu Reset Filter Indicator Circulation Air ow Individual Air Direction Quick Start...

Page 67: ...face part of the remote controller with a dry cloth when it become dirty If the dirt on the surface cannot be removed soak the cloth in neutral detergent diluted with water squeeze the cloth tightly a...

Page 68: ...g messages will appear on the Basic screen during operation Error Push Menu button The Operation lamp will blink Warning Push Menu button The Operation lamp will not blink Press Menu Enter button Oper...

Page 69: ...t your local dealer Model name Date of installation Failure conditions As precise as poss ble Your address name and telephone number The relocation of the remote controller requires special technology...

Page 70: ......

Page 71: ......

Page 72: ...4P457312 1C M16N049B...

Reviews: