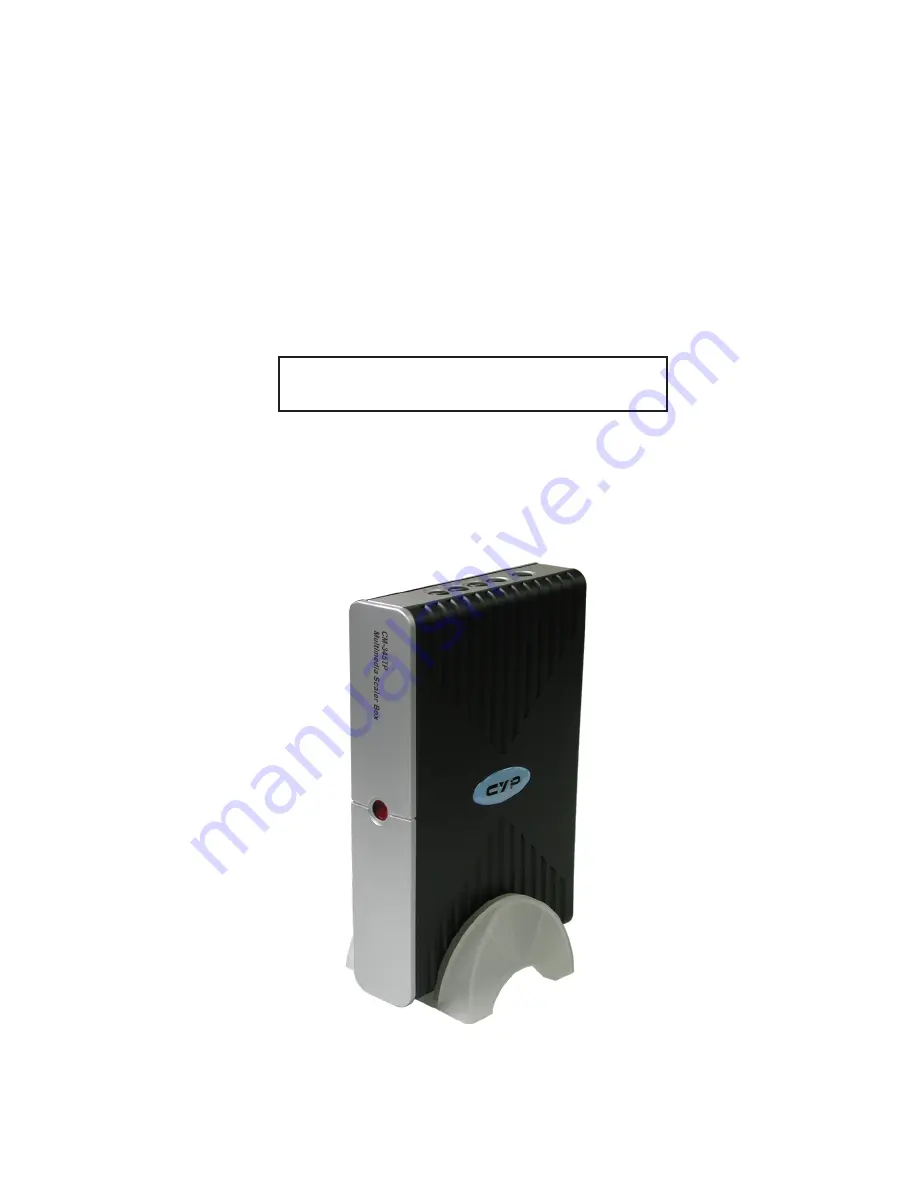
Multimedia Scaler Box
Operation Manual
Installation
Display:
Set " ON " to display the input/output information on the screen.
Display ON OFF
Selep OFF 10, 20......120 minutes
Selection
Function
On "OTHER" Sub-menu, there are three panameters for adjustment,
PIP:
To turn ON or OFF the PIP window on the screen.
Sleep:
Set a pre-determined time for machine to automatically
turn off when timing is up.
PIP OFF 1/4 1/9 1/16
Multimedia
Scaler Box
Package Contents:
* 15pin D-Sub to 15-pin D-Sub cable X 1
* 3 RCA to 3 RCA AV cable X 1
* 2-RCA jack to 3.5mm phonejack audio cable.
* Remote control.
* Power Adaptor: 12V 800mA center positive.
* Instruction manual.
Opeation Control and Functions
Top Panel
Front
Panel
Power button:
The unit enters into standby status when 12 V DC power is fed into
the power jack on the back panel . Press the power button to turn
on the unit ( LED illuminates in green color ); press again to return
to standby mode ( LED illuminates in red).
1
Power ON / Standby indicator:
When power button is pressed, the unit is turned on, and the LED
illuminates in green color. The unit is then ready for operations.
When the unit is under standby mode, all control buttons will not
function, Only the PC input is looping through to the VGA output.
2
2
Power ON /
Standby LED
Features:
* High quality video scaler with TV tuner.
* Extensive video and PC inputs include CV/SV/YCbCr/
PC bypass/TV aerial as well as stereo and PC audio.
* Support PC output resolution up to XGA(1024 x 768)
* 50/60 Hz frame rate conversion ensures glitch-free
display of PAL source on any monitors.
* Additional TV video out for recording or viewing on TV.
* 3D motion adaptive de-interlacing ensures jaggy-free picture.
* Adaptive non-linear noise reduction.
* Adaptive scan rate conversion.
* Luminance/Color Transient improvement.
* Video over VGA Picture-on-Picture.
* Antenna/Cable auto programming and
channel memory.
* PLL frequency synthesizer/full channel memory.
* MTS/SAP Stereo.
* OSD Controls: Brightness, Contrast, Tint, Color and Sharpness adjustment.
* PIP function, allows you to watch your favorite ball game while doing your
homework with your PC. The sizable window are relocatable anywhere
on your screen.
* Capable of record a TV program onto your VCR.
9
2
1
3
4
5
+
-
MENU INPUT
POWER
▼
CH
▲
Installation
Australia PAL AUS
Brazil NTSC US
Canada NTSC US
Chile NTSC US
China PAL D/K
Denmark PAL B/G
France SECAM L
Germany PAL B/G
Hong Kong PAL I
India PAL B/G
Italy PAL ITALY
Japan NTSC JAPAN
Korea (South) NTSC US
New Zealand PAL NZ
Philippines NTSC US
Portugal PAL B/G
Russia
SECAM D/K
Saudi Arabia SECAM B/G
Singapore PAL B/G
South Africa PAL I
Spain PAL B/G
Sweden PAL B/G
Switzerland PAL B/G
Taiwan NTSC US
Thailand PAL B/G
United Kingdom
PAL I
U.S.A NTSC US
Country System Type
On TV system Sub-menu, find out what aerial or CATV systems are available
at your premise and make sure your antenna/cable are connected
to the RF input of this unit. The table below shows worldwide countries
and their respective TV/CATV systems. Select the correct System and
Type thatcorresponds to the country you are located.
CH / :
When not in OSD menu mode, press the button to increase ( ) or
decrease ( ) the TV channel number.
When in OSD mode. Press the button to move up or down the hightlight
bar to your desired parameter. Or after a parameter been selected by
MENU/Enter button, press the button to alter the value of your
selected parameter.
5
1. Power socket: 12V 800mA DC input.
2. RF-IN: Terrestrial VHF/UHF Antenna input or CATV coaxial cable input.
3. C-Video input: Composite video input.
4. S-Video input: S-Video input.
5. YCbCr input: connects to the YCbCr output of source device such
as DVD, Set - top - box....
6. PC-IN: 15-pin D-Sub PC VGA input.
7. Audio: Stereo audio input.
8. PC audio in: 3.5mm PC audio input.
9. Audio out: 3.5mm PC audio output.
10.VGA out: 15-pin D-Sub VGA output.
11. TV out: Video and streo audio out for TV/Cable input.
Rear Panel
6
1
2
11
4
3
5
7
8 9
6
5
D-SUB
IN
AUDIO
OUT
RF IN
S-V
C-V
VIDEO
AUDIO
PC
AUDIO
IN
R
R
L
L
DISPLAY
OUT
Y
Cb
Cr
POWER
TV OUT
IN PUT
DC 12V
AUDIO
[MENU]+[CH+,-]:
Press [MENU] and [CH+] or [CH-] simutaneously to increase or
decrease audio volume.
Input Selection:
Press the button repeatedly will toggle through five input sources available
for your selection.
The sequence of selection by repeatedly pressing the button is as
bellow:
TV(RF)
Composite Video
S-Video
YCbCr
PC Bypass
3
MENU / ENTER
Press the button to enter into OSD menu or to confirm your selection
of the highlighted parameter.
4
3
8
Installation
On channel Sub-menu, Select TV for receiving Terrestrial VHF/UHF broadcasting
channel. Setect CATV if the unit is connect to a CATV coaxial cable.
Auto scan - the unit will search through all channels contained in the RF cable.
Once a channel is found it will be stored in the memory and can be recalled
later by pressing channel up or down button or by pressing channel number
directly.
Delete Channel :
To remove a channel from your channel up-down memory list.
Once a channel is deleted, it will be skipped from your channel
up/down selection.
The only way to recall the channel is to press its channel
number directly, or add it back to channel list.
ADD Channel :
To add a channel into your channel up-down memory list.
Once a channel is added to the list, it can be called up by
pressing channel up/down button.
Exit: Return to the last menu page.
P.S. Channel Delete and Add only work after channel search is carried out.
In Resolution Sub-menu, you can select output resolution from: 640 X 480, 800 X600,
or 1024 X 768.
Installation
Power up the unit:
1. Plug the power jack into the power socket on the back of the unit,
the power LED will illuminate in red color(Standby mode).
2. Press the power button, power LED will turn into green light.(operation mode)
3. Press the power button again will return to standby mode.
4. When the unit first powered up the default input to the unit is TV(RF) input.
When you changed input source and later power down the unit the last input
source you selected will be memorized by the unit. When you re-power the
unit the memorized input will be recalled as input source.
OSD operation:
After power- on the unit. Press the Menu button will bring up the main menu
page to your screen as bellow:
Use channel
to move up or down the high-light bar to your desired parameter.
Press MENU/ENTER to confirm your selection.
To adjust the setting value of your selected parameter, press " + " to increase
the value. Press " - " to decrease the value.
Use buttons on the remote or button on top panel
to move hightlighted bar to your desired parameter.
press MENU / ENTER to enter into sub-menu, and use + - ,
to move to your desired selection. When a parameter is
selected, its color will be inverted.
7
4
On the source Sub-menu, you can choose input from TV, CV, SV, YCbCr, and PC
pass through.
On the picture Sub-menu, you can adjust setting value of the follwing parameter.
Use channel up or down to select your desired adjustment parameter.
Brightness: Use /- to increase or decrease brightness level.
The adjustment range is 1(least bright), to 100(most bright)
Contrast: Use /- to increase or decrease contrast level.
The adjustment range is 1 (least contrast) to 100 (most contrast).
Color(1-100): Use /- to increase or decrease color saturation level.
Tint(NTSC only): Use /- to increase or decrease Tint level.
The adjustment range is -50 ~ +50.
Sharpness: Use /- to increase or decrease the sharpness level.
The adjustment range is 1~16.
Reset: To recall the preset default value.
Exit: Return to previous Menu page.
Installation
On the sound Sub-menu, you can adjust the volume of
the audio out, or to "mute" audio out.
you can also select:
Mono:
L+R on both left and right channel
Sap:
Second Audio Program
Stereo:
Audio output in stereo L/R
EXIT
Installation
5
6
Summary of Contents for CM-345TP
Page 1: ...Multimedia Scaler Box Operation Manual ...
Page 12: ......