Crestron® HZ-BTN-series button caps
provide Horizon™ keypads with a flexible
user interface. Configure the keypad with
up to five laser-engraved button caps to
provide custom control in any environment.
Button caps without custom laser-engraving
are also available which provide a simple, yet
elegant look.
Check the Box
Item
Qty
HZ-BTN, HZ-BTN-RKR1,
HZ-BTN-RKR3, or HZN-BTN-RKR5
1
Button Cap
2
HZ-BTN, HZ-BTN-RKR1,
HZ-BTN-RKR3, or
HZN-BTN-RKR5
1
Engraved
Button Cap
2
Tool, Spudger (P/N 2039565)
1
1 Refer to the HZ-BTN, HZ-BTN-RKR1, HZ-BTN-RKR3, or
HZN-BTN-RKR5 product pages at
for a complete list of color, texture, and engraving
variations.
2 Quantity depends on purchase order.
Replace the Button Caps
1.
Remove the top and bottom trim
pieces.
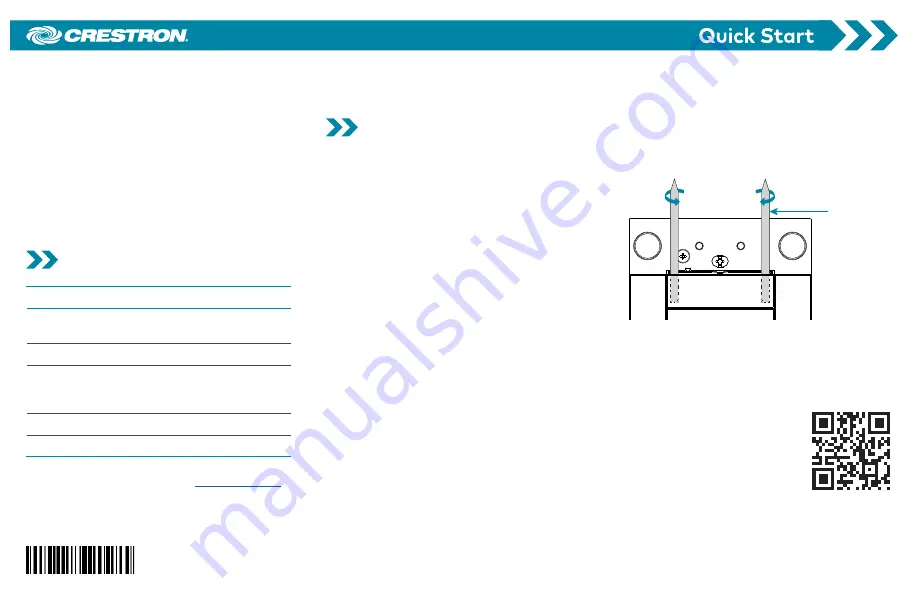
2.
Remove the old button cap using the
flat end of the spudger (supplied with
engraved buttons):
a.
Insert the spudger between the
top of the button cap and the
keypad near the left edge of the
button. Rotate the spudger tool
counterclockwise to remove the left
side of the button cap.
b.
Insert the spudger between the top
of the button cap and the keypad
near the right edge of the button.
Rotate the spudger tool clockwise
to remove the right side of the
button cap.
NOTE:
For the 3 and 5 position button
caps, repeat step 2 but insert the
spudger between the bottom of the
button cap and the keypad.
Spudger
tool
3.
Align the posts on the back of the new
button cap with the slot in the keypad
and press firmly onto the keypad.
Ensure that the button cap actuates
without sticking.
4.
Replace the trim
pieces.
Scan or click the QR code to
view a video tutorial of the
button cap replacement
process.
HZ-BTN
Button Caps for Horizon™ Keypads